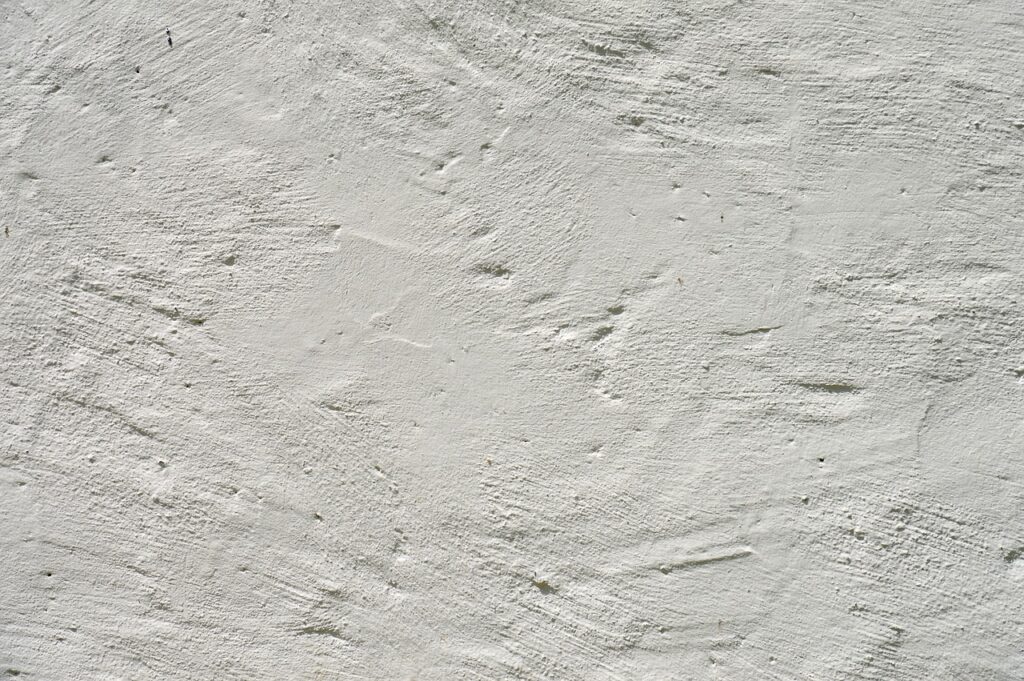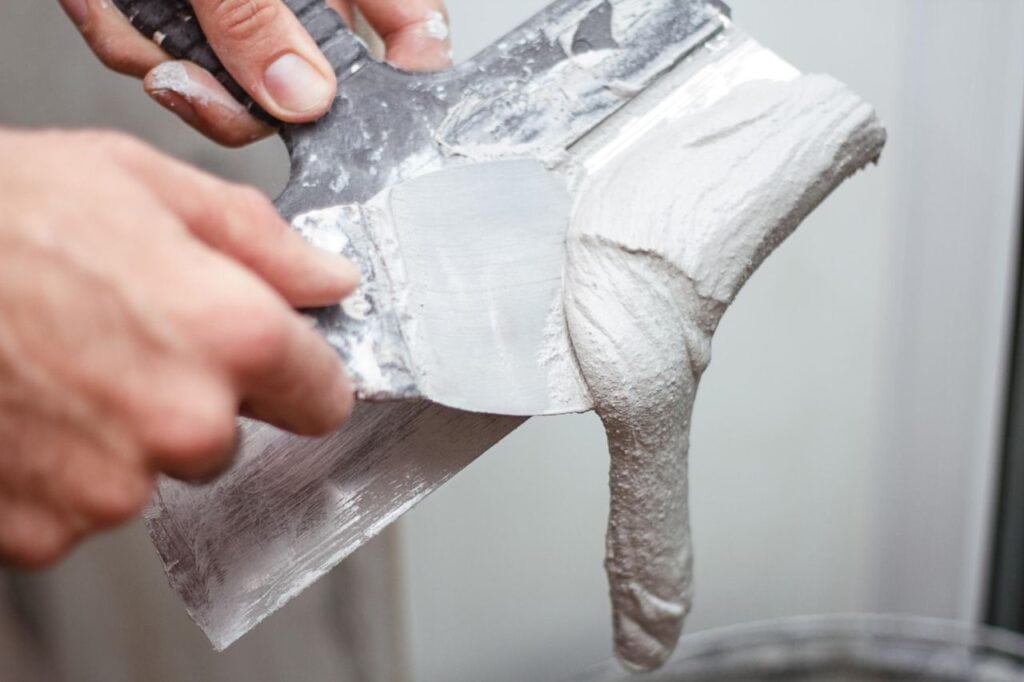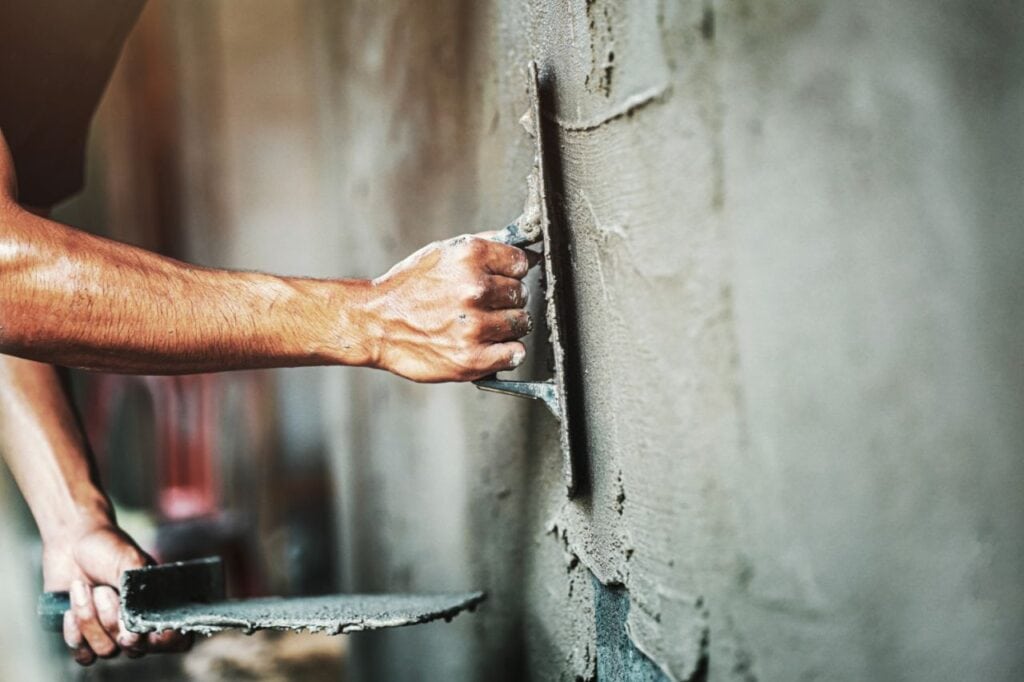
Skim coat plastering is a method for finishing walls and ceilings to a high standard of smoothness and perfection. Plastering entails coating an existing surface with a thin coat of the material.
Skim coat plastering covers flaws like cracks and uneven textures with a smooth, uniform finish. This method is frequently used in commercial and domestic construction projects because it prepares a surface ready to receive paint, wallpaper, or other decorative finishes.
Skim Coat Plastering
This method falls somewhere between applying three coats of plaster and merely taping and coating the joints between individual pieces of drywall.
The skim-coat method, in which plaster is applied in a single, eighth-inch layer over an entire wall or ceiling, is a compromise that provides some of the character and quality of real plaster while maintaining the economy and speed of the wallboard.
Unless you have experience with a trowel, start with some mending before attempting skim coating. A satisfactory plaster job doesn't require you to spend a year and a day learning the trade as an apprentice.
Skim coat plastering, also known as skim plastering or skim finishing, is a technique used to achieve a smooth and uniform surface on walls and ceilings. Beyond its aesthetic benefits, skim coat plastering can also contribute to pest control efforts in your home.
By applying a thin layer of plaster evenly over the surface, skim coating eliminates the presence of irregularities and imperfections that can attract pests.
Without cracks, crevices, or rough surfaces to hide in, pests are less likely to find suitable shelter within your walls.
The seamless finish achieved through skim coat plastering enhances the effectiveness of pest control measures by creating a solid barrier against infestations.
Different Types Of Skim Coat Plastering Techniques
The purpose of a skim coat is to create a uniformly smooth surface by applying a very thin layer of plaster. The goal can be reached through a variety of methods. First, though, we'll examine where skim coat plastering is most often used:
Traditional Skim Coat Plastering
Plastering walls and ceilings with a traditional skim coat is a common practice for creating a uniform and smooth finish. Applying a plaster mixture is an age-old technique for achieving a smooth surface.
Many experts opt for it because it can alter surfaces easily and dramatically.
The first step in applying a skim coat of plaster in the traditional method is priming the surface. So there can't be any dirt, dust, or other contaminants on the floor. Next, cracks, holes, and other flaws should be patched and repaired using the proper materials. This preparation is necessary so the skim coat plaster has something to adhere to.
Roll-On Skim Coat Plastering
Plastering walls and ceilings with a roll-on skim coat are time-saving and effective for creating a flawless finish. A plaster mixture is rolled onto the surface using a paint roller or a specialised skim coat roller.
Roll-on skim coat plastering is a convenient and effective option for smaller areas or touch-ups.
Plastering with a roll-on skim coat requires first preparing the surface. The floor must be dust-free, dry, and free of other debris. It's important to patch any damage and even out any bumps before moving forward. Skim coat plaster can achieve a smooth even if the surface is properly prepared.
Ready-Mixed Skim Coat Plastering
Using ready-mixed skim-coat plaster is a quick and easy way to give walls and ceilings a uniform finish. Rather than mixing the plaster by hand, this method uses ready-to-use plaster that can be purchased in bags or containers.
There are many reasons why both professionals and do-it-yourselfers favour ready-mixed skim coat plastering.
Surface preparation is the first step when using a ready-mixed skim coat plaster. The floor must be dust-free, dry, and free of other debris. Before applying the plaster, make sure all cracks and holes are filled and smoothed out. Adhesion and a smooth surface are guaranteed with thorough surface preparation.
Ready-mixed skim coat plaster comes in a wide range of formulations and textures to meet the specific needs of any given construction project. Plaster comes pre-packaged and ready to use in various containers and bags. You must read and adhere to the manufacturer's application and drying time instructions.
Spray-On Skim Coat Plastering
Skim coating walls and ceilings with a spray application of plaster is a contemporary and effective method. Applying the skim coat plaster with a spray gun or hopper gun is prefered. Using a sprayer to apply the skim coat plaster has many benefits, including quickly and uniformly covering large areas.
There shouldn't be any dust, debris, or other stray materials on the surface. Before applying the plaster, patch up any holes, cracks, or other imperfections. Adhesion and smoothness are both improved by thorough surface preparation.
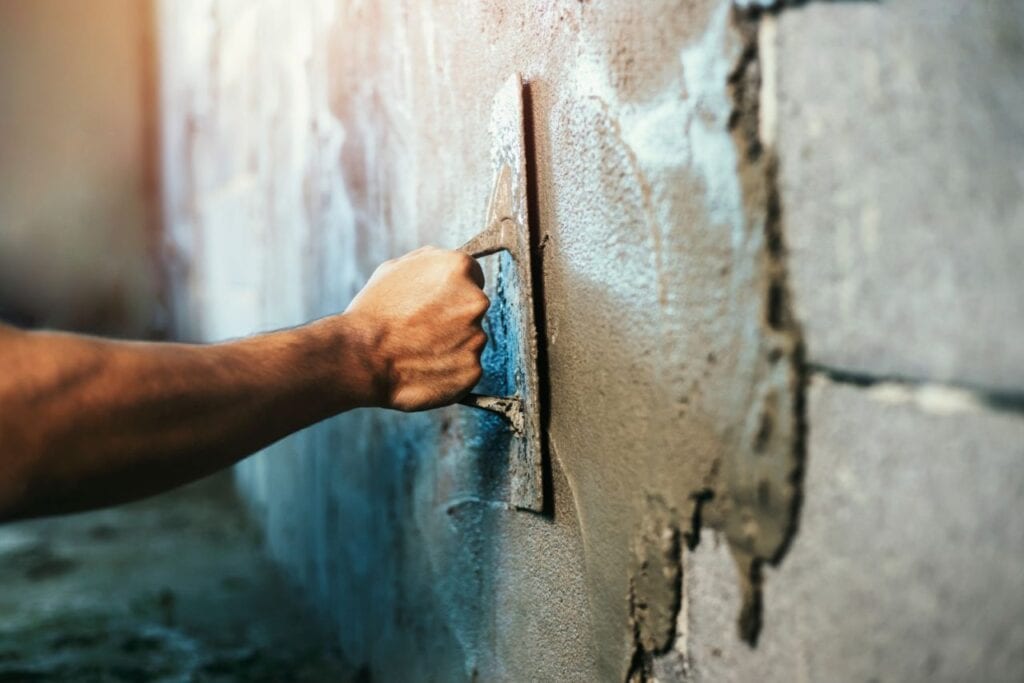
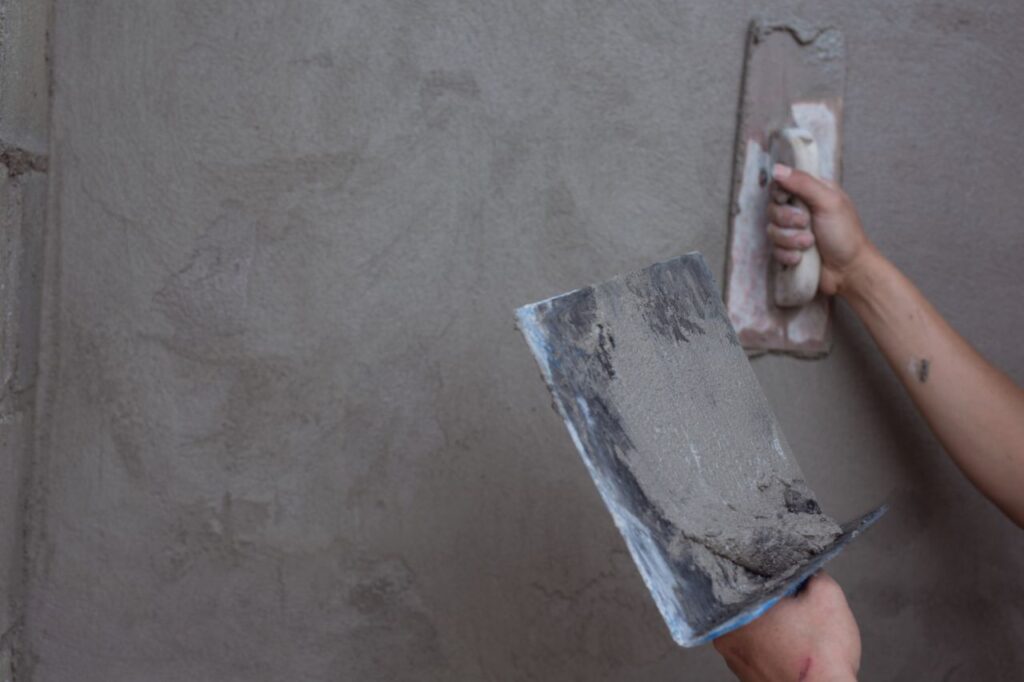
Trowel-On Skim Coat Plastering
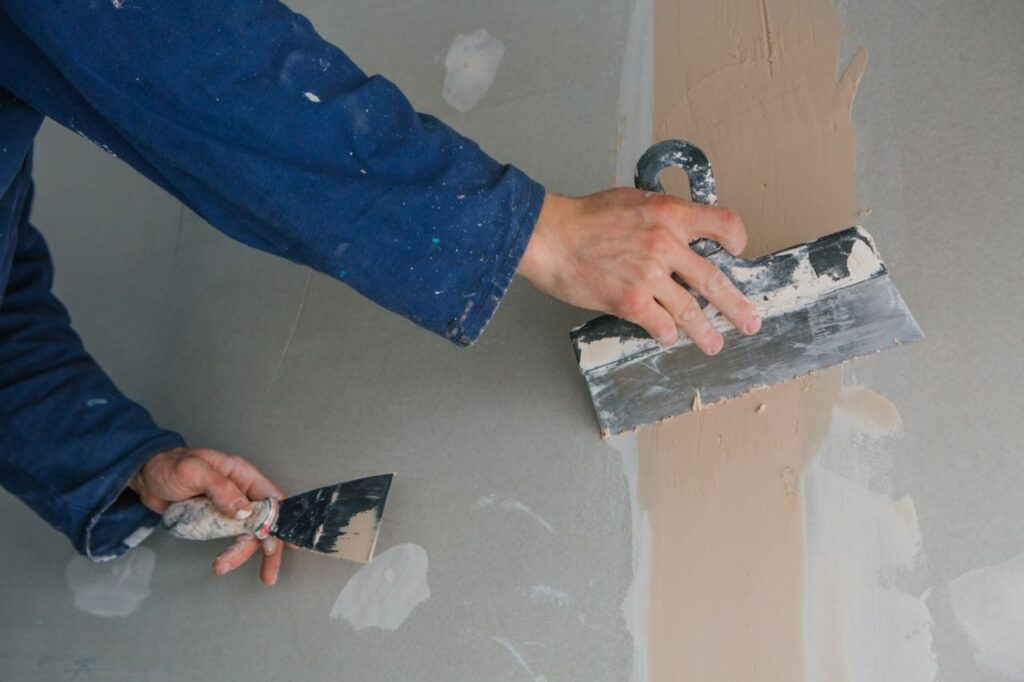
Applying a skim coat of plaster with a trowel is a time-honoured and flexible method for creating a smooth, finished look on walls and ceilings. Using a trowel to apply the skim coat plaster provides a high degree of control and customisation over the finished plaster surface.
Many experts favour trowel-on skim coat plastering for its many benefits when creating a smooth and professional look.
Surface preparation is the first step in applying a skim coat of plaster using a trowel. There shouldn't be any dust, debris, or other stray materials on the surface. Before applying the plaster, make sure all cracks, holes, and imperfections are filled. Adhesion to the surface is maximised, and quality is preserved when the surface is properly prepared.
Benefits Of Skim Coat Plastering
Skim-coating plastering has many uses in both commercial as well as residential construction. Take into account some of the many advantages of this method:
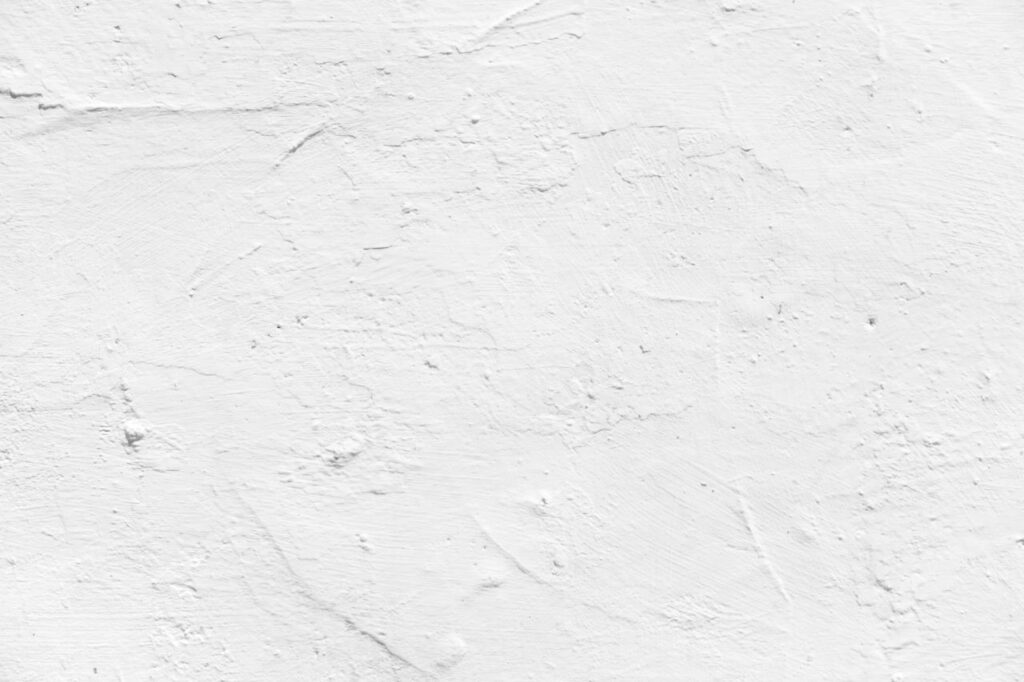
Improves Appearance
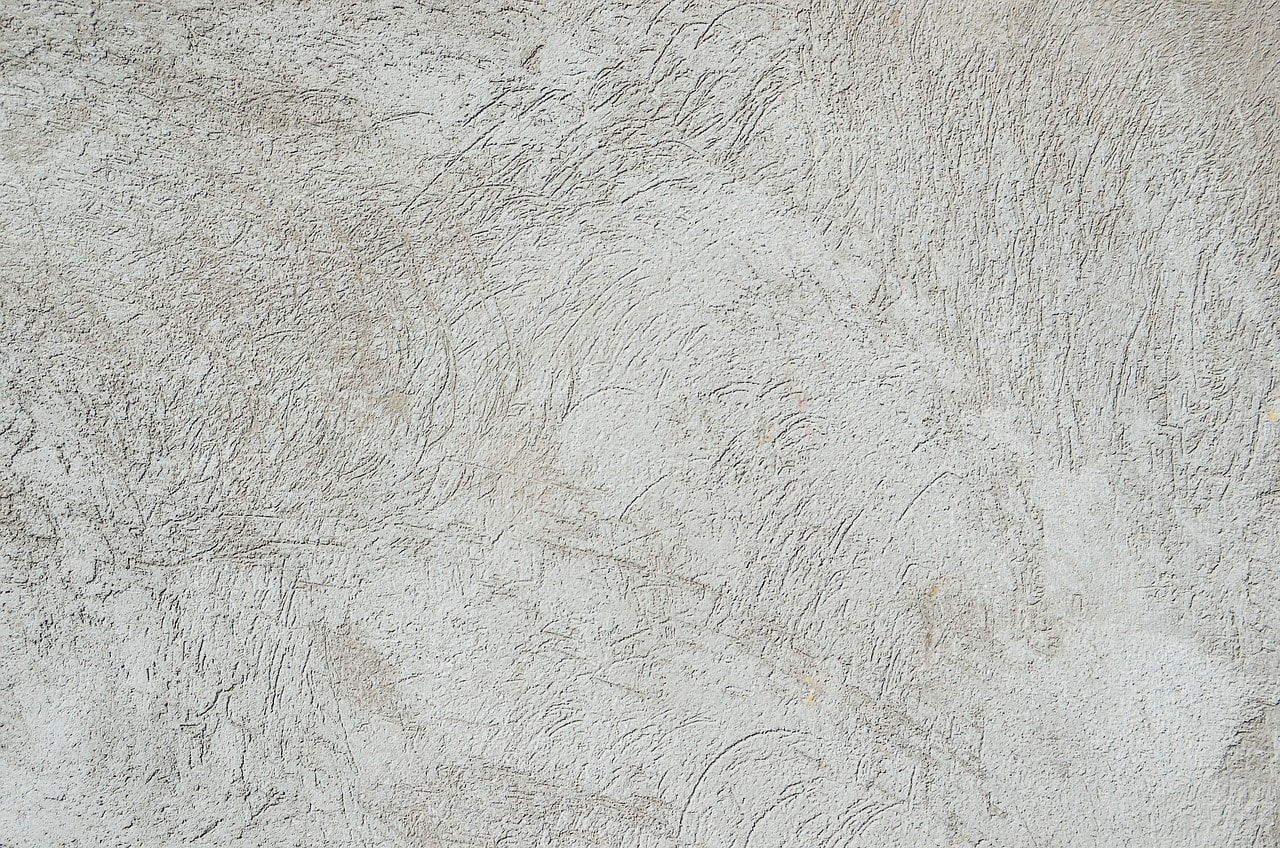
The aesthetic value of walls and ceilings can be greatly enhanced through skim coat plastering. Creating a flat and uniform surface disguises flaws like tiny cracks, dings, and uneven textures to make the walls look brand new. This increased value is due to the increased aesthetic appeal.
Provides Versatility
Plastering with a skim coat can be applied to many different surfaces, including concrete, drywall, masonry, and painted surfaces already in place. Its versatility makes it suitable for brand-new construction projects and renovation or remodelling projects.
Economical Solution
Skim coating the walls and ceilings is a cheap way to make them look better. Skim coat plastering is an affordable alternative to costly replacement or renovation of surfaces.
Seamless Repairs
Skim coat plastering is used to repair plastered surfaces virtually undetectable to the naked eye. Making minor repairs and touch-ups without negatively impacting the overall look is possible.
Surface Preparation For Paint Or Wallpaper
Applying a skim coat of plaster before painting or wallpapering makes for a smoother finish. Its finished product is a flat, smooth surface perfect for painting or wallpapering. In addition, it guarantees a polished and faultless appearance in the end product.
Quick And Efficient
Skim coat plastering is a faster and more effective alternative to traditional methods. In addition, it takes less time to dry so tasks can be finished sooner. This is useful when time is of the essence, or significant disruptions to daily routines are not an option.
Easy Maintenance
After applying a skim coat of plaster, the surfaces are much simpler to care for. The smooth surface is more durable and waterproof to marks and smudges. As a result, it becomes easier and more efficient to perform routine cleaning and maintenance tasks.
Improved Durability
Plastering walls and ceilings with a skim coat increase their strength and longevity. In addition, plaster is an additional barrier, protecting the surface from damage such as cracks and moisture.
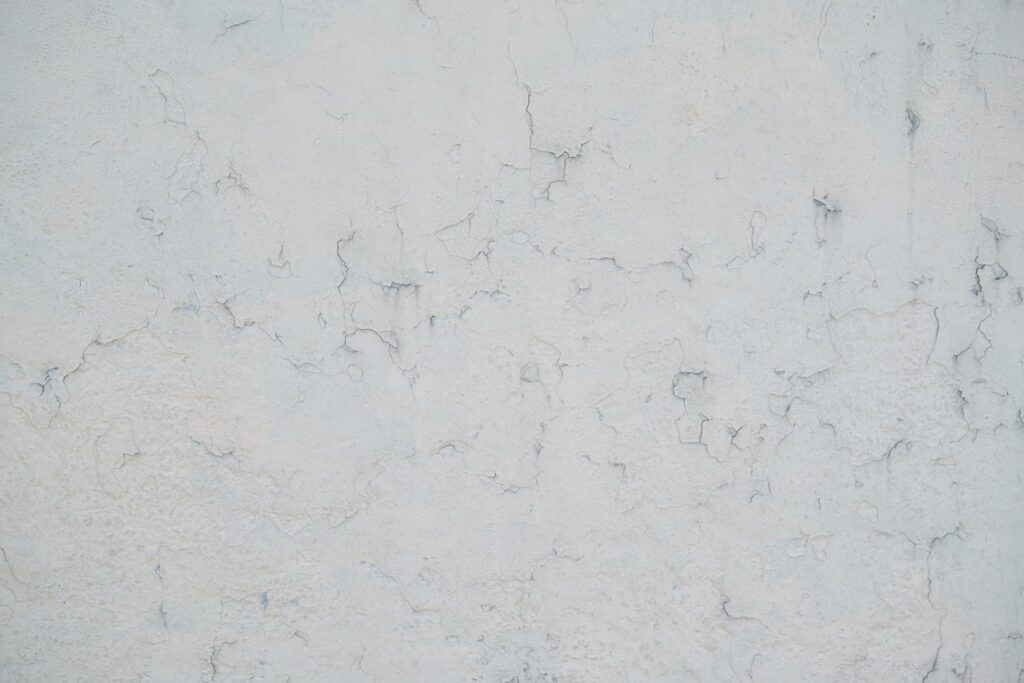
Reasons To Use A Skim Coat
Skim coating can give tired walls a new lease on life.
Damage Caused By Wallpaper
If the wall behind the wallpaper has been gouged while being removed, or if the paper on the drywall has been torn off and the brown paper is showing, a skim coat will need to be applied. Keep in mind that after the brown paper has been uncovered, it needs to be primed with a prime surface sealer before the skim coating can be applied.
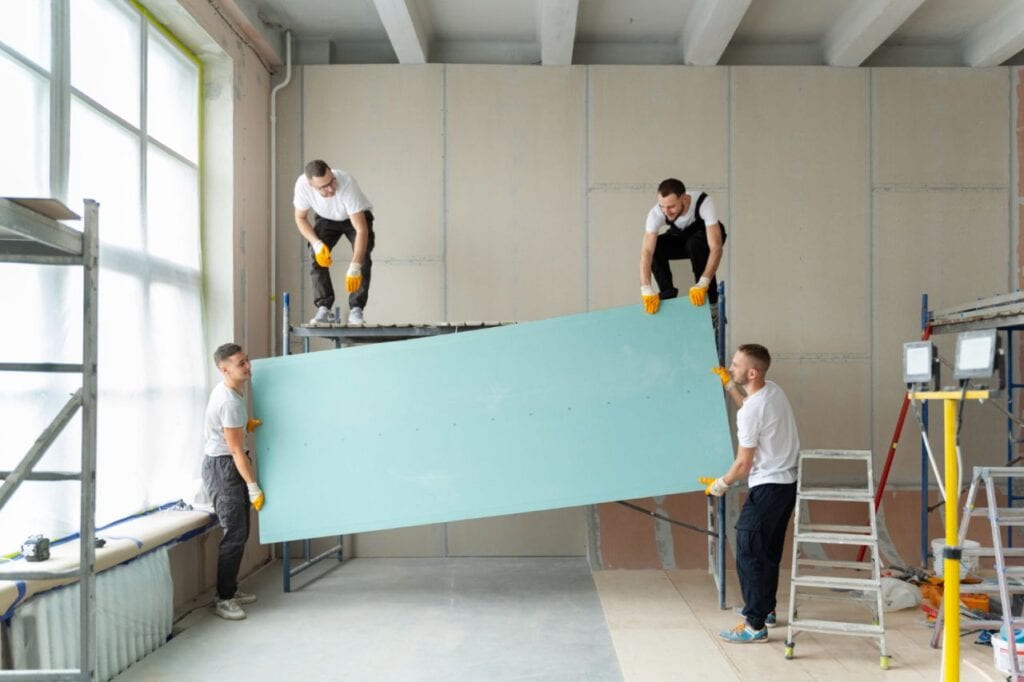
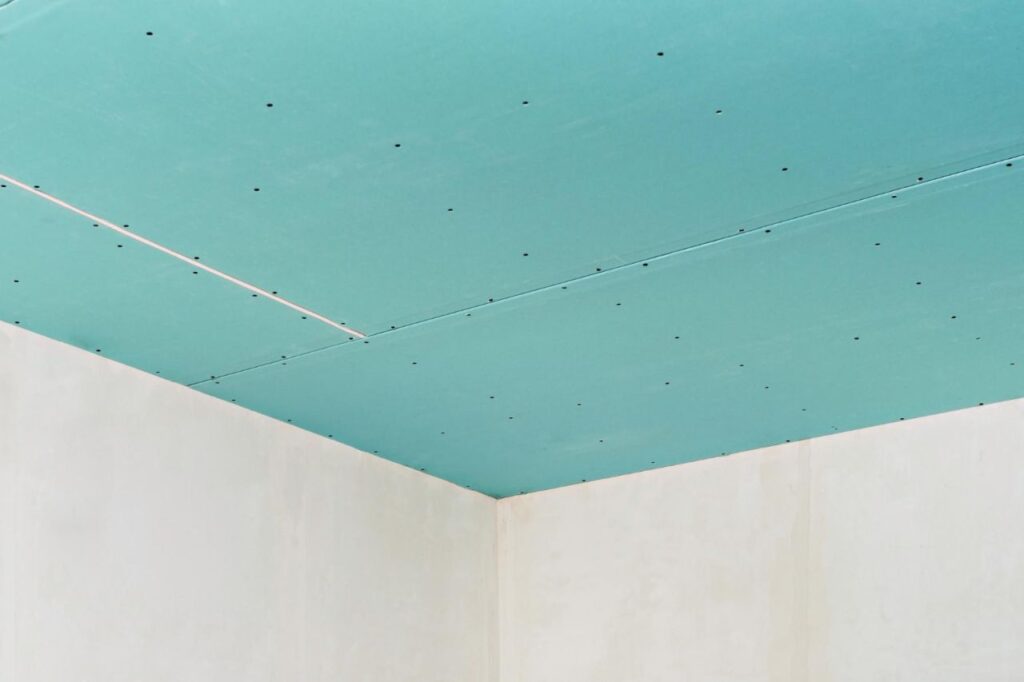
New Instals
Apply a thin skim coat if you won't be texturing new drywall. This will guarantee that your painting and priming surface is completely even. Also, when painting new drywall without first applying a skim coat, the tape joints can be easily seen if the paint has a high enough sheen (such as a semi-gloss or gloss) because it absorbs differently into the joint compound and drywall paper.
The term "flashing" or "photographing" is used in painting to describe this technique. When natural light is abundant in a room, especially if the window faces south and the sun shines directly down a wall or ceiling, this can also cause flashing.
Drywall Repairs
After drywall or ceiling repairs, the skim coating creates a smooth, uniform surface suitable for retexturing, priming, and painting.
Unappealing Surfaces
Suppose you or your client are unhappy with the appearance of an outdated or poorly executed wall or ceiling texture. In that case, the skim coating can provide a fresh start without the expense and inconvenience of demolishing the existing structure.
Old Surfaces
The damage was caused by years of use and abuse from people and their pets. The skim coating can restore the lustre of your walls, even if they are old and worn out.
How Skim Coat Plastering Walls Works: Step-By-Step Process
Let's break down the steps of skim coating plastering so you can fully grasp the process:
Before You Begin
Skim coating preparation is critical for a flawless finish. That means priming the wall first before applying the skim coat. The paper on the drywall you cover will be sealed if you prime it first. So, before skimming, prime the wall with one or two light coats of the right primer and let it dry completely.
What You'll Need
Equipment / Tools
- 12-inch drywall knife
- Drywall mud pan
- Paint roller frame
- 4- to 8-foot extension pole for paint rollers
- drywall sanding screen with fine grit
- The 9-inch paint roller cover
- 5-gallon bucket
- Paint a rolling bucket screen.
Materials
- All-purpose lightweight drywall compound
- Clean water
- Painter's tape
Set Up The Work Area
Protect surfaces that won't be skim coated. Power off all lights and outlets. Remove the covers from any electrical outlets or light switches and tape them with painter's tape. Tape drop cloths to the floor and the baseboards.
Mix The Drywall Compound
Use a drywall compound with a low body weight. A heavy body compound is unnecessary, given the compound's lack of structural significance. Mud that is lighter in weight can also be sanded more easily.
The drywall compound should be mixed in accordance with the instructions provided. To make a denser, stickier result, it is sometimes preferable to slightly reduce the amount of water used. This makes the skim coat more durable and makes the application process easier. Combine until it has the consistency of thick yoghurt.
The amount of water required for mixing drywall compounds can be found in the product's instructions. First, mix the compound into a container or bucket containing just a little less water than is required. If more water is needed, add it after mixing. If you want a lump-free mixture, adding the compound to the water rather than the water to the compound is best.
Roll Out The Drywall Compound
Spread out an area that's 2 feet broad and 8 feet high. Bubbles can be removed by pressing the roller firmly against the wall. The wall's surface area, ambient temperature, and ventilation affect the drywall compound's working time. Keep your work area contained so the drywall compound doesn't dry out too quickly.
Make sure the drywall compound is uniform in thickness and coverage. However, because the drywall compound dries at varying rates depending on how it was applied, the process is simplified if you apply it consistently.
Skim The First Section
Using the 12-inch knife, carefully scrape off the excess drywall compound. Then, in either direction, scrape in columns, with more pressure on the left side of the knife. This smooths out the left side but leaves a small ridge on the right.
Do not use full force with the knife; doing so will cause you to scrape off too much drywall compound and may cause you to gouge the wall with the knife's corners. Instead, place surplus items in the tray.
Skim The Remaining Sections
The same procedure should be followed along the first column's side. Apply more force to the left side. That bump on the left will now be gone. By overlapping, the drywall knife can smooth out most of the bumps. In the long run, this means less need to sand drywall.
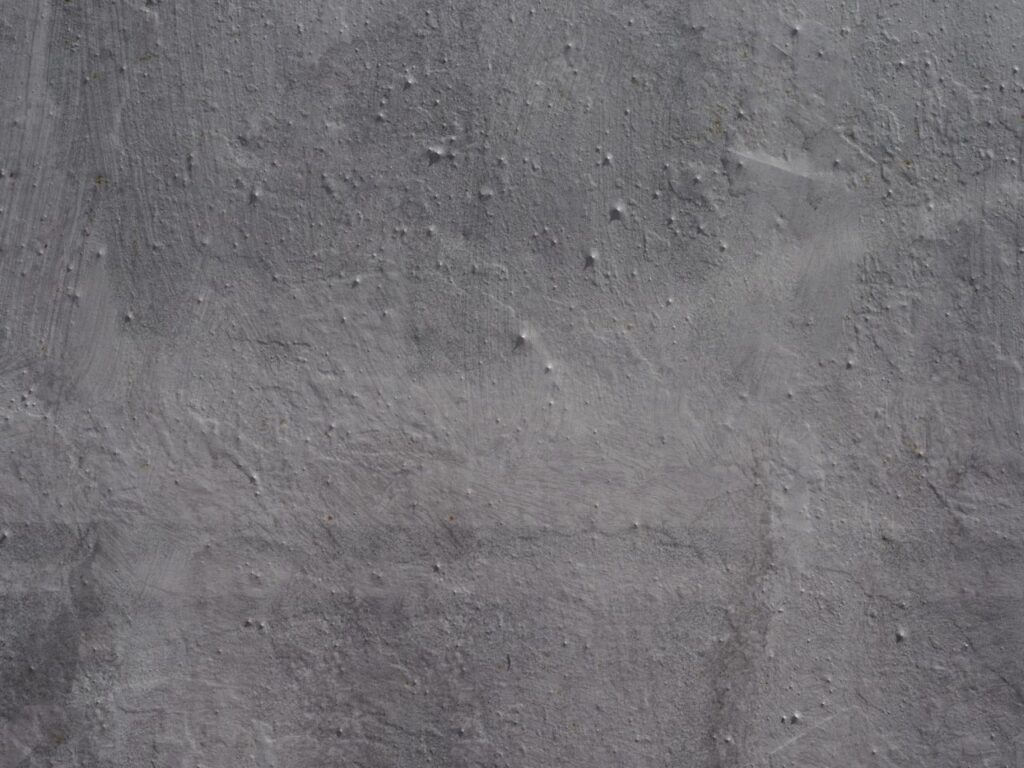
Sand The Skim Coat After It Has Dried
We must wait until the skim coat has dried completely. It should be dry in an hour or two at the most. Then, sand the surface lightly with drywall sandpaper that has a fine grit to finish.
Conclusion
Applying a small layer of the material over an existing surface smooths out imperfections like cracks and uneven textures. As it makes a surface ready for paint, wallpaper, or other ornamental finishes, this technique sees widespread use in both industrial and residential construction. Traditional, roll-on, ready-mixed, spray, trowel, and trowel-on skim coat plastering applications are all viable options.
Roll-on plastering is efficient and effective for smaller areas or touch-ups, while traditional skim coat plastering requires priming the surface to remove dirt, dust, and other pollutants. Quickly and easily get a consistent look for your walls and ceilings with ready-mixed skim coat plaster, which is available in a wide range of formulations and textures. Skim coat plaster applied using a spray gun, or hopper gun is modern and efficient, allowing for quick and even coverage.
Plastering walls and ceilings using a skim layer applied with a trowel is a tried-and-true technique that gives you a lot of leeway in terms of design and customisation. Skim coat plastering is a flexible and inexpensive way to enhance the look and longevity of walls and ceilings.
Concrete, drywall, masonry, and painted walls are just some of the substrates that it is compatible with. This qualifies it for use in both brand-new builds and remodels. Skim coat plastering is a low-cost option that enables invisible repairs with minimal visual impact. It's a time-saving modern alternative to more laborious processes, and the smoother surface it creates makes it ideal for painting or wallpapering.
Due to its increased durability and resistance to water and marks, the skim coating requires less upkeep. It protects the surfaces from wear and tear, like cracks and wetness, and makes them stronger and more durable as a result.
Wallpaper damage, fresh installations, and unattractive surfaces are all good candidates for its application. A thin skim coat creates a smooth, uniform surface that is ready for retexturing, priming, and painting when it has dried. Rather than tearing down the walls and starting over, you can simply apply a skim coat to bring back their former glory at a fraction of the expense.
The first step is to apply one or two thin coats of primer to the wall and let it dry before proceeding. You'll need a 5-gallon bucket, a drywall sanding screen with fine grit, a 9-inch paint roller cover, an extension pole, and a 12-inch drywall knife, among other tools.
We use painter's tape, clean water, and an all-purpose lightweight drywall compound. Tape drop cloths to the floor and baseboards and turn off the lights to prepare the work area for skim coating.
Make sure the drywall compound you're using has a thicker, stickier consistency by mixing it in accordance with the directions provided. Spread the compound across an area 2 feet wide and 8 feet high, maintaining a consistent thickness and layering it on evenly.
Use a 12-inch knife to skim the first section, focusing more pressure on the left side and scraping off extra drywall compounds in the columns. Use the same method on the remaining pieces to eliminate imperfections and minimise sanding. Once the skim coat has dried, you can finish it off by lightly sanding it with fine-grit drywall sandpaper.
Content Summary
- Skim coat plastering is a technique used to achieve a smooth and perfect finish on walls and ceilings.
- It involves applying a thin coat of plaster to an existing surface.
- Skim coat plastering covers flaws such as cracks and uneven textures.
- It is commonly used in both commercial and domestic construction projects.
- The method prepares the surface for paint, wallpaper, or other decorative finishes.
- Skim coat plastering is a compromise between three coats of plaster and simply taping and coating drywall joints.
- It provides some of the quality and character of real plaster while maintaining the efficiency and speed of using a wallboard.
- Prior experience with a trowel is helpful before attempting skim coating.
- Traditional skim coat plastering is a common practice for achieving a smooth and uniform finish on walls and ceilings.
- It allows for easy alteration of surfaces and dramatic improvements in appearance.
- The process starts with priming the surface and ensuring it is free from dirt and contaminants.
- Cracks, holes, and other flaws are patched and repaired before applying the skim coat plaster.
- Roll-on skim coat plastering is a time-saving and effective method for achieving a flawless finish.
- A plaster mixture is rolled onto the surface using a paint roller or specialised skim coat roller.
- It is suitable for smaller areas or touch-ups.
- Surface preparation is essential before applying the roll-on skim coat plaster.
- The floor must be clean, dry, and free from debris, and any damage or bumps should be levelled out.
- Ready-mixed skim coat plastering provides a quick and easy way to achieve a uniform finish.
- It involves using pre-packaged plaster that can be purchased in bags or containers.
- Surface preparation is crucial, including filling cracks and holes before applying the plaster.
- Ready-mixed skim coat plaster comes in various formulations and textures to meet different project needs.
- Spray-on skim coat plastering is a modern and effective method for covering large areas quickly and uniformly.
- It involves using a spray gun or hopper gun to apply the skim coat plaster.
- Surface preparation is important for achieving adhesion and smoothness.
- Trowel-on skim coat plastering is a flexible method that allows for a high degree of control and customisation.
- It is favoured by experts for creating a smooth and professional finish.
- Surface preparation is crucial before applying the skim coat plaster with a trowel.
- Skim coat plastering improves the appearance of walls and ceilings by disguising flaws and uneven textures.
- It provides versatility and can be applied to various surfaces such as concrete, drywall, masonry, and painted surfaces.
- Skim coating is an economical solution to enhance the look of walls and ceilings without costly replacements or renovations.
- It allows for seamless repairs of plastered surfaces, making minor imperfections virtually undetectable.
- Skim coat plastering prepares the surface for paint or wallpaper, ensuring a smooth finish.
- It offers a quick and efficient alternative to traditional methods, reducing drying time and minimising disruptions.
- Skim-coated surfaces are easier to maintain, as the smooth finish is more durable and resistant to marks and smudges.
- Plastering with a skim coat increases the durability and longevity of walls and ceilings, protecting them from damage.
- Skim coating is ideal for repairing walls damaged during wallpaper removal.
- It provides a smooth surface for painting and priming, ensuring an even finish.
- Skim coating is recommended for new drywall installations to achieve an even painting surface and minimise the visibility of tape joints.
- The technique helps prevent "flashing" or uneven absorption of.
FAQS About Coat Plastering
The drying time for skim coat plaster can vary depending on factors such as humidity, temperature, and the type of plaster used. Generally, skim-coat plaster takes around 24 to 48 hours to dry completely. However, it is essential to allow sufficient drying time before proceeding with any further steps or finishes to ensure a durable and long-lasting result.
Yes, skim-coat plastering can be done on uneven surfaces. Skim coat plaster is designed to smooth out imperfections and create a level surface. It can hide minor cracks, dents, or uneven textures on walls or ceilings. Proper surface preparation, such as filling holes or repairing damages, is crucial before applying the skim coat. The skilled application of skim coat plaster can help transform uneven surfaces into smooth and visually appealing finishes.
No, skim coat plastering is generally not suitable for exterior walls. Skim coat plaster is primarily designed for interior applications. Exterior walls are exposed to various weather conditions, moisture, and other external factors that can affect the durability and performance of skim coat plaster. For exterior walls, it is recommended to use specific exterior-grade materials that are designed to withstand the elements and provide adequate protection. These materials are typically more durable and weather-resistant than skim coat plaster, ensuring the longevity and integrity of the exterior surfaces.
Yes, you can paint directly over skim-coat plaster. Skim coat plaster provides a smooth and even surface suitable for painting. After the skim coat has dried completely, apply a primer followed by your desired paint colour. The primer helps the paint adhere to the surface and promotes even coverage. Follow the manufacturer's instructions for the primer and paint products you choose. Painting over skim-coat plaster is a common practice and can help enhance the appearance of your walls or ceilings.
The longevity of skim coat plaster can vary depending on several factors, including the quality of the materials used, the application technique, and the level of maintenance. Generally, a well-applied skim coat plaster can last many years without issues. Proper care and maintenance can maintain its durability and appearance over an extended period. However, it is important to note that external factors such as moisture, humidity, and physical impacts can affect the lifespan of skim coat plaster. Regular cleaning, avoiding excessive moisture, and promptly addressing any damages can help prolong skim coat plaster's lifespan.