Have you ever had the misfortune of dealing with lumpy, uneven plaster? If so, you’re not alone. Many people face issues with clumping during plaster mixing, which can lead to an uneven finish.
However, by following a few simple steps, you can ensure a smooth and flawless plaster mix for your next project.
In this article, we’ll go over common plaster mixing mistakes and how to avoid them to achieve professional results.
Let’s get straight to the point
To avoid clumpy plaster and achieve a smooth finish, follow these tips: Use the correct water-to-plaster ratio, slowly add plaster to water while stirring, and avoid overmixing to prevent air bubbles.
Let the mix rest to ensure uniformity, and always use clean tools. Avoid common mistakes like applying thick layers or failing to cure plaster properly, which can cause defects like blistering, cracking, or efflorescence.
Proper surface preparation, thin layering, and adequate drying time are key to avoiding plastering issues and ensuring a professional result.
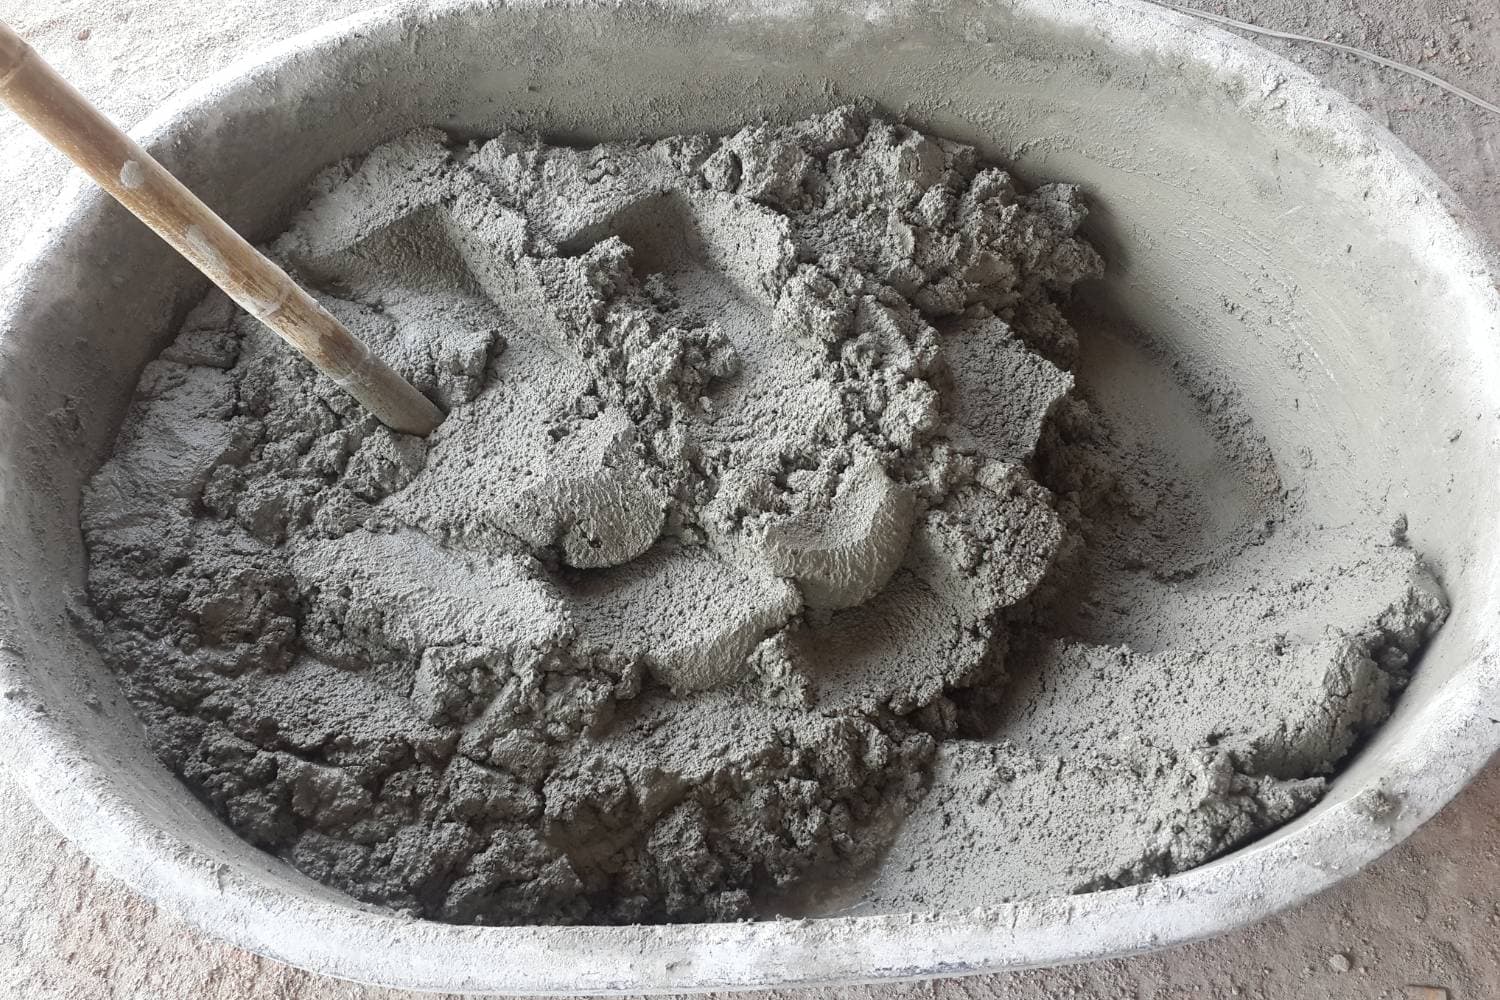
The Basics of Plaster Mixing
Before diving into the mistakes, it’s important to understand the basic process of mixing plaster.
Mixing plaster is relatively straightforward but needs to be done carefully to avoid clumping and achieve a consistent texture. The fundamental steps include:
Gather Your Materials
You’ll need plaster powder and fresh water for your mix. The type of plaster you choose depends on your project—whether it’s gypsum, lime plaster, or another type. Be sure to select the right plaster for the job.
Measure the Water
The water-to-plaster ratio is key to a smooth finish. Always follow the manufacturer’s guidelines, as the recommended ratio can vary between plaster types.
For example, the typical ratio might be 1 part water to 2 parts plaster, but this may differ depending on the specific product.
Prepare Your Mixing Container
Use a clean, large container that can hold all the plaster you’ll need for your project. Having enough room to stir the mix without spillage is essential.
Add the Water First
Start by adding the measured water to the container. This step helps to reduce the risk of clumping, as dry plaster added to the water will absorb more evenly.
Gradually Add the Plaster
Slowly add the plaster powder to the water while stirring in one direction. Stirring in one consistent direction helps to prevent air bubbles and lumps from forming in the mix.
Continue Mixing
Keep stirring until you achieve a smooth, creamy consistency. This may take several minutes of continuous mixing. If you spot any dry lumps, keep stirring until the mixture becomes fully uniform.
Let the Plaster Rest
Allow the plaster to rest for a few minutes before giving it a final stir. This slaking period allows the plaster particles to absorb the water fully, resulting in maximum workability.
Stir Again (Optional)
After resting, stir the plaster one more time to ensure it’s smooth. Avoid overmixing, which can lead to air bubbles in the mix.
Common Plaster Mixing Mistakes to Avoid
Even with the basics down, there are several common mistakes that DIYers and professionals alike make when mixing plaster. Let’s go over these mistakes and how you can avoid them.
1. Incorrect Water-to-Plaster Ratio
One of the most common mistakes is using the wrong amount of water or plaster. Too much water can cause the plaster to be too thin, making it weaker and more prone to cracks. On the other hand, too little water will result in a lumpy, hard-to-mix paste.
How to Avoid It:
- Follow the manufacturer’s instructions for the specific plaster you are using.
- Measure both the water and plaster precisely to ensure a proper mix.
2. Adding Plaster Too Quickly
Dumping the plaster into the water all at once can lead to clumping and an uneven mix. This is because the powder doesn’t have time to absorb the water properly, leading to lumps that are hard to remove later.
How to Avoid It:
- Slowly add the plaster into the water while stirring.
- Ensure you stir in one direction to prevent clumps and air bubbles.
3. Overmixing the Plaster
While it’s important to ensure the plaster is mixed well, overmixing can introduce air bubbles into the mix. These bubbles can cause issues with the final finish, creating a rough or uneven surface.
How to Avoid It:
- Stir until the plaster is smooth and consistent, but don’t keep mixing after this point.
4. Not Letting the Plaster Rest
Skipping the resting period (slaking) is a mistake that can lead to an inconsistent mixture. Resting allows the plaster particles to fully absorb the water, giving you a smoother and easier-to-use mix.
How to Avoid It:
- Let the plaster rest for a few minutes after mixing, then give it a final stir.
5. Using Contaminated Tools or Water
Any impurities in your water or mixing container can cause lumps and other defects in the plaster. Even small amounts of dirt or debris can affect the texture of the mix.
How to Avoid It:
- Always use clean tools and fresh water when mixing plaster.
- Ensure your container is free from any dried plaster or contaminants from previous mixes.
Tips for Avoiding Common Plaster Defects
Beyond clumping, there are other common defects that can arise from improper plaster mixing. Let’s discuss how you can avoid these issues.
Inadequate Surface Preparation
Plaster won’t adhere well to surfaces that haven’t been properly primed or cleaned. This can lead to blistering, cracking, or uneven finishes.
How to Avoid It:
- Clean and prime the surface before applying the plaster.
- Make sure the base layer of plaster is smooth and even to set the foundation for the topcoat.
Applying Plaster in Thick Layers
Thick layers of plaster may not dry evenly and can lead to cracking as the plaster shrinks. Thicker layers also take longer to dry, which can trap moisture and cause mould or efflorescence.
How to Avoid It:
- Apply plaster in thin, even layers.
- Let each layer fully dry before applying the next one.
Failing to Cure the Plaster Properly
Plaster needs time to cure properly before painting or applying other finishes. Rushing this process can result in soft spots or cracking.
How to Avoid It:
- Ensure the plaster has adequate drying time.
- Avoid exposing fresh plaster to moisture or extreme temperatures.
Common Plastering Defects and How to Fix Them
Even when mixing the plaster properly, certain defects can occur due to environmental factors or application errors. Below are some of the most common plastering defects and their solutions.
Blistering
Blistering occurs when small areas of plaster bubble up on the surface. This can happen due to improper mixing or applying plaster to a damp surface.
How to Fix It:
- Ensure the surface is dry and properly prepared before applying plaster.
- Mix the plaster carefully to avoid bubbles.
Cracking
Cracks in plaster can range from hairline fractures to larger gaps. These typically occur due to improper drying or applying too-thick layers of plaster.
How to Fix It:
- Use thin layers and let each layer dry completely before adding the next.
- Avoid exposing the plaster to extreme heat or moisture while drying.
Efflorescence
Efflorescence is a white, powdery residue that forms on the plaster surface due to salts in the plaster mix or the wall materials.
How to Fix It:
- Avoid using plaster with excessive salt content.
- Ensure the wall and plaster are completely dry before applying paint or other finishes.
Conclusion
Mixing plaster may seem simple, but avoiding common mistakes is crucial to ensure a smooth, clump-free mixture.
Always follow the recommended water-to-plaster ratio, pour the plaster into the water slowly, and avoid overmixing. Let the plaster rest for a few minutes to ensure a uniform mix, and apply it immediately once it’s ready.
By taking these steps, you can achieve a smooth, professional finish and avoid issues like blistering, cracking, or efflorescence. With the right techniques, you’ll make sure that your next plastering job is flawless and long-lasting.
Frequently Asked Questions
What Is The Ideal Mixing Technique For Plaster To Avoid Clumping?
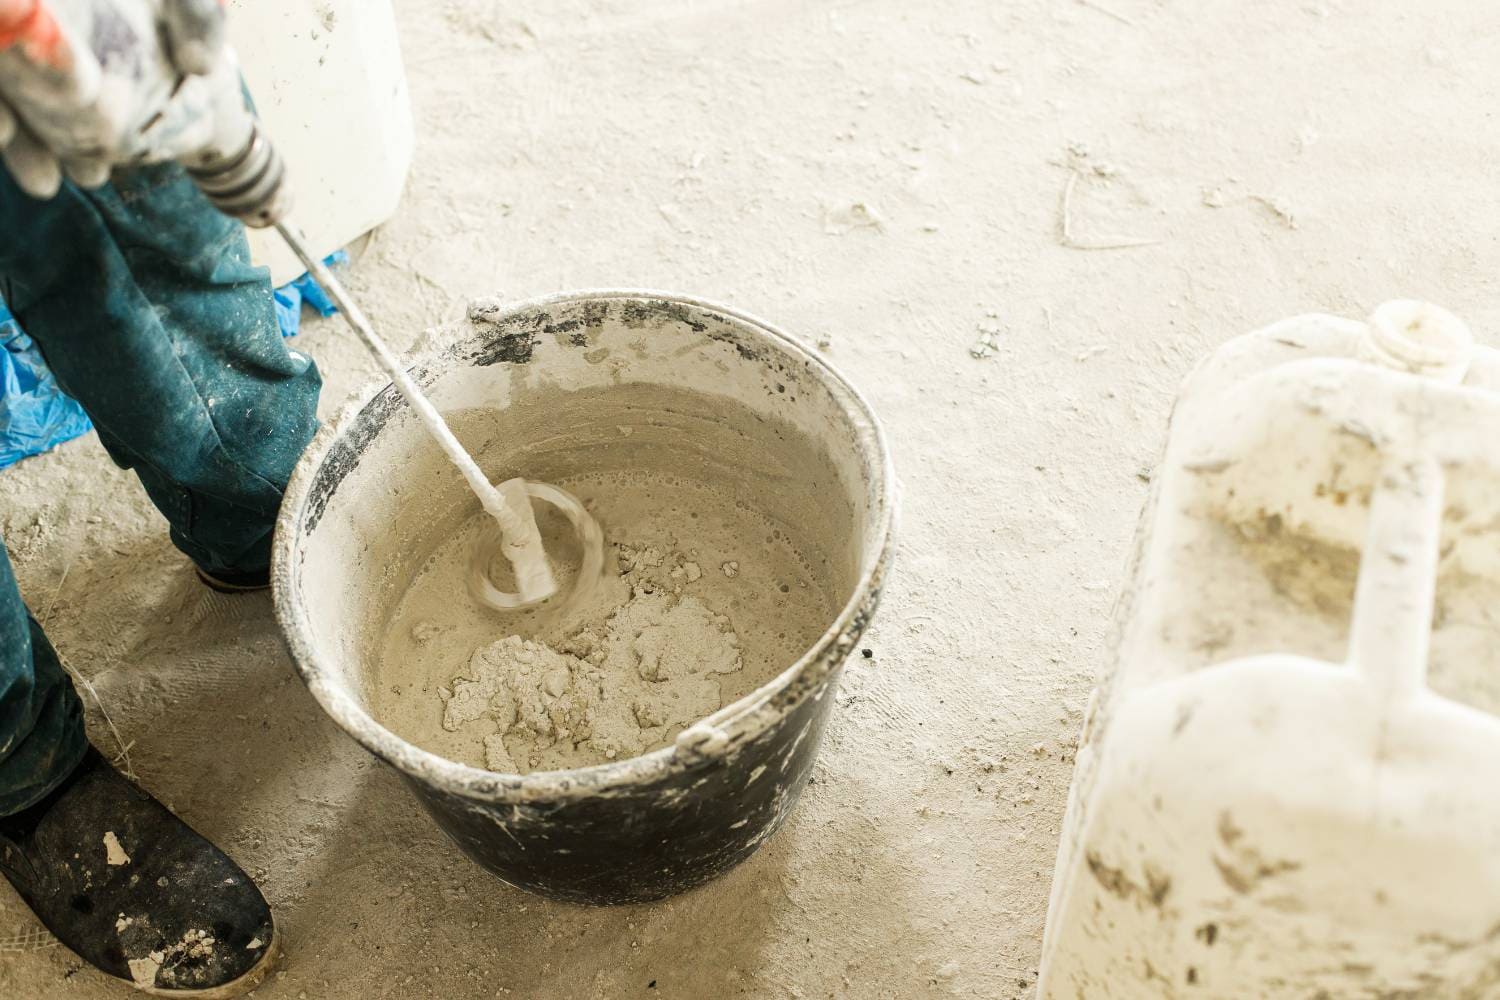
To avoid clumping, it’s essential to employ the proper mixing technique. Start by adding the plaster to the water gradually, rather than pouring the water into the plaster.
This helps prevent clumps from forming. Allow the plaster to absorb the water for a short time, and then begin mixing with a mixing paddle or a drill with a paddle attachment.
Use a smooth, circular motion while mixing to ensure even distribution of the plaster particles. Continue mixing until you achieve a smooth and lump-free consistency.
Can I Reuse Leftover Plaster Mix?
It’s generally not recommended to reuse leftover plaster mix. Once plaster has begun to set, it becomes difficult to remix and achieve a consistent texture.
Reusing old plaster can result in clumps and uneven drying, affecting the quality of your plasterwork.
It’s best to mix only the amount of plaster you need for each project to ensure optimal results.
How Long Should I Wait Before Applying Plaster To A Newly Mixed Batch?
After mixing plaster, it’s recommended to allow it to rest for a short period, usually around 2 to 3 minutes.
This resting time allows the plaster particles to fully absorb the water, ensuring a smoother consistency and reducing the likelihood of clumping.
However, it’s important to follow the specific instructions provided by the manufacturer, as different types of plaster may have varying resting times.
What Should I Do If My Plaster Mix Becomes Too Runny?
If your plaster mix becomes too runny, you can gradually add small amounts of additional plaster to thicken it.
Sprinkle the plaster evenly over the mixture and mix thoroughly after each addition until you reach the desired consistency.
Take care not to add too much plaster at once, as it can lead to an overly thick mixture. Adjust gradually until you achieve the desired balance of thickness and workability.
Can I Mix Different Brands Or Types Of Plaster Together?
It’s generally not recommended to mix different brands or types of plaster together unless specified by the manufacturers.
Each brand and type of plaster may have variations in composition, setting time, and compatibility with other materials. Mixing different plasters may result in unpredictable reactions, uneven drying, or clumping.
To ensure consistent results and optimal performance, it’s best to use a single brand and type of plaster for each project.