Do you intend to apply a new, sleek coating on your walls? What goes into plastering for that professional finish? Learning about the plastering process's phases will equip you to handle each step easily.
Each step, from cleaning and priming to the final coat, is essential in producing a professional result. Let's look at the steps in plastering a wall and find out what makes a finished product look so polished.
Plastering is a multi-step process that culminates in a finished product. The first step in applying a primer is cleaning the surface of any debris. Scratch coat, or base coat, application comes next.
This coat serves as a sturdy base for the rest of your ensemble. The next step is to apply a floating coat, which fills up any irregularities and creates a smooth surface. The last layer is applied with great care, giving the wall its final texture and gloss. Skill and precision are required at each phase so the final plastered product turns out beautifully.
However, these are merely the preliminary steps.
We consulted a well-known expert in the field to learn more about plastering. They have worked in this field for over 20 years and understand the subtleties involved at every step.
You may turn your walls into pieces of art with the help of his insightful advice on everything from selecting the appropriate materials to perfecting the necessary methods. Join us as we investigate how plaster is applied in various ways and discover expert techniques.
When it comes to protecting your home from unwanted intruders, like pests, a well-maintained plastered surface can play a significant role. Plastering not only enhances the aesthetic appeal of your walls and ceilings but also acts as a defensive barrier against pests.
Let's dive into the key stages of plastering and discover how they contribute to pest control. Starting with the preparation stage, it's crucial to ensure that any existing cracks or crevices are filled and sealed properly.
These tiny gaps can serve as entry points for pests, allowing them easy access into your home. By meticulously plastering over these vulnerable areas, you create a solid defense system, making it difficult for pests to infiltrate your living space.
Stages Of Plastering
DIY plastering novices may seek a polished aesthetic that mimics that of a paid contractor's work. Having an uneven wall irritating you every time you pass by is the last thing you want.
Plastering is a craft, and there is much to be said for sticking to tried-and-true methods in pursuit of a flawless result. Each step of the plastering process is crucial to the final product. As a result, we've compiled this helpful manual to walk you through each one.
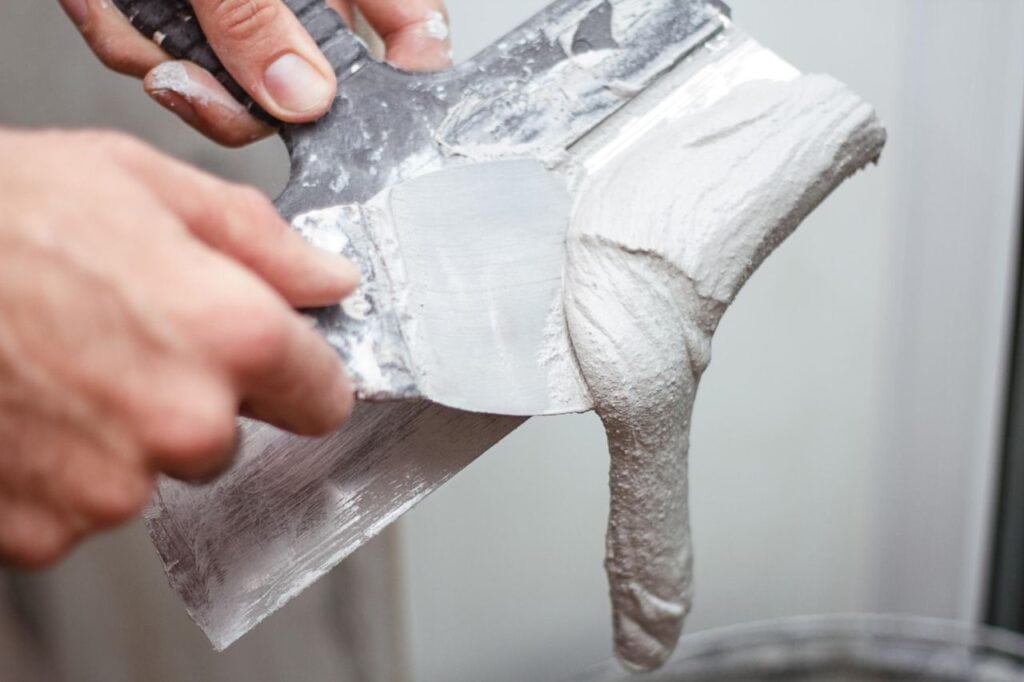
After the wall has been prepared for plastering, the suction has been adjusted so that the plaster doesn't dry too quickly, and the plaster has been mixed, the phases can begin.
First Stage
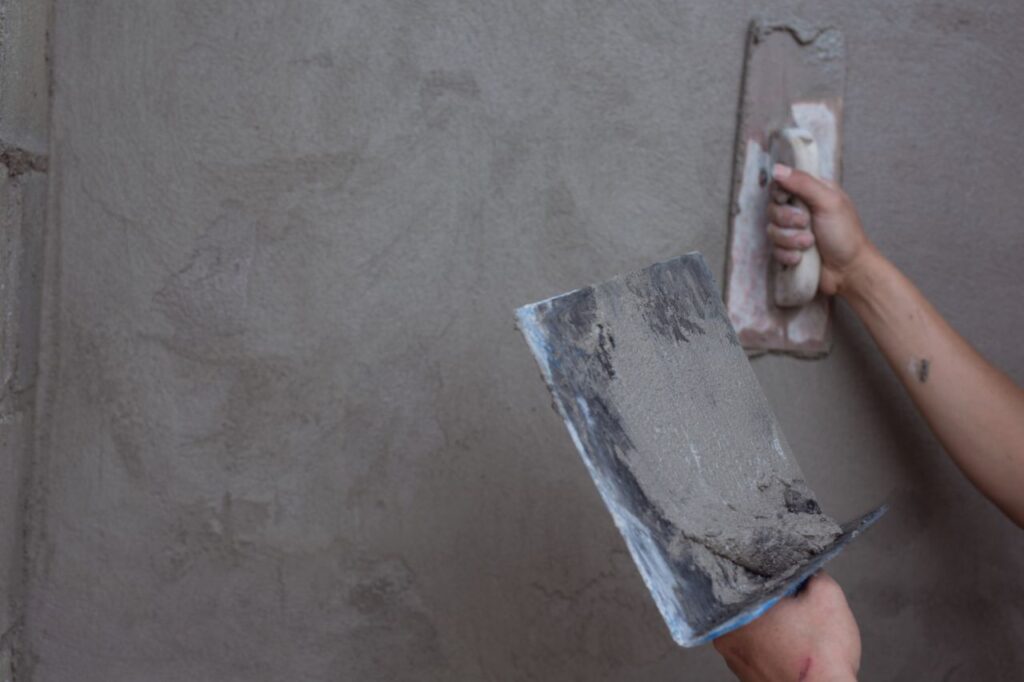
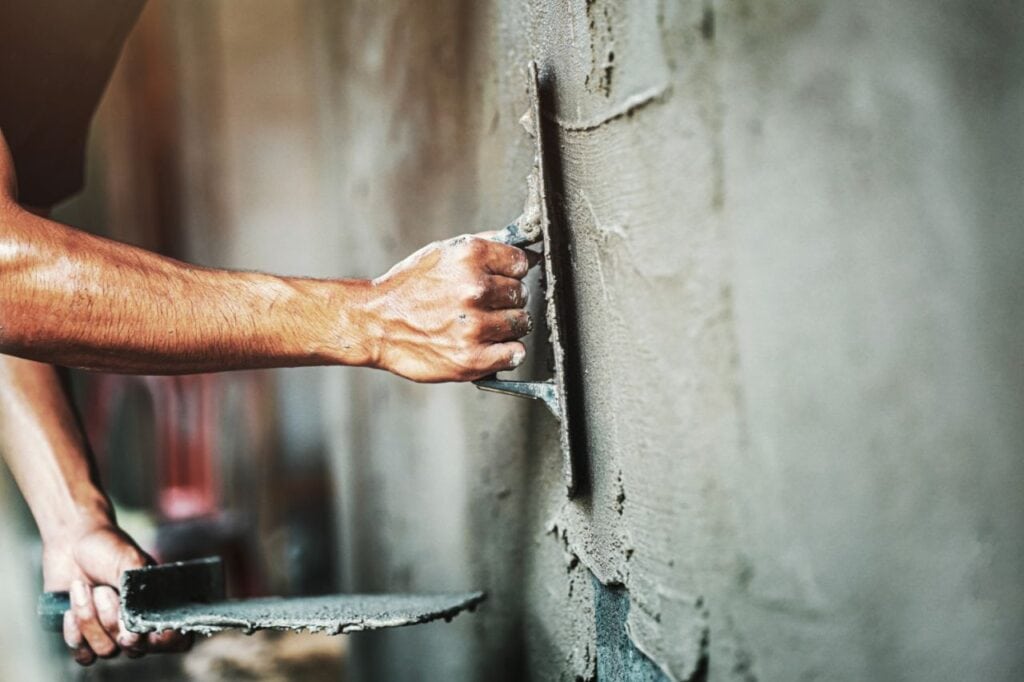
The initial coat of plaster, which should be around 2 mm thick, is applied at this stage.
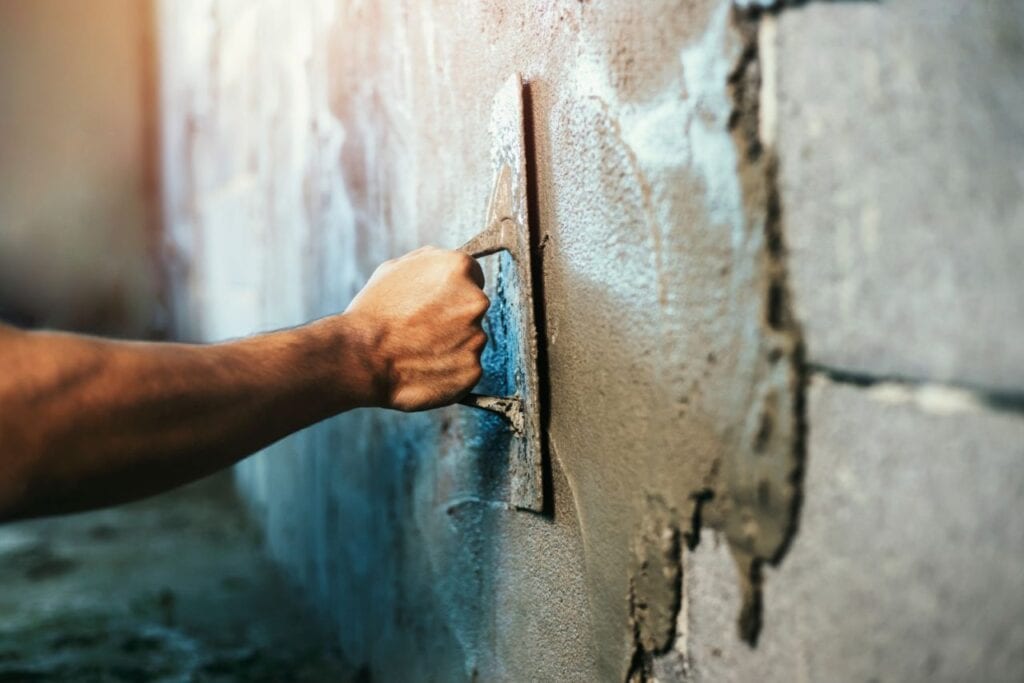
Using a long, sweeping motion, begin at an angle with the trowel's leading edge away from the wall and work your way towards the wall, smoothing the plaster as you go.
Try to achieve a smooth, level surface with no bumps in the first layer; ridges and trowel marks can be smoothed out in subsequent coats.
Second Stage
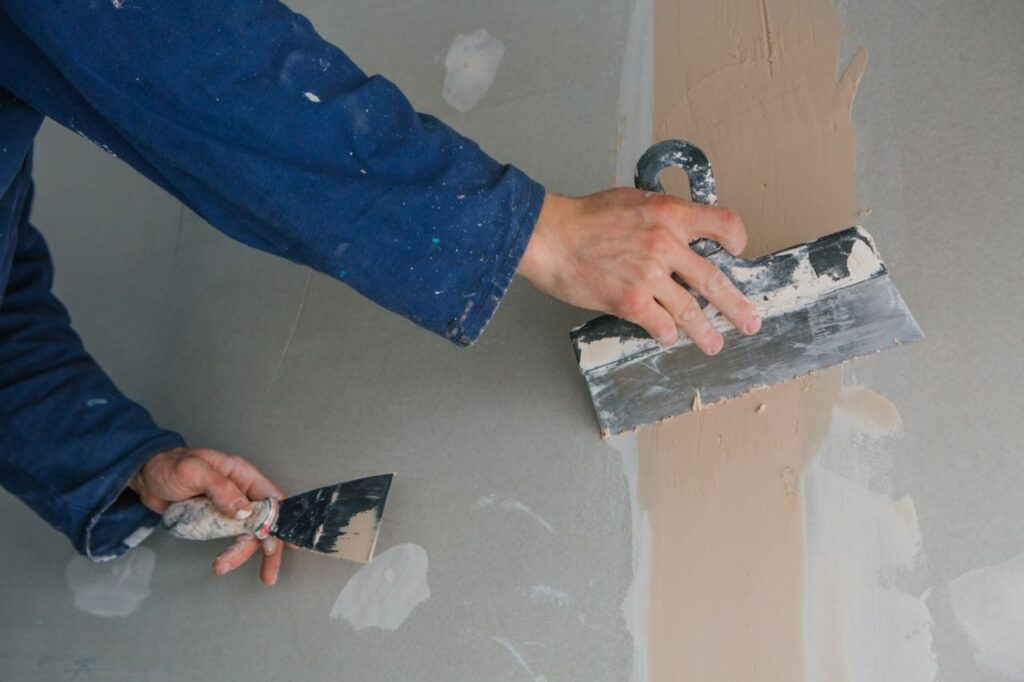
As the plaster sets, you can smooth down the initial coat with a clean trowel, eliminating any bumps. The trick (as with most plastering) is to push firmly while moving the trowel in long strokes across the wall, keeping the leading edge of the trowel about 10–15 mm from the surface.
Third Stage
The second coat of plaster is put immediately following the completion of stage two. The second phase is identical to the first, except that you use half as much plaster, half as much thickness, and even firmer pressure to minimise the holes in the plaster. Don't fret too much if you make holes; they'll be taken care of in the next step. Save time trying to patch up the holes now because you risk drying up the surrounding plaster if you do.
Fourth Stage
Here, you may smooth out the plaster and patch any damage. The plaster needs to be tacky and malleable so that it can be pressed into the holes, but it can be dry, or more holes will be created. To avoid dragging or scraping:
- Run the trowel over the wall at an angle of about 10-15 mm, as before.
- Apply steady pressure without concern for creating ridges, as they will be smoothed down later.
- Keep an eye out for holes as you work around the wall; if you find any that won't fill, add more plaster and smooth it out, no matter how hard you press on the trowel.
Most holes should be filled at this step, but again, don't spend too much time on it.
Fifth Stage
You'll trowel down the plaster firmly to smooth out any bumps. If the plaster is firm and difficult to move, you can expand the angle of your trowel on the wall to help push it around; just be cautious not to scrape it off.
Sixth Stage
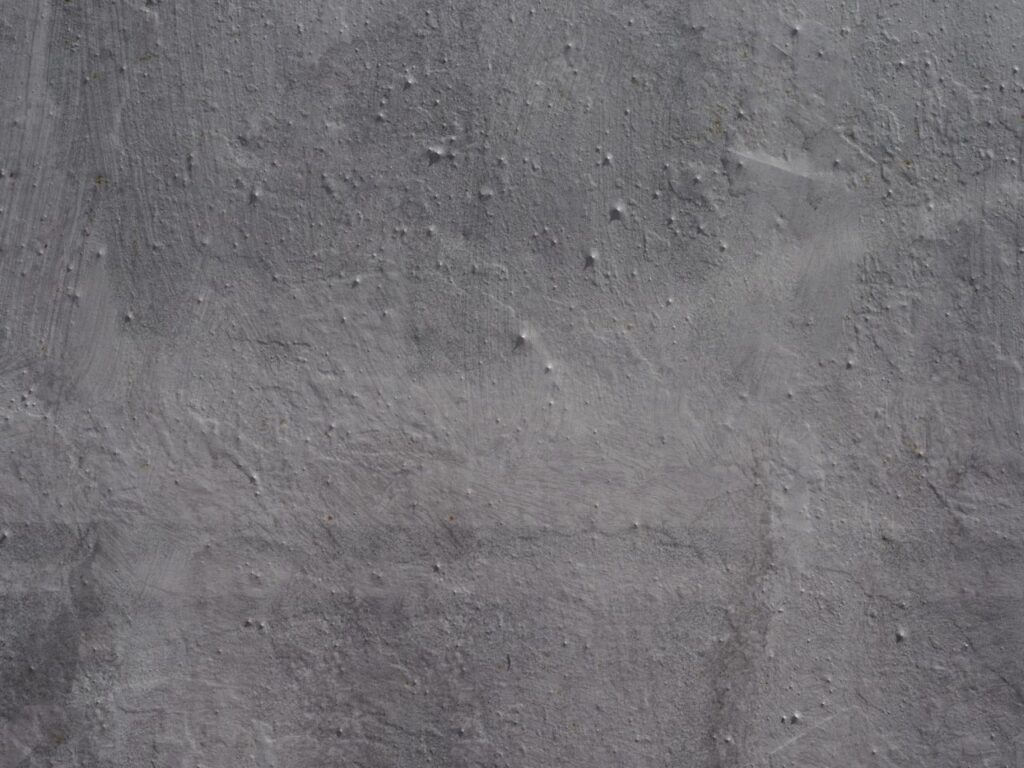
You should have a smooth, even surface at the end of the six-step plastering process. As the plaster dries, a darkening process occurs. At this point, you can finish the wall by running the trowel over it firmly.
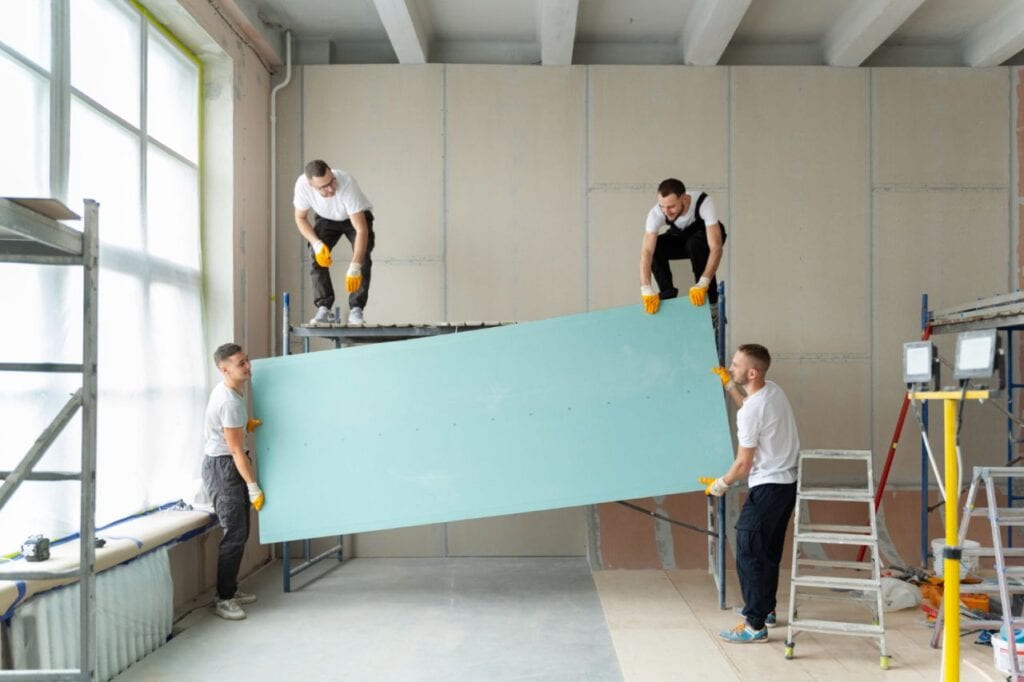
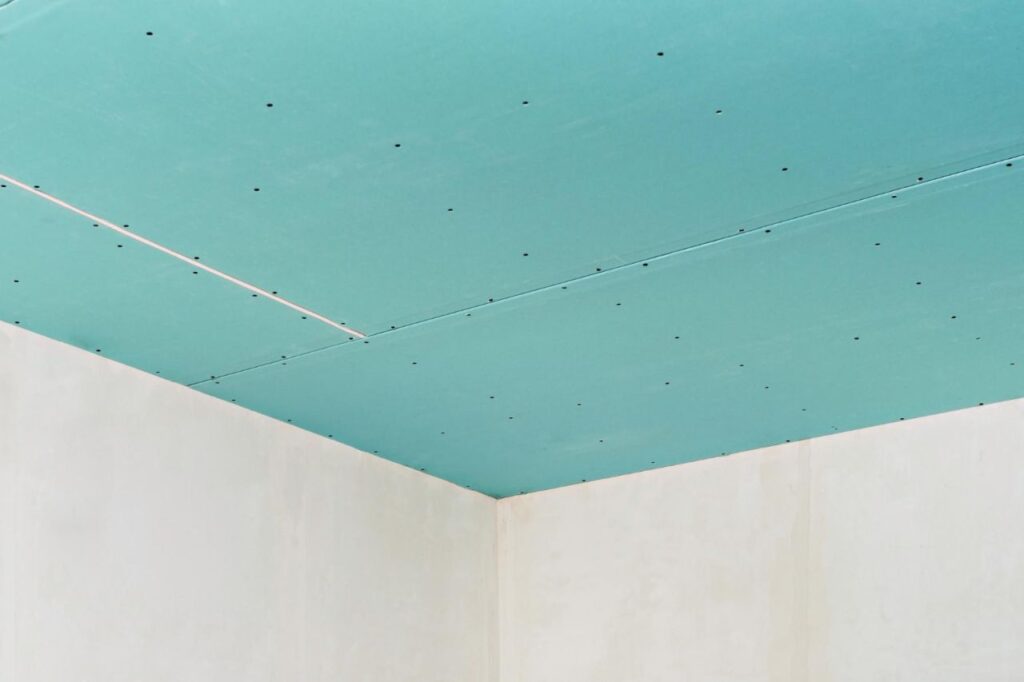
What Are The Levels Of Finish For Plasterboard?
When it comes to wall renovations, achieving the right level of finish for plasterboard is crucial to ensure the quality and aesthetics of the final result. Whether you're a professional in the field or a homeowner undertaking a DIY project, understanding the specifications set by the Standard Gypsum Linings Application and Finishing is essential.
This article explores the various levels of finish for plasterboard, considering factors such as decoration finish, lighting conditions, and the location within the building or structure.
Importance of the Finish:
The choice of finish greatly impacts the overall appearance of walls and ceilings during construction, remodeling, or refurbishment projects. Therefore, it is vital to consider multiple elements before making a decision.
Concealing Imperfections:
Ceilings tend to reveal imperfections more prominently than walls due to the angle of observation. To address this, employing a textured or flat finish can effectively conceal surface flaws, ensuring a smoother and more visually appealing outcome.
Strategic Use of Surface Features:
Strategically incorporating surface features such as recesses can help break up the visual plane of a celing or wall. By creating visual distractions, these features divert attention away from any underlying faults, resulting in a more cohesive and polished finish.
Hiding Flaws with Painting Techniques:
Certain painting techniques, such as the crow's foot method, excel at concealing imperfections. By skillfully applying paint in a specific pattern, flaws and irregularities can be effectively camouflaged, enhancing the overall visual appeal.
The Role of Colors:
The choice of color can significantly impact how well flaws are disguised. Lighter colors, due to their greater reflectivity, have a better ability to conceal imperfections compared to darker shades. When aiming for a flawless finish, opting for lighter hues can help achieve a more seamless and refined look.
Reducing the Impact of Strong Light:
When used in well-lit areas, the rolling technique can produce a subtle orange peel look. This method reduces the visibility of imperfections by scattering light across the textured surface, resulting in a softer and less glaring appearance.
Benefits And Drawbacks Of Plastering
Have you ever wondered how many houses and buildings manage to have such immaculate walls and finishes? Plastering is where you'll find the answer. Plastering is a time-tested method that ancient and modern civilisations have used. The question is, what are the pros and cons of this time-tested method today?
Let's explore the realm of plastering more deeply to see what it offers.
Plastering is frequently used for interior and exterior surfaces because of its many benefits.
Plastering improves a room's visual attractiveness by creating a smooth, uniform surface. It also adds a protective layer, strengthening walls and ceilings and increasing their longevity.
Plastering has many benefits, but it also has some downsides that should be considered. It is time-consuming because it calls for great craftsmanship and careful attention to detail. Plastering may only be appropriate for some surfaces, and if done correctly, it can eventually fracture or peel.
Benefits of Plastering
Aesthetic Appeal
The finished product of a plaster job is aesthetically pleasing and improves the look of the room as a whole. It provides a flat, even surface that can be painted, wallpapered, or just left as-is for a sophisticated appearance.
Durability
Plaster is a durable substance that will last a long time. A well-applied layer of it will be strong and protective, able to resist the rigours of daily use. It aids in preventing holes, cracks, and other sorts of damage to walls and ceilings.
Improved Acoustics
Plaster's ability to absorb sound can be useful in lowering the volume of noise that travels from room to room. It can help make a home or office more peaceful and conducive to productive work.
Fire Resistance
Plaster's inherent fire resistance makes it a good material choice for fire protection. It prevents fire from spreading and buys precious time for evacuating residents and arriving firefighters.
Thermal Insulation
Plaster has insulating properties and can be used to moderate indoor temperatures. It may help save money on heating and cooling bills by decreasing heat loss through the building's exterior walls and ceilings.
Drawbacks of Plastering
Cost And Labor-Intensive
Plastering is often a laborious and time-consuming process. Plastering is an expensive process since it requires the expertise of trained specialists to ensure an even and smooth finish.
Drying Time
There are many steps in the plastering process, including waiting for coats to dry. Delays in finishing a building or remodelling project may occur because materials are needed to dry.
Vulnerable To Moisture
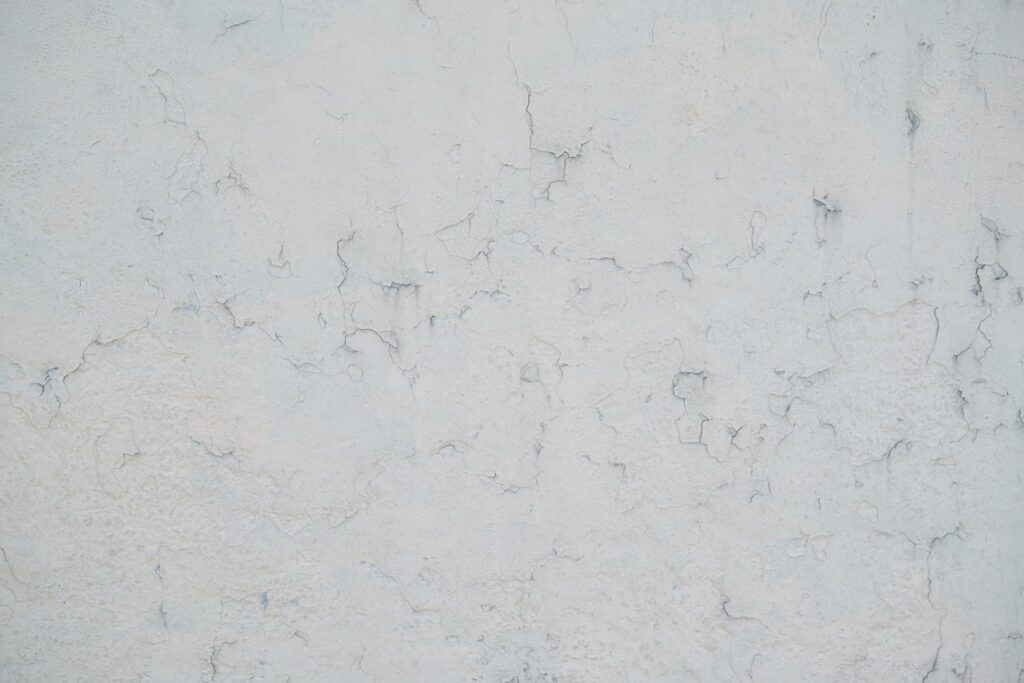
Plaster is resistant to water damage, although it can be compromised by humidity if it is not regularly maintained. Plaster can crumble, and mould can grow if it gets too wet or leaks.
Difficult Repairs
It can be difficult to fix damaged plaster. Skill and experience are usually required to achieve a perfect texture and finish match, resulting in an undetectable restoration. Sometimes, more chunks of plaster need to be broken out and replaced.
Limited Flexibility
Once applied and dry, the plaster hardens into a stiff structure. The inflexibility of the material makes it subject to fracture when the supporting structure shifts or settles.
Conclusion
Plastering is a complex procedure with a tangible end result. Methods include prepping the surface, applying the scratch coat, the floating coat, and the top coat.
The beauty of the finished plastered product depends on the skill and precision of each individual worker.
Inexperienced DIY plasterers may be aiming for a professional finish. Plastering is an art form in which meticulous attention to detail at every stage is crucial for success.
First, using a long, sweeping motion, apply a base coat of plaster that is 2 mm thick. Step two entails putting a second coat of plaster that is both thinner and more tightly pressed on than the first. Plastering over cracks and other imperfections is the fourth step.
To press the plaster into the holes, it must be tacky and flexible, but it must also be dry, or else new holes will be made. The essay focuses on the different plasterboard finishes and their respective merits.
Painting techniques, surface characteristics, and other methods of imperfection concealment all fall into this category. Ceilings, because of the angle of observation, show flaws more clearly than walls do, thus, a textured or flat finish can successfully hide deficiencies.
Some painting techniques, like the crow's foot method, are excellent at concealing defects, while the strategic incorporation of surface elements like recesses can help break up the visible plane of a ceiling or wall. Plastering has been around for a long time because of how useful it is for both interior and external surfaces.
The smooth, uniform surface it creates, the protective layer it adds, the strength it imparts, and the length of time it extends the life of the walls and ceilings all contribute to the room's aesthetic appeal.
The process is time-consuming and risky due to the potential for cracking or peeling. Plastering can add value in terms of aesthetics, durability, and shielding from intense light. Plaster is a long-lasting material that may protect surfaces like walls and ceilings from wear and tear.
It is more expensive and time-consuming to produce but has better acoustics, fire safety, and thermal insulation.
However, it often cracks when the underlying structure moves or settles because it absorbs moisture, is hard to repair, and has a low degree of flexibility.
Content Summary
- Learning about the stages of plastering equips one to achieve a professional finish on walls.
- The plastering process involves multiple steps, including cleaning, applying a scratch coat, floating coat, and final layer.
- Skill and precision are required at each phase of plastering to ensure a beautifully plastered product.
- Expert advice can help turn walls into pieces of art by selecting the right materials and perfecting the techniques.
- The first stage involves applying a 2 mm thick coat of plaster using long, sweeping motions.
- The second stage involves smoothing down the initial coat with a clean trowel to eliminate any bumps.
- The third stage includes applying a second coat of plaster with less thickness and firmer pressure.
- The fourth stage focuses on smoothing out the plaster and patching any damage.
- In the fifth stage, troweling down the plaster firmly helps to smooth out any bumps.
- The sixth and final stage results in a smooth and even plastered surface.
- Achieving the right level of finish for plasterboard is crucial for wall renovations.
- The choice of finish impacts the appearance of walls and ceilings during construction or remodelling projects.
- Using a textured or flat finish can conceal surface flaws on ceilings.
- Strategic use of surface features, such as recesses, can distract from underlying faults and create a polished finish.
- Certain painting techniques, like the crow's foot method, can hide imperfections in the plasterboard.
- Lighter colours are better at concealing flaws compared to darker shades.
- The rolling technique can reduce the impact of strong light by creating a faint orange peel effect.
- Plastering is a time-tested method used to achieve immaculate walls and finishes.
- Plastering improves a room's visual attractiveness and adds durability to walls and ceilings.
- Plastering can enhance acoustics and provide fire resistance.
- Plaster also offers thermal insulation properties.
- Plastering can be a labour-intensive process and requires expertise.
- Waiting for coats to dry can cause delays in finishing a project.
- Plaster is vulnerable to moisture and may require regular maintenance to prevent damage.
- Repairs to damaged plaster can be challenging and require skill and experience.
- Plaster hardens into a stiff structure and may be prone to fracture if the supporting structure shifts.
- Understanding the benefits and drawbacks of plastering helps in making informed decisions.
- Plastering offers aesthetic appeal and creates a flat, even surface.
- Plaster is a durable material that resists holes, cracks, and damage.
- Plastering can help with sound insulation and fire protection but requires careful maintenance.
FAQS About Plastering
It is generally not recommended to plaster directly over existing wallpaper or paint. For a proper plastering job, it is important to have a clean and stable surface. Wallpaper and paint may prevent the plaster from adhering well to the wall and can lead to peeling or cracking in the future. It is best to remove the wallpaper or paint, repair any damage to the wall, and then proceed with the plastering process on a clean substrate.
Plastering can be a challenging task that requires skill, experience, and knowledge of the proper techniques. While some small-scale plastering repairs or touch-ups can be done by individuals with DIY skills, larger projects or those involving extensive plastering work are best left to professionals. Hiring a professional plasterer ensures that the job is done efficiently, with a high level of craftsmanship, and reduces the likelihood of costly mistakes or subpar results.
The duration of each stage in plastering can vary depending on factors such as the size of the wall, the complexity of the project, and the experience of the plasterer. As a rough estimate:
- Surface preparation: This stage can take a few hours to a day, depending on the condition of the wall and the extent of repairs needed.
- Base coat application: Applying the base coat typically takes a day or two, allowing sufficient time for drying before the next stage.
- Skim coat application: Applying the skim coat usually takes a day, but it may require additional time for drying and any necessary touch-ups.
- Sanding and polishing: This stage can take a day or two, depending on the desired smoothness and perfection of the finish.
- Priming and painting: Priming usually takes a day to dry, and painting can take an additional day or more, depending on the number of coats and the drying time between them.
In some cases, it may be necessary to remove old plaster before applying a new layer. This is particularly true if the existing plaster is damaged, loose, or compromised in any way. Removing the old plaster allows for a clean and stable base for the new plaster layer, ensuring better adhesion and durability. However, if the existing plaster is in good condition and properly adhered to the wall, it may be possible to apply a new layer of plaster directly on top after proper cleaning and preparation.
Plastering can be done on external surfaces, but it requires specific materials and techniques to withstand weather conditions and provide adequate protection. External plastering often involves using specialized mixes, additives, and surface sealants that are designed to be more durable and resistant to moisture, temperature changes, and environmental factors. It is important to consult with a professional or specialized contractor to ensure the correct application and longevity of external plastering.