Have you had enough of dealing with plaster that cracks despite your best efforts? It's frustrating when plaster cracks because it's a useful and long-lasting material in construction and do-it-yourself projects. Several techniques exist, thankfully, to prevent the plaster from cracking.
In this piece, we'll go over the methods shown to prevent cracks in plaster effectively.
What Is Plaster?
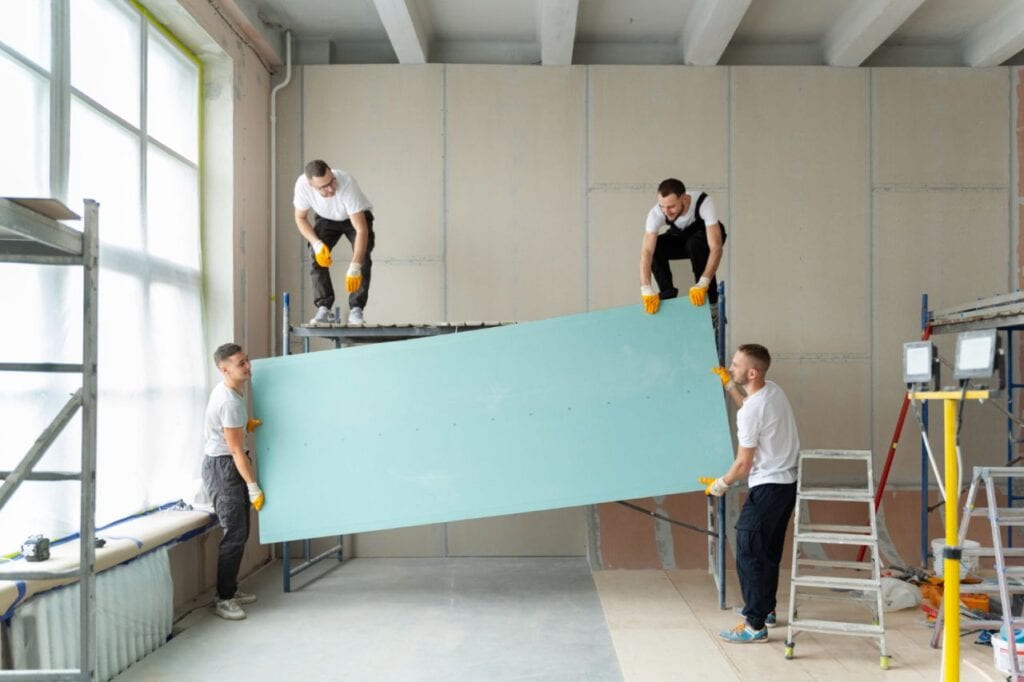
Plaster serves as a protective layer over the mortar, shielding the building from the elements and adding an extra layer of security to preserve the building's aesthetic value. The wall plaster is of various varieties.
A plastic mortar mix is thoroughly covered before it hardens to create plaster. A skilled mason can mould the plastering mortar into any form necessary. However, plaster thickness must be managed.
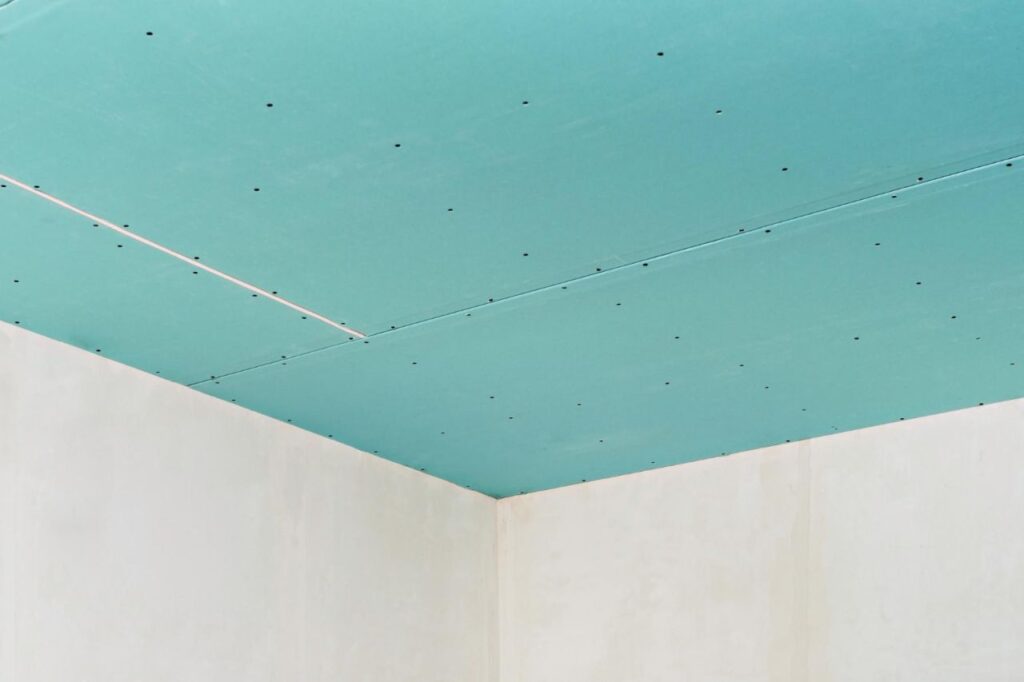
Plaster wall and ceiling templates moulded into various designs are becoming increasingly common.
Typically, plaster is applied to the visible portion of a structure. To make plaster mortar, fine, washed sand is combined with water, cementing material, and sometimes an admixture.
Plaster normally uses a 1:4 ratio, but other ratios, such as 1:6, 1:3, and so on, are adapted as needed and for specific types of plaster. Plaster cannot be applied to dry or too-wet mortar.
While plaster doesn't directly contribute to a building's structural integrity, it does serve to shield exposed structural elements like shear walls, beams, columns, and slabs from the damaging effects of the sun, rain, and other atmospheric elements.
Applying plaster with reinforcement fibres or mesh, however, ensures proper bonding to the entire structure and adds some structural strength. Walls are retrofitted with galvanised wire mesh in this process, which also goes by a few other names.
Plastering is most effective on rough surfaces, while steel and wood should be avoided due to a lack of bonding.
Dealing with cracks in plaster can be a common challenge, but understanding how to prevent them is essential not only for maintaining a visually appealing interior but also for enhancing pest control measures in your home.
One effective way to stop plaster from cracking is to ensure proper surface preparation. Before applying plaster, it is crucial to thoroughly clean and remove any loose particles or debris from the walls.
This helps create a strong bond between the plaster and the surface, minimizing the risk of cracks. Additionally, reinforcing the walls with a primer or sealant can provide an extra layer of protection, preventing moisture absorption and reducing the likelihood of cracks that can create entry points for pests. By addressing surface preparation, you create a more durable plastering foundation, reinforcing your home's defenses against potential pest infestations.
Common Causes Of Plaster Cracks
Having a nice place to call home is a priority for many people. Painting on freshly plastered walls is just one of the many ways we decorate our homes. Plastering is a crucial step in the building process because it evens out rough spots and provides a nice finish to the ceiling, walls, and other areas of the structure.
Good plaster quality can be maintained with an awareness of common plastering flaws. However, plaster defects can rapidly deteriorate. Therefore, it is essential to learn about the various types and root causes. Please read on to discover further details.
Blistering
Blistering occurs when tiny patches of plaster form and grow beyond the original plastered area. Air pockets form in a wall when the cement mortar is not mixed properly, and water gets inside.
Once the moisture issue has been resolved, the blister can be effectively treated by removing the damaged plaster and replacing it with a patch. Try using a joint repair compound for that fine plaster look that's so characteristic of older buildings. It dries quickly and can be painted to match the surrounding plaster.
Wall With Bubbled Plaster
Damp conditions can be a major contributor to plaster deterioration. This issue arises when the substance bubbles or expands to the sides due to extensive water damage. Mould growth is another potential outcome if the problem is fixed slowly.
Find the water's entry point and plug it in to fix the leak. First, clean the wall of debris and damaged plaster and let it dry. Next, the damaged area should be painted after being primed and sealed with an oil-based primer.
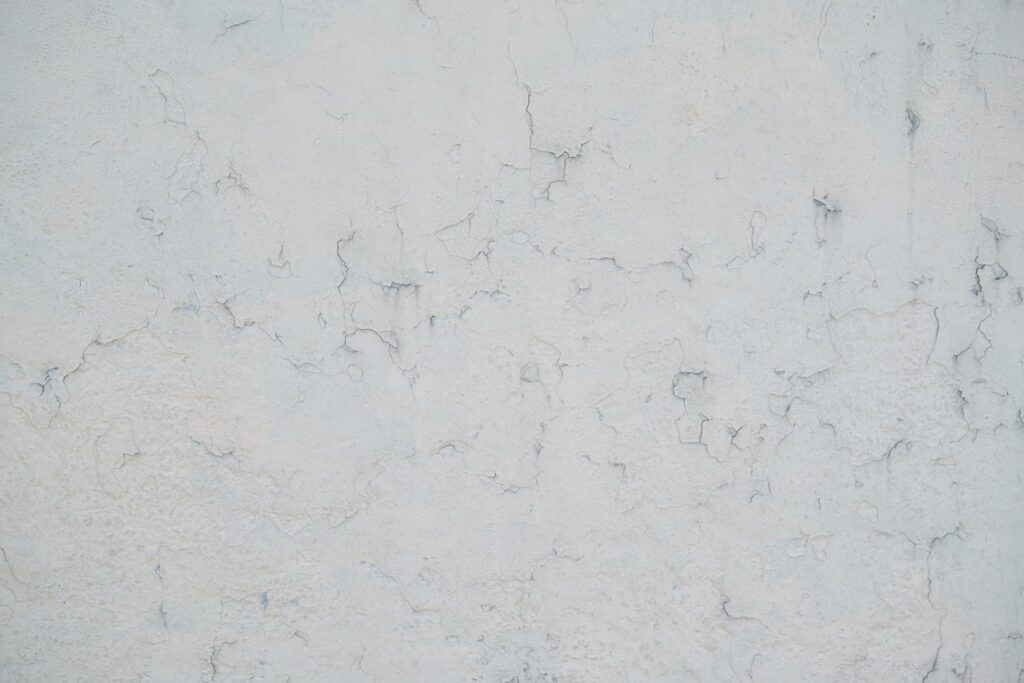
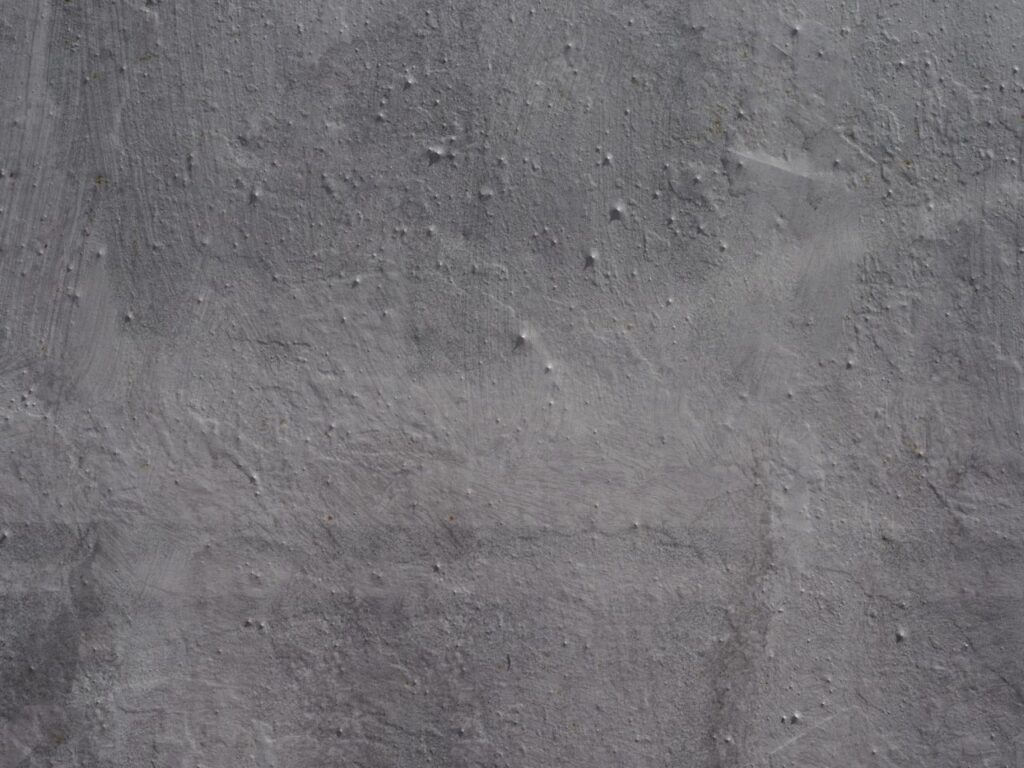
Cracked Plaster
It's the most typical problem people have. Plaster can crack in a variety of ways, including delamination cracks, hairline cracks, and settlement cracks. Numerous factors can cause these fissures to manifest. For example, bricks may contract due to shifting foundations or the thermal expansion and contraction of the roof.
The Softness Of The Plaster
When exposed to excessive moisture, plaster softens in localised areas. To put it simply, the more you think about it, the more ridiculous it sounds.
Debonding Plasters
Separation of the material from the wall constitutes this flaw. If the area of debonding grows, it will be necessary to undertake more extensive repair work.
If the walls are dirty or oily, carefully wipe them down. Before being plastered, the walls should be coated with a cement slurry or splatter dash. If you want to prevent debonding problems in the future, add bonding liquids last.
Uneven Plaster Surface
Inadequate craftsmanship leads to discrepancies in the finishing plane of the plastered surface, which in turn leads to an uneven plastered surface. If the plastering is sloppy, the final product will look cheap.
If only small areas of the plaster are uneven, a block hand sander should suffice. If the plaster is bumpy, an electric sander may be required. Sand with fine grit and go slowly in either case.
If the walls are particularly uneven, apply a skim coat of plaster. Just like when you plaster a wall, you only need to fill in the cracks. This is a breeze compared to sanding, but you'll need a steady hand to avoid creating more hassle for yourself.
Grinning In Plastering
Plastering flaws also include mortar joints that can be seen. This is typically caused by removing mortar joints or the suction differential between the bricks and the mortar.
To prevent this, an undercoat or spatter dash coat should be applied before plastering. If applied this way, rendering and plastering materials will slide around less.
Identifying The Type Of Crack
The first step in avoiding and fixing plaster cracks is determining the type of crack. Incorrectly diagnosing a crack can result in ineffective repairs or even further damage to the plaster, as different types of cracks require different approaches.
Learn the signs of each type of crack and how to fix them with this helpful guide.
Structural Cracks
A structural crack is a subtype of the cracking phenomenon. Wide, deep cracks can appear for a number of reasons, including poor construction, water damage to the foundation, or even just the passage of time. However, these fissures are of greater concern and should be fixed immediately.
If not addressed, they can worsen the plaster damage and threaten the building's stability. If you find damage to your building, it's best to have a professional take a look so they can advise you on how to repair it.
Settlement Cracks
The foundation has settled, resulting in cracks in the structure. A horizontal crack across the plaster's surface is indicative of these types of cracks. The appearance of cracks in the foundation as a result of the settlement is cause for serious alarm.
Several things can contribute to their occurrence, including insufficient soil, water leaks, and shoddy building techniques. Repairing cracks caused by settlement should be left to the professionals, so an expert should be called in to evaluate the damage and make recommendations.
Hairline Cracks
A hairline crack is a typical type of fracture. Plaster may develop fine, barely perceptible cracks along its surface. In most cases, hairline cracks are not a structural concern and are the result of normal, minor settling. Flexible filler that can expand and contract with the plaster can be used to repair these cracks.
Expansion Cracks
Expansion, A natural progression of events, has led to the deterioration of the building materials. Plaster, for instance, can crack due to expansion and contraction brought on by shifts in humidity and temperature.
The V-shaped base at the bottom of a vertical fracture is a telltale sign of this damage. A flexible filler that can expand and contract with the plaster is the best solution for repairing expansion cracks.
Surface Preparation Before Plastering
The secret to a flawless, long-lasting plaster finish is surface preparation. Cleaning the surface, ensuring it is level, and repairing any damage is all part of surface preparation.
Before plastering an area, we will review the surface preparation steps in this guide.
Materials Needed
Gather the necessary materials before beginning surface preparation. Among these are:
- Water
- Trowel
- Wire brush
- Plaster mix
- Paintbrush
- Mixing bucket
- Vacuum or broom
- Sandpaper or a sanding block
Taking Out Loose Material
Removing any damaged or loose material is the first step in surface preparation. Remove flaking paint, plaster, or dirt from the surface with a wire brush or scraper. If there are any voids or spaces, they should be filled with the proper filler and let dry before proceeding.
Keeping The Surface Clean
Next, clean up the area to make it presentable. Get rid of the dust and lose debris with a paintbrush after you've cleaned the area with a vacuum or broom. If the dirt is particularly stubborn, you can. Don't touch it again until it's totally dry.
Ensure A Level Surface
After it has been cleaned, double-check that it is even and defect-free. You may eliminate any humps or rough spots by sanding them down with a sanding block or paper. Use a suitable filler to smooth out any bumps on the surface. Wait to proceed until the filler has dried completely.
Proper Mixing Techniques
Plaster must be mixed precisely as directed by the manufacturer. First, mix the plaster and water in a mixing bucket until there are no lumps left. Plaster dries quickly, so you should only make what you need.
Choosing The Correct Plaster
Different types of plaster have different strengths and weaknesses. Therefore, selecting the appropriate plaster for your needs is crucial. For instance, plastering a bathroom or basement may require a special plaster that can withstand high humidity levels.
How To Use Plaster To Prevent Cracking
Plaster can be kept from cracking with the right application methods. Procedures for applying plaster and minimising the likelihood of cracking are covered here.
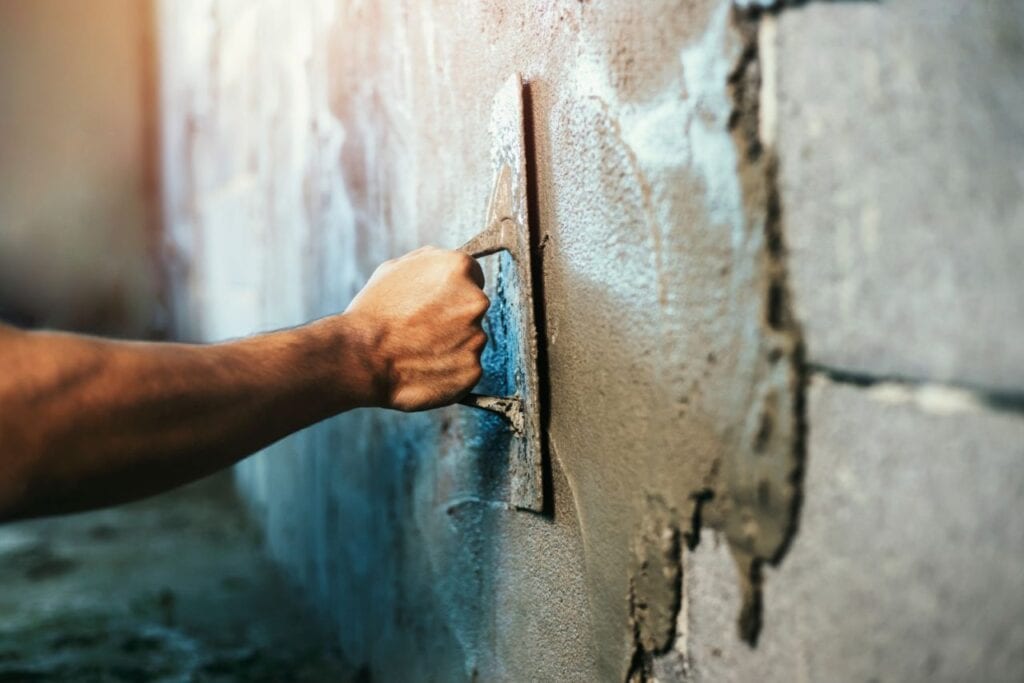
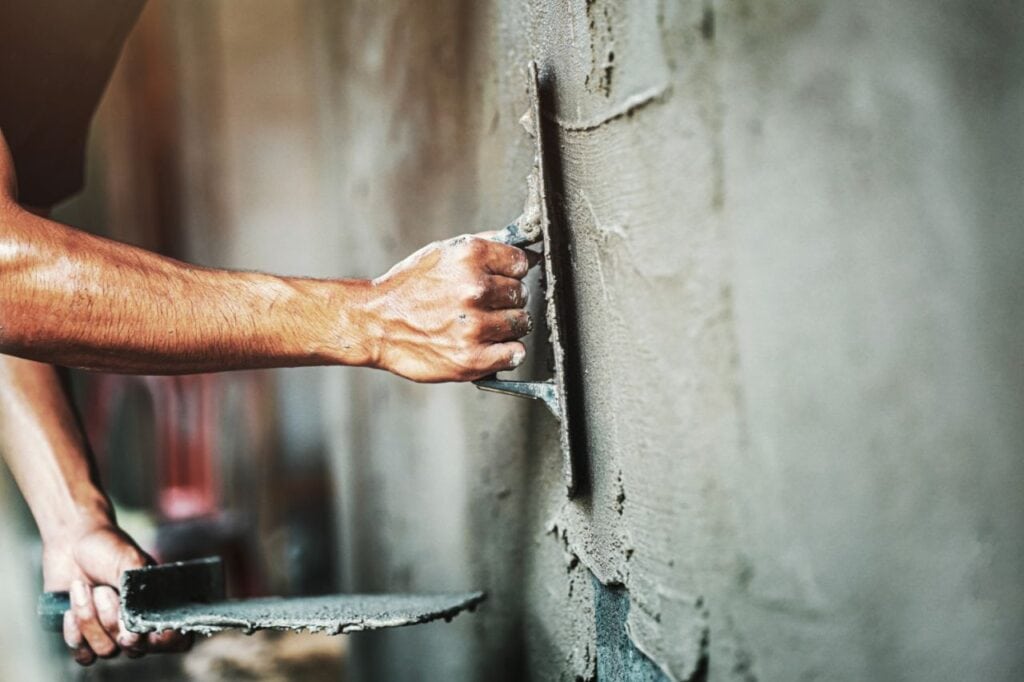
Applying The First Plaster Coat
Plastering requires a dry, clean surface and is debris-free before applying the first coat. A wire brush or scraper can be used to remove flaking paint and Remove any dust and dirt with a wet cloth.
The next step is to prepare the plaster as directed. Too much water can cause the plaster to weaken and crack, so be careful when measuring it out. When the plaster is ready, spread it over the surface with a trowel. Please ensure there are no clumps or uneven areas in the plaster before applying it.
Sanding The First Coat
Once the primer has dried, you can sand down the surface to smooth off any bumps or blemishes. Sanding the surface lightly with fine-grit sandpaper won't cause the plaster to chip.
Applying The Second Coat
A second coat of plaster can be applied after sanding the first. Make sure there is no debris on the surface before applying the plaster. Apply the same methods you used for the first coat to ensure uniformity in thickness and coverage.
Second Coat Sanding
When the second coat of paint has completely dried, use sandpaper with a finer grit to sand down the surface once more. This will assist in eliminating any imperfections or bumps in the surface that may be present.
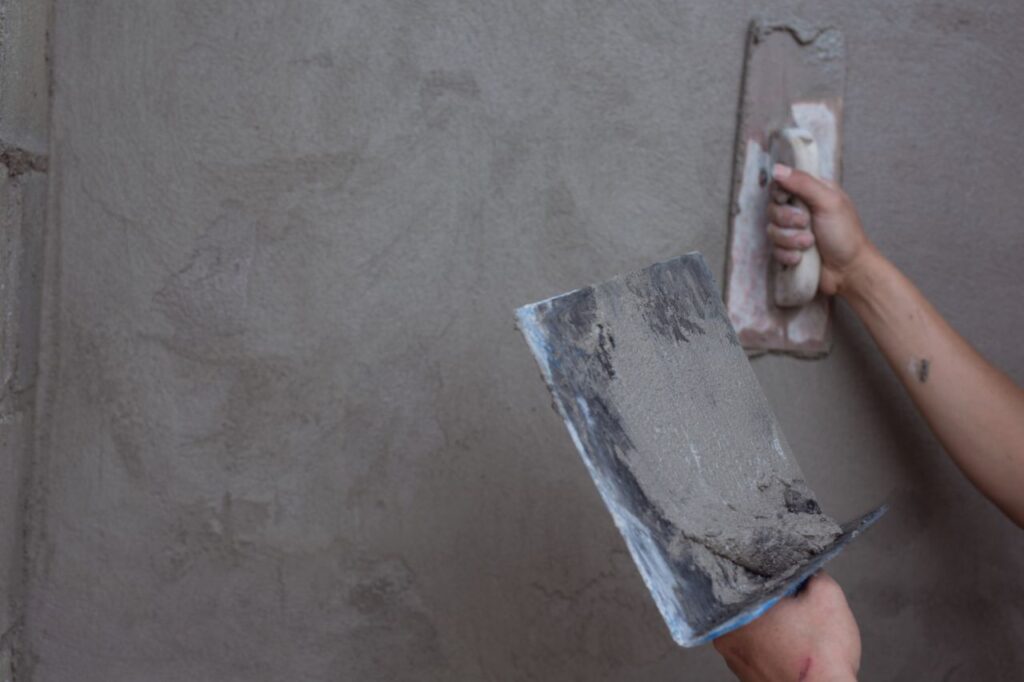
Applying The Final Coat
Plaster cracks most easily in the last, thinnest coat, so getting it properly is crucial. First, apply the final coat of plaster in a thin, even layer using the same mixing method. Next, apply the plaster evenly and consistently in thickness using a clean trowel.
Regular Maintenance Practises To Prevent Cracking
Plaster walls are susceptible to cracking, but regular maintenance can mitigate this problem. In addition, maintaining your walls properly will save you money on costly repairs down the road.
Here we'll examine some routine maintenance procedures that can prolong the life of plastered walls and reduce the likelihood of cracking.
- Examine any signs of damage: Check the plastered walls regularly for flaws like cracks, peeling, and chipping. If these problems are identified before they worsen, we can avoid major consequences better.
- Maintain consistent humidity levels: Plaster can expand and contract in response to changes in humidity, which can cause cracks. You can avoid this by keeping a constant humidity level in your house. If you are in a humid climate, a dehumidifier may be helpful.
- Maintain the cleanliness of the walls: Allowing dirt and dust to accumulate on walls, mildew and mould can begin to flourish. Plaster can become brittle and crack as a result of this. You can clean the walls by using a soft brush or a vacuum.
- Use the appropriate cleaning products: Plaster walls are easily damaged by abrasive cleaning products or chemicals, so avoiding using them is best. Make use of a gentle detergent and hot water instead.
- Heavy objects should not be hung: Plaster walls are susceptible to cracking if heavy objects are hung on them. Anchors and hooks made specifically for plaster walls should be used to hang pictures.
- Insulate the walls: Walls with poor insulation are more likely to develop cracks due to temperature and humidity swings. With the right insulation, you can keep the heat and damp out.
Conclusion
Plaster is a long-lasting building material and a do-it-yourself staple. It covers the mortar, protecting the structure from the weather and adding another layer of protection. Applied to the exterior of a building, plaster is a polymeric mortar mix that enhances the aesthetics.
Although it does not strengthen a building's structure itself, it can protect vulnerable parts of the structure from the weather by covering shear walls, beams, columns, and slabs. Plastering works best on rough surfaces; avoid using it on steel or wood due to poor adhesion.
Blistering, bubbling plaster, cracked plaster, soft plaster, debonding plasters, an uneven plaster surface, and grinding in plastering are all common causes of plaster cracks. Plaster can blister when microscopic bubbles form and expand beyond the original plastered area, and plaster can bubble or swell when subjected to substantial water damage.
There are many causes of cracked plaster, including delamination, hairline, and settling cracks. Plasters can debond if the material begins to pull away from the wall, and if the damaged area continues to spread, more substantial repairs will be required. Poor workmanship can lead to uneven plaster surfaces, and removing mortar joints or the suction differential between bricks and mortar can lead to plaster cracking.
When trying to prevent or repair cracks in plaster, knowing the type of crack is essential. Wide, deep cracks in a structure can develop for a variety of reasons, including substandard construction, water damage to the foundation, and the passage of time.
Repairing these cracks quickly is essential to preserving the integrity of the structure. Plaster cracking usually happens because of settlement fractures, hairline cracks, or expansion cracks. It's best to have experts take a look at the situation and offer their advice.
Repairing expansion cracks, indicated by the V-shaped base at the bottom of a vertical fracture, is critical. A perfect plaster finish requires careful surface preparation. You'll also need a mixing bucket, a paintbrush, a trowel, some wire brush, some plaster mix, a vacuum cleaner or a broom, some sandpaper, and a sanding block.

Use a wire brush or scraper to remove loose dirt, paint, or plaster from the surface. To make the area look better, clean it up by sweeping away dust and dirt using a paintbrush. Make sure there are no lumps by sanding them down with a sanding block or paper and filling them in with the appropriate material.
If you use the plaster correctly, you can keep it from cracking. In order to apply the initial coat of plaster, the surface must be dry, clean, and lightly sanded using fine-grit sandpaper. After sanding, apply the second layer to achieve consistent thickness and coverage. After applying a second coat, it's required to sand the surface with finer grit sandpaper to remove defects.
The thickness and evenness of the final coat of plaster are critical, as is using a clean trowel to apply it. Plaster walls can last longer and be less prone to cracking with proper care and upkeep.
If you want to keep your walls from cracking, it's important to keep an eye out for damage, keep them clean, use the right cleaning chemicals, keep heavy objects off of them, and insulate them.
Content Summary
- Techniques exist to prevent the plaster from cracking.
- Plaster serves as a protective layer over the mortar in construction.
- Various varieties of plaster are available for different purposes.
- Skilled masons can mould plastering mortar into any form.
- Proper plaster thickness management is important.
- Plaster templates with different designs are becoming popular.
- Plaster mortar is made by combining fine, washed sand with water and cementing material.
- Plaster ratios can vary depending on the specific type.
- Plaster cannot be applied to excessively dry or wet mortar.
- Plaster shields structural elements from sun, rain, and atmospheric elements.
- Reinforcement fibres or mesh enhance bonding and structural strength in plastering.
- Plastering is most effective on rough surfaces, while steel and wood should be avoided.
- Painting on freshly plastered walls is a common way to decorate homes.
- Good plaster quality can be maintained by identifying and addressing plastering flaws.
- Blistering occurs when air pockets form in improperly mixed cement mortar.
- Bubbled plaster can result from damp conditions and water damage.
- Cracking is the most typical plaster problem, with various types of cracks.
- Plaster softens in localised areas when exposed to excessive moisture.
- Debonding occurs when plaster material separates from the wall.
- Uneven plaster surfaces can result from inadequate craftsmanship.
- Grinning in plastering is caused by mortar joints becoming visible.
- Identifying the type of crack is crucial for effective repairs.
- Structural cracks can result from poor construction or water damage.
- Settlement cracks occur when the foundation settles, leading to horizontal cracks.
- Hairline cracks are fine and barely perceptible cracks in plaster.
- Expansion cracks are caused by shifts in humidity and temperature.
- Surface preparation is key to achieving a flawless plaster finish.
- Removing loose material and keeping the surface clean are crucial steps in preparation.
- Ensuring a level surface involves sanding down humps and using suitable filler.
- Plaster must be mixed precisely according to the manufacturer's instructions.
- Choosing the correct plaster for specific needs is important.
- Applying plaster correctly can prevent cracking.
- Sanding the first coat helps smooth out imperfections.
- A second coat of plaster should be applied for uniformity.
- Sanding the second coat helps eliminate any remaining imperfections.
- Properly applying the final, thinnest coat of plaster is crucial.
- Regular maintenance can prevent plaster walls from cracking.
- Regularly checking for signs of damage can help avoid major consequences.
- Maintaining consistent humidity levels can prevent cracks.
- Cleaning walls regularly prevents the accumulation of dirt, mildew, and mould.
- Using gentle cleaning products is essential to avoid damaging plaster walls.
- Hanging heavy objects can cause plaster walls to crack.
- Anchors and hooks designed for plaster walls should be used for hanging.
- Insulating walls helps prevent cracks due to temperature and humidity changes.
- Proper insulation keeps heat and dampness out.
- Understanding the various plaster flaws is crucial for effective repairs.
- Plaster can crack due to poor construction techniques and shifting foundations.
- Regular maintenance saves money on costly repairs in the long run.
- Consistent humidity levels and cleanliness are key to maintaining plastered walls.
- Using appropriate cleaning products and avoiding heavy object hanging is essential for preventing plaster cracking.
FAQS About Plaster
The drying time of plaster depends on various factors such as humidity, temperature, type of plaster, and thickness of the plaster layer. Generally, plaster can take anywhere from 24 hours to several days to fully dry.
Plaster over existing paint is generally not recommended as it may not adhere properly and can lead to cracking or peeling. Removing the paint and preparing the surface before applying plaster for optimal results is best.
Yes, plaster can crack due to temperature changes. If there is a significant difference in temperature between the surface and the surrounding environment, the plaster can expand or contract, leading to cracks. Therefore, following proper installation procedures and allowing for proper drying and curing time is important to minimise the risk of cracking due to temperature changes.
Yes, you can mix plaster by hand. Add the plaster powder to the water in a mixing container and stir with a mixing tool until the mixture is smooth and lumped-free. Following the manufacturer's instructions for the correct mixing ratio and wearing appropriate protective gear, such as gloves and a dust mask, is important.
When it comes to bathrooms, it is recommended to use moisture-resistant plaster such as a cement-based backing board or green board. These types of plaster are designed to withstand the high humidity and moisture levels commonly found in bathrooms, helping to prevent mould growth and water damage. Regular plaster or drywall can be used in areas of the bathroom that are not exposed to moisture.