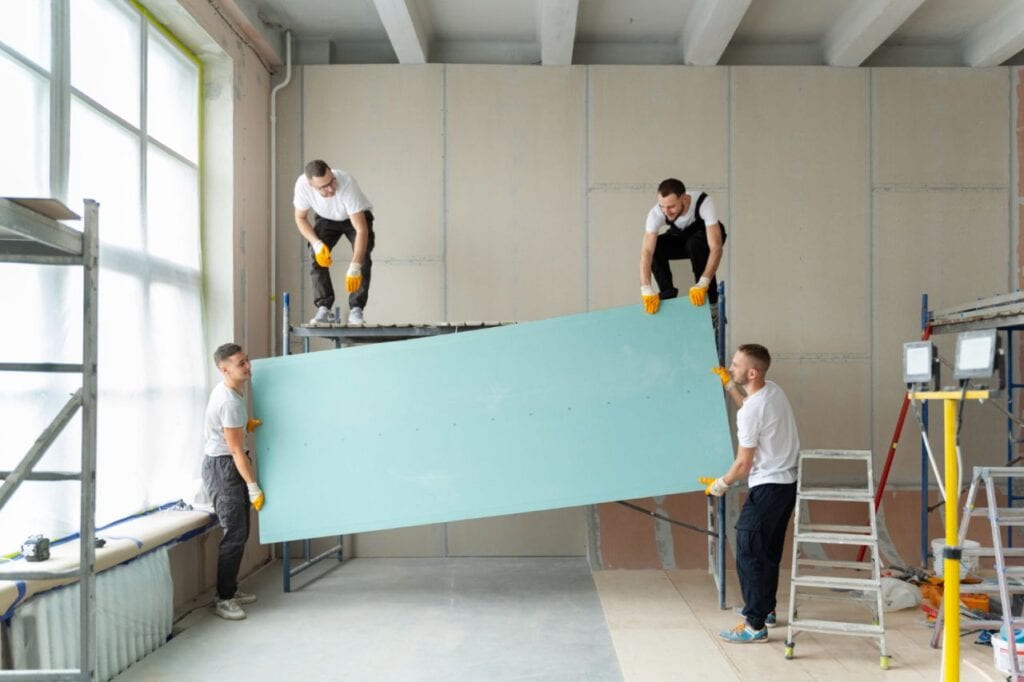
Learning how to plaster walls and ceilings is a valuable skill that may completely alter their appearance. A faultless finish, however, calls for meticulous care and attention to detail.
When it comes to plastering, avoiding common mistakes is crucial not only for achieving a smooth and durable finish but also for enhancing pest control measures in your home. One common mistake to avoid is inadequate surface preparation.
Failing to properly clean and remove dust, dirt, and debris from the wall before plastering can create an inviting environment for pests. These particles can attract pests and serve as food sources, increasing the risk of infestations. By thoroughly cleaning and preparing the surface, you create a less hospitable environment for pests and ensure a solid bond between the plaster and the wall, strengthening the protective barrier against pest entry.
This post will teach you how to plaster like an expert by showing you how to avoid the most common pitfalls.
Proper Plastering and Its Importance
Let's back up for a second and appreciate how crucial correct plastering is before we get into the common blunders. Plastering is the groundwork for finishing touches like paint and wallpaper. Plastering a surface properly ensures a smooth, long-lasting finish that improves the room's visual attractiveness.
Common Errors in Plastering
Plastering is like applying an extra layer of armour to your walls, protecting them from harm. The benefits of plastering, like those of any other part of construction, depend on its proper execution. Making blunders means accepting responsibility for their repercussions.
Plastering is a complex process that belies its apparent ease. Plastering is work that can only be done properly by a professional. These are the most common blunders made by do-it-yourselfers when plastering their homes.
Improper Removal
The first stage in any plastering project is to chip away at the old plaster until none remains carefully. It is possible to bring down a whole wall if the material beneath it is unstable. If the plaster was laid over brick, for instance, and you try to remove it, you can end up ripping out pieces of the bricks.
The key is to proceed with caution. To see what's beyond the wall:
- Chisel away a small section of it, preferably near a corner.
- If the plaster is easily peeling off, investigate the underlying material.
- Proceed with the rest of the removal if you are certain that the plaster is coming off cleanly and without hurting the underlying surface.
If you find problems, however, you should proceed with the chisel method for the remainder of the wall.
Not Enough Work Done To The Surface
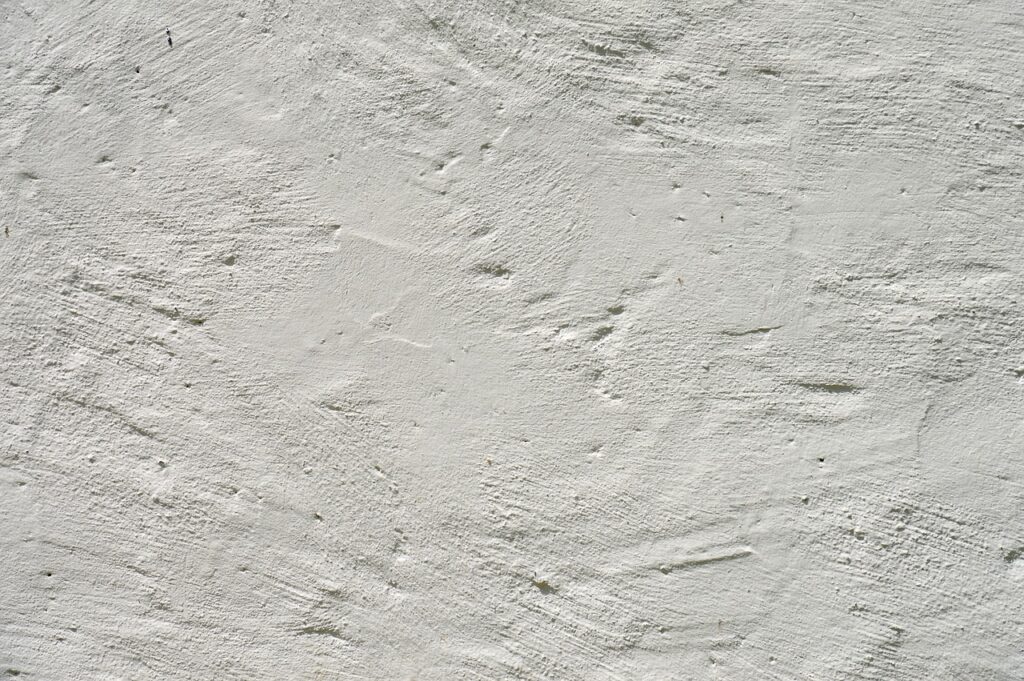
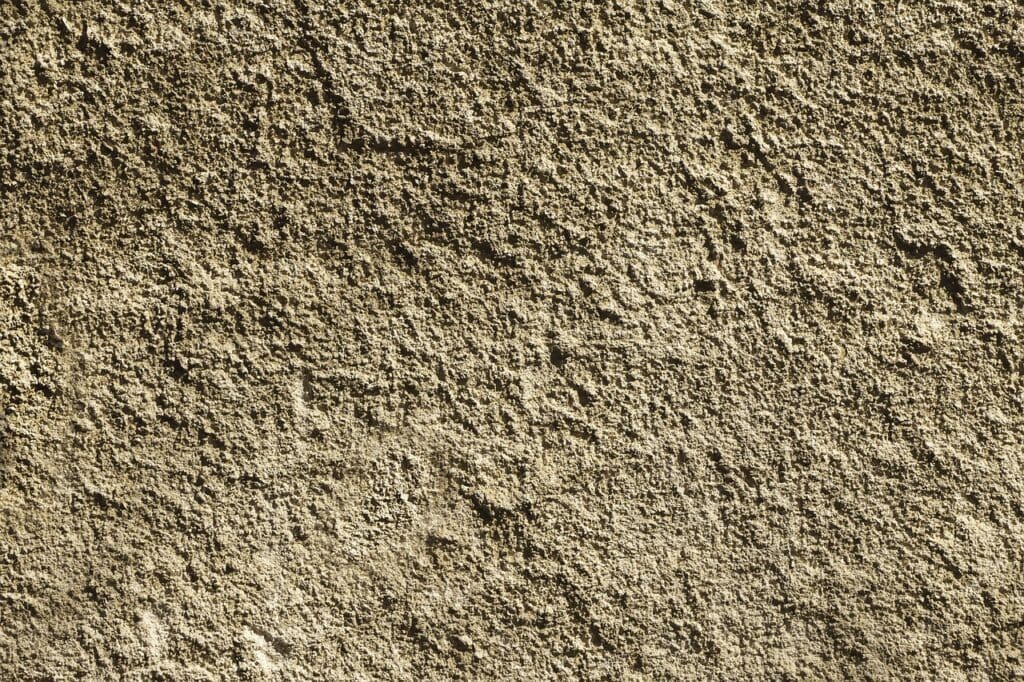
Inadequate surface preparation is a major issue that plagues plasterers. The plaster will not attach correctly to a surface that isn't clean, dry, and clear of dust and debris. The surface must be thoroughly cleaned and prepped before plaster can be applied; this includes removing any peeling or flaking paint or wallpaper.
Using Inappropriate Materials
If you're new to DIY projects, you might not know that there are different types of plaster, each with its strengths and weaknesses. Checking which mixture you need for your DIY project is important because using the wrong one could cause more problems than it solves.
Consider the plaster's intended use, whether as a decorative finish or in a high-moisture environment. Some criteria that will decide the mix's composition are listed above.
A reputable builders' merchant can advise you on the type of plaster you need.
The Ratio Is Wrong
Incorrect mixing ratios are another frequent oversight. Plaster and water should be mixed in a specific proportion for the best consistency; otherwise, the finished product may be too thin or brittle. Plaster and water must be measured precisely by the manufacturer's guidelines.
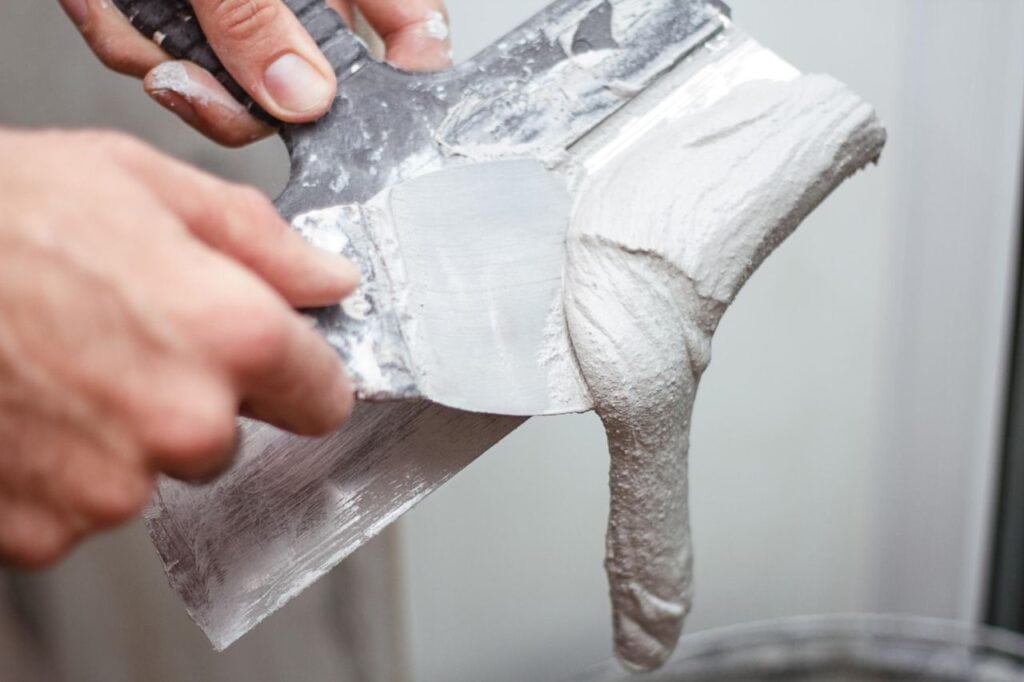
Not Using The Proper Plaster Combination
Plaster with lumps and air gaps in the finish because of inconsistent mixing. To prevent this, the plaster must be mixed thoroughly and uniformly, with frequent scraping of the container's edges and bottom to ensure that all plaster is incorporated.
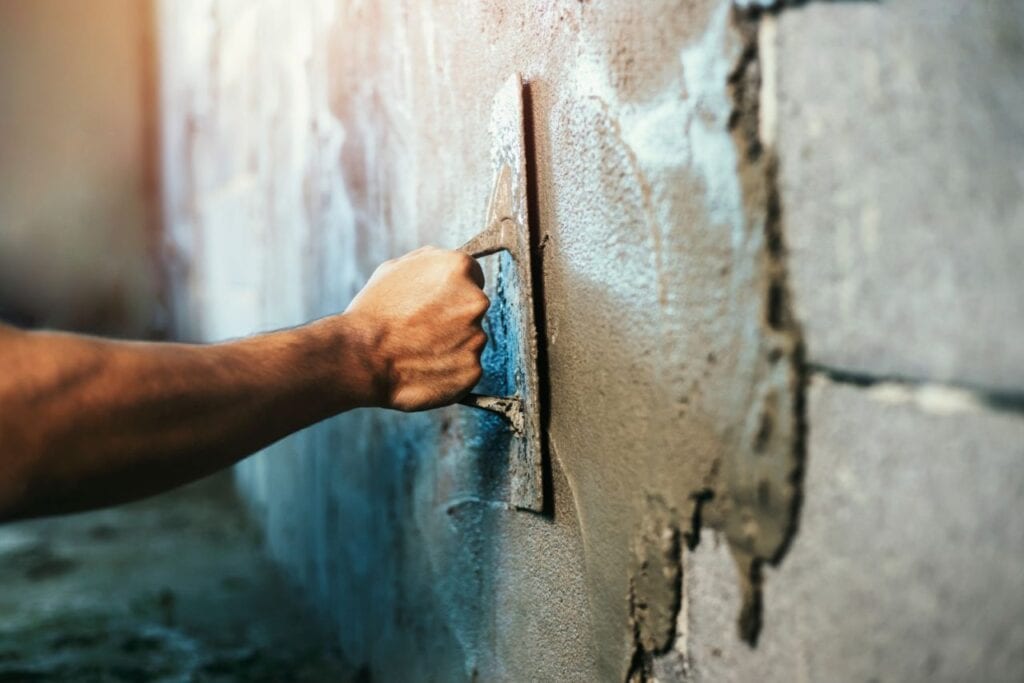
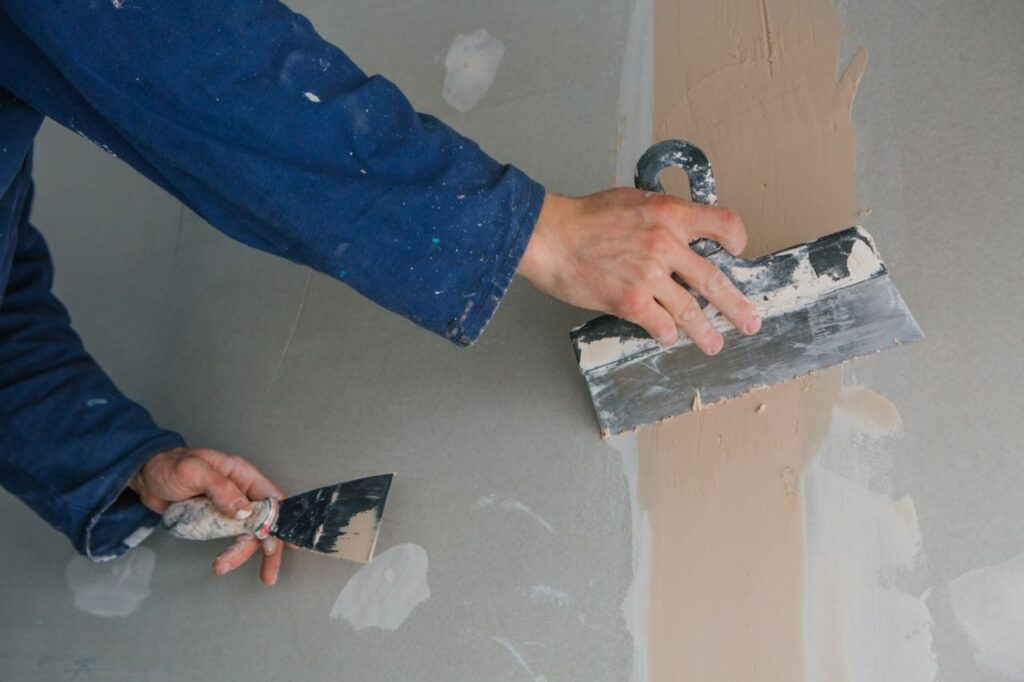
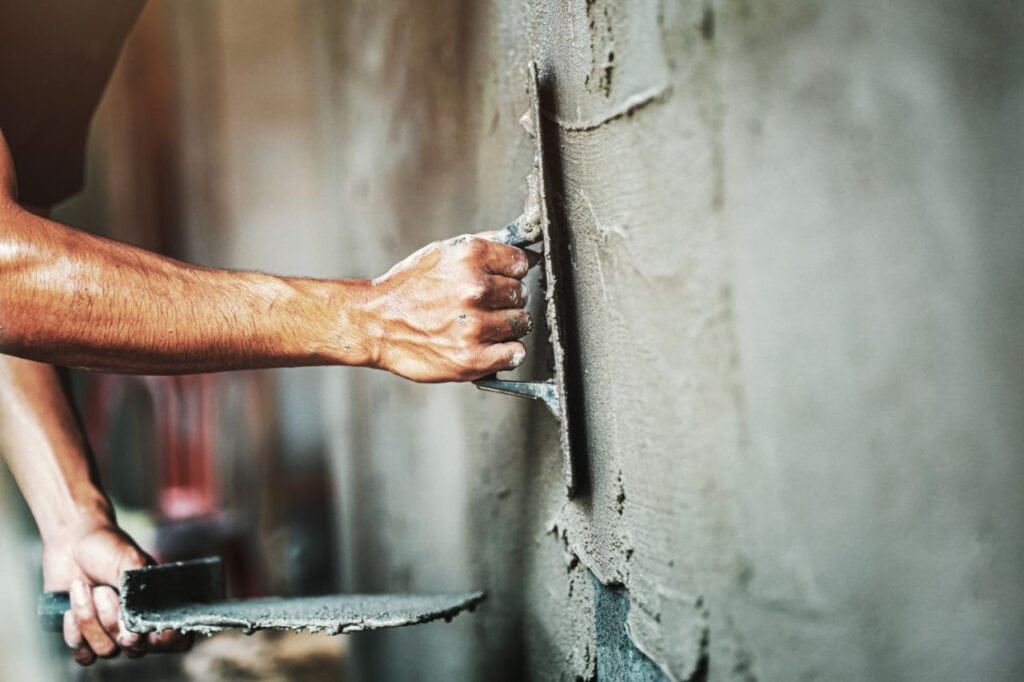
Improper Method Of Application
The final appearance of plaster can also be affected by the method used to apply it. Too much plaster is applied in one spot, leaving uneven areas, and the margins must be feathered properly. A smooth and even finish can only be achieved if the plaster is applied with the appropriate trowel and pressure.
Not Providing Enough Time For Drying
Failure to give enough time for the plaster to dry and cure might result in cracking and other problems. Per the manufacturer's recommendations, it would help if you waited to paint or decorate the surface until the plaster had dried completely.
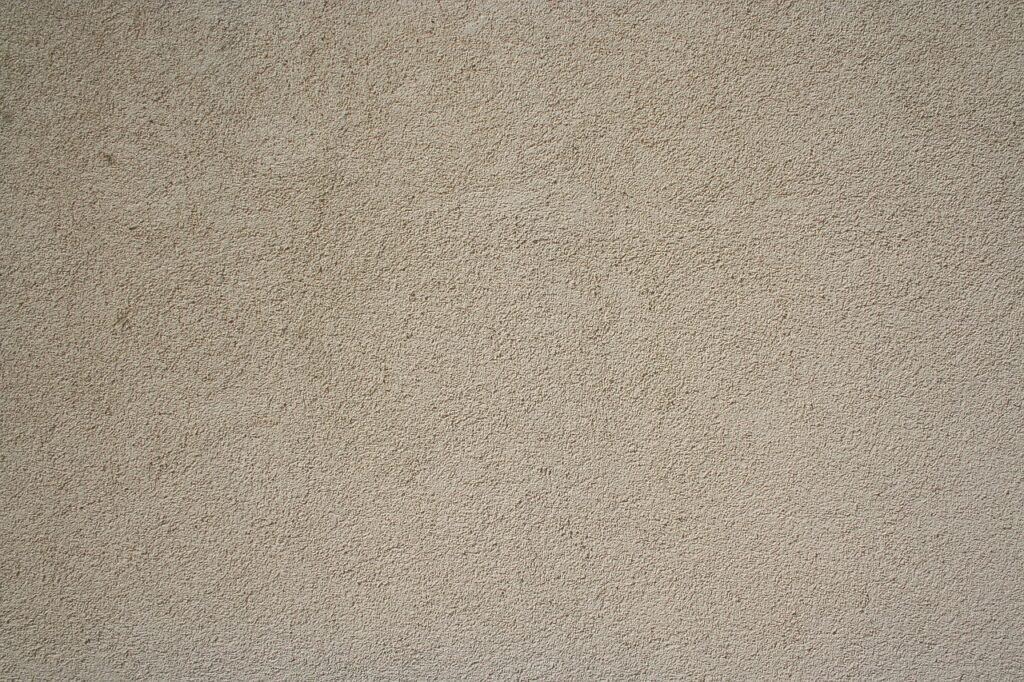
Ignoring The Need For Smoothing And Sanding
Careful sanding and polishing may only ensure a flawless and smooth finish. If you complete this step, you can avoid uneven textures and bumps. Before applying a final coat, smooth the plastered surface using fine-grit sandpaper and a sanding block.
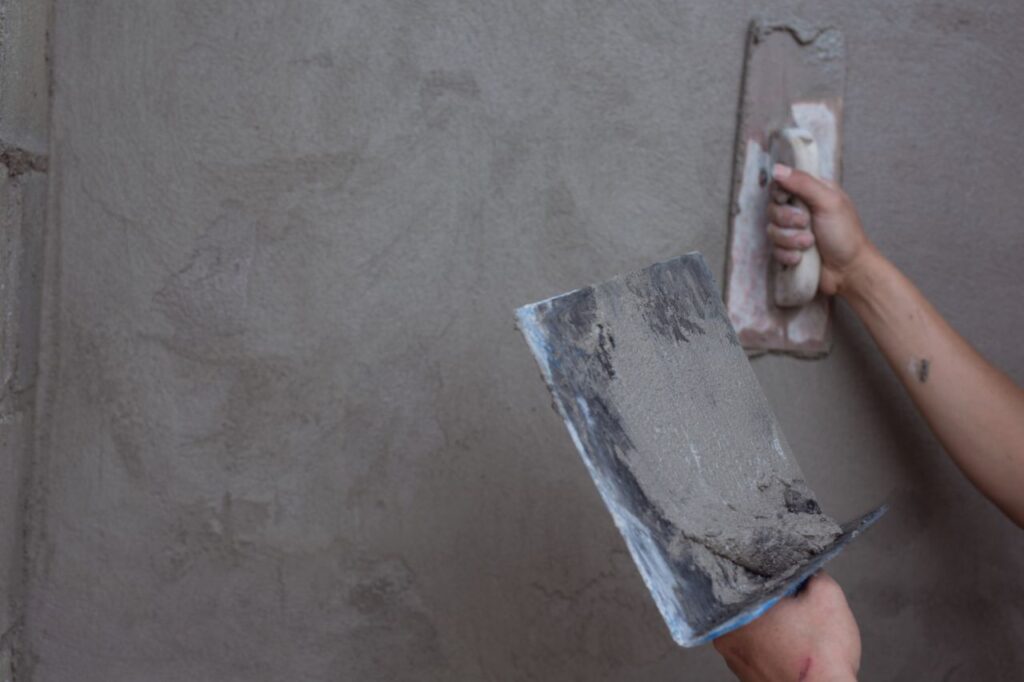
Bad Work With The Trowel
Another typical error, especially among do-it-yourselfers, is to use less of a trowel. Too much troweling can weaken and brittle the plaster, producing a smooth but fragile finish. When the plaster has acquired the desired smoothness, it is crucial to refrain from further troweling.
Using Poor Quality Equipment
You might assume you'll save money by purchasing low-quality tools, but you'll spend more in the end. The reason is low-priced equipment always produces subpar results. It would help if you got some good tools for a professional look when you plaster.
You don't have to go into debt to get good value; purchase from a reliable vendor. You'll get better results from your tools, and they'll last longer.
Not Keeping Your Equipment Clean
After a long day of plastering, you might be tempted to put your tools down, make a cup of tea, and call it a day, despite the plaster still being all over your implements.
There will be a major issue waiting for you the next day. Removing all the excess plaster can take twice as long because the solidified plaster might render your tools useless. Keep your tools tidy in between uses to avoid unnecessary headaches.
They'll stay in better shape, and you can jump into your next session.
Inability To Address Core Problems
Failure to address underlying concerns can lead to recurrent cracking and other issues, and plastering is not a solution to structural problems. Before you start plastering, you should ensure no underlying structural difficulties.
Lacklustre Plaster Thickness Regulation
Plaster thickness must be constant throughout the job for the best possible result. Plaster with an inconsistent thickness might result in surfaces that are easier to smooth down and cover with paint or wallpaper. Avoid making this error by regularly checking the thickness with a straight edge.
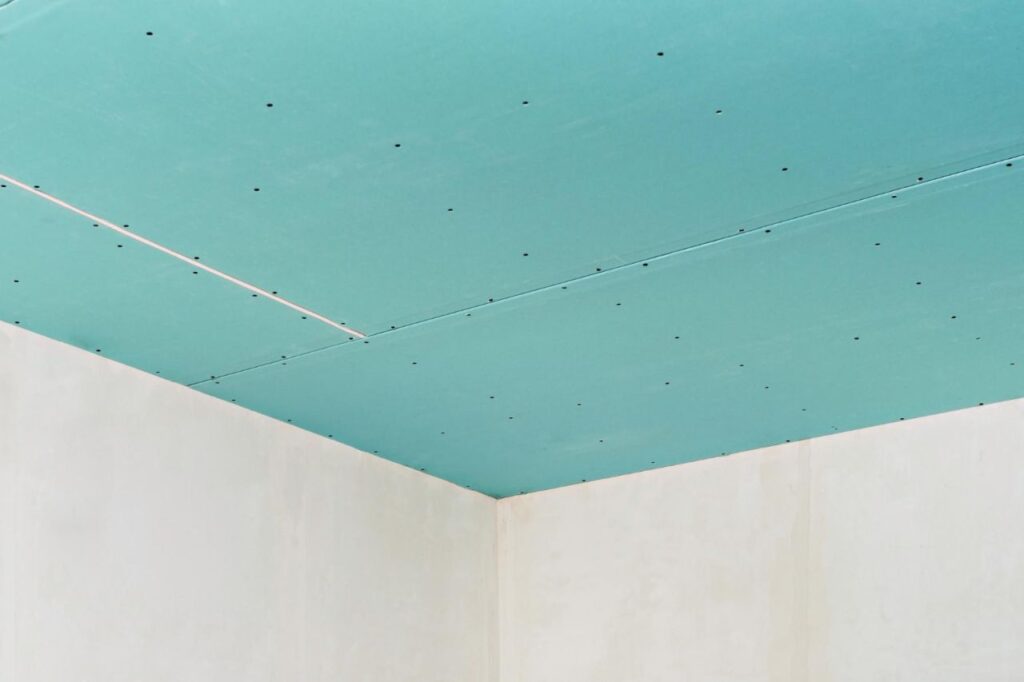
Lack Of Airflow
The finishing process and its speed to dry depend on adequate airflow. To ensure that the plaster dries and cures properly, ventilation is crucial.
In A Hurry To Get It Done
Plastering may look simple, but it takes time and patience to complete. If you are in a hurry to complete the task, you may cause more damage to the walls than good. Please don't rush through the task; doing it well the first time will yield better results on your home's walls.
Ignoring The Problems
The difficulties of a construction project always change. Even plastering has its quirks. Before beginning the project, you should think about them all. It will only worsen if you plaster the walls before doing the necessary homework. Learn about the typical challenges of this profession through your study.
Carelessness With Details
Plastering is a complex job that calls for careful execution. Imperfections can become obvious if corners, edges, and connections need to be properly attended to. Ensure you take time and get every last spot covered and smoothed out.
Disregarding Safety Measures
Since plastering requires handling hazardous materials, worker protection is of paramount importance. Injuries and health problems can result from skipping basic safety measures, including wearing protective eyewear, gloves, and a dust mask. Work in a well-ventilated space with the proper safety equipment.
Refusing To Obtain Professional Help
DIY plastering is popular among homeowners, but if you need help to do a good job, it may be better to hire a professional. Get professional help if you want the job done right, using appropriate equipment and methods.
Plaster Repairs
The term "plaster repairs" is used to describe the process of restoring damaged plaster and preventing it from crumbling further. Applying varying thicknesses of chosen materials to repair wall damage is one option.
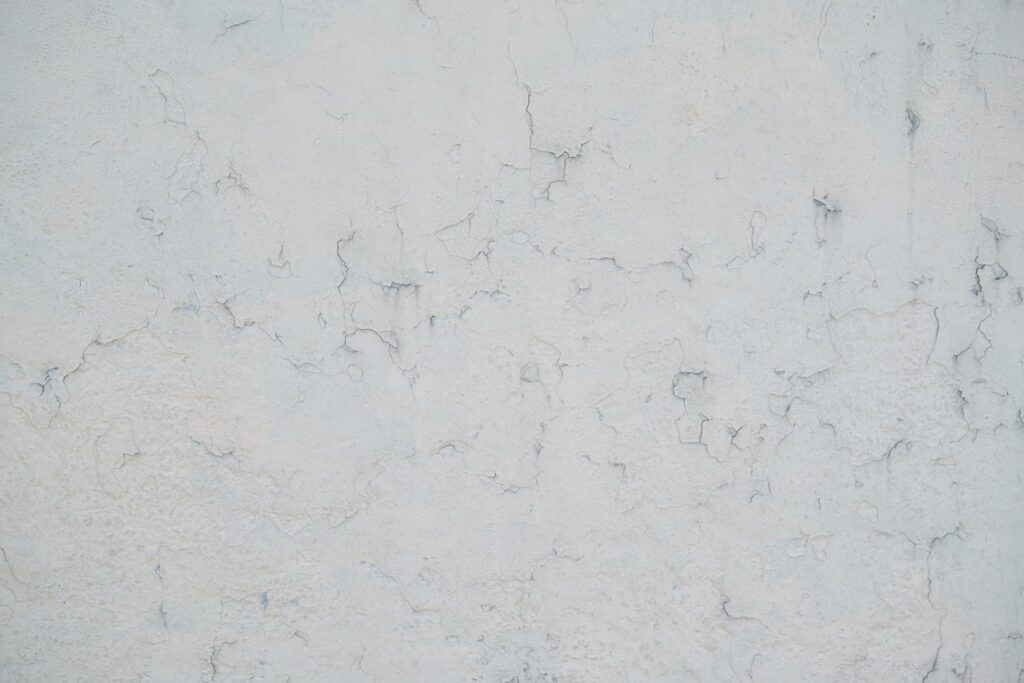
When plaster cracks are only a few millimetres deep, maintenance is required. The inappropriate water-cement ratio, the high temperature, the shrinkage flaw, and the moist environment all contribute to these fissures.
Filling Up The Gaps
Cracks diminish the aesthetic value of a home. If these fissures aren't fixed right away, they cause serious harm to the underlying structure. A few implements and some patching material will be needed to do this. There's a scraper, some cloth, a putty knife, some paint, and some sandpaper. The holes should be scraped, cleaned with a cloth, enlarged with a knife, the edges sanded down, and the fill applied.
Fixing The Holes
A repair kit may be needed to get things back in working order. Remember that a wide variety of fillers and solutions are on the market nowadays.
First, clean the area around the repair by sanding off any loose paint and filing down any rough edges. Then, use water or another moist material to saturate the area. It will provide your treated surface with excellent adhesiveness. Fill the holes with a patch and plaster and let them dry.
Typical Errors in Plaster Maintenance
Cracks and holes are easier for an expert to fix. DIY plaster repairs can be risky because even little errors exacerbate the problem. Therefore, it is recommended to use a specialist for this task.
Failure To Thoroughly Clean And Remove Old Plaster
It's a major faux pas when attempting to fix damaged surfaces yourself. The filler or patch may fail to adhere properly to the existing surface if dust or oil is present in the area around the hole or fracture. That's why careful cleaning is required. The aged plaster creates a solid connection to the underlying framework. Careless removal of the plaster could result in the collapse of the entire supporting structure.
Applying Improper Damp Layer
The fresh layer must adhere well to the old one. Before filling any joint compounds, applying water to the surface is essential. Wetting the layer with water helps the present area connect well with the filler.
Using An Inappropriate Filler
There is a large selection of materials available on the market. It's not always easy to tell which materials would work best for a certain task because not all of them are made equal. Certain circumstances necessitate the use of either internal or external fillers. In light of this, reading the kit's package instructions is important to ensure proper use.
Conclusion
Plastering is a crucial skill that can significantly alter the appearance of walls and ceilings. Common mistakes made by do-it-yourselfers include improper removal, inadequate surface preparation, using inappropriate materials, incorrect mixing ratios, improper application methods, inadequate drying time, and poor work with the trowel. These errors can lead to a blunder, as proper plastering is essential for a smooth, long-lasting finish that improves the room's visual appeal.
To avoid these mistakes, it is essential to follow proper plastering techniques, such as chipping away old plaster carefully, using the proper trowel and pressure, providing enough time for drying, and avoiding bad work with the trowel. It is also essential to avoid using low-quality tools, as they can produce subpar results and last longer.
In conclusion, proper plastering is essential for a flawless finish that improves the visual appeal of a room. To avoid common mistakes, it is essential to follow proper techniques, follow proper materials, and ensure proper application methods.
By following these guidelines, you can create a flawless and long-lasting plastering project that will not only enhance the appearance of your home but also contribute to a more beautiful and functional space.
Plastering is a complex and time-consuming process that requires careful attention to detail and proper execution. It is essential to address core problems, maintain consistent plaster thickness, and ensure adequate airflow for proper drying and curing.
Rushing through the task can cause more damage to the walls than good.
Ignoring problems and ignoring details are common challenges in plastering. It is crucial to take time and care with details to avoid causing more damage. Safety measures, such as wearing protective eyewear, gloves, and a dust mask, are essential for a safe work environment.
Plaster repairs involve restoring damaged plaster and preventing it from crumbling further. When plaster cracks are only a few millimeters deep, maintenance is required due to the inappropriate water-cement ratio, high temperature, shrinkage flaw, and moist environment. Fixing holes requires a repair kit with various fillers and solutions.
Typical errors in plaster maintenance include not thoroughly cleaning and removing old plaster, applying improper damp layers, and using an inappropriate filler. It is essential to read the kit's package instructions to ensure proper use and avoid potential issues.
In conclusion, plastering is a complex and time-consuming process that requires careful attention to detail, safety measures, and proper equipment. It is essential to seek professional help when needed to ensure a successful plastering project.
Content Summary
- Learn how to plaster walls and ceilings effectively.
- Proper plastering is crucial for a flawless finish.
- Plastering is the foundation for paint and wallpaper.
- Avoid common blunders in plastering with careful attention to detail.
- Improper removal can damage the underlying surface.
- Chip away old plaster carefully to avoid wall damage.
- Inadequate surface preparation leads to poor plaster adhesion.
- Different plaster types have specific uses; choose wisely.
- Follow proper mixing ratios for the best consistency.
- Thoroughly mix plaster to avoid lumps and air gaps.
- The application method affects the final appearance.
- Allow sufficient drying time to prevent cracking.
- Smooth and sand the plastered surface for a flawless finish.
- Avoid excessive troweling to prevent weakening the plaster.
- High-quality equipment produces professional results.
- Keep tools clean to avoid plaster solidification.
- Address underlying structural problems before plastering.
- Consistent plaster thickness ensures better results.
- Proper ventilation aids plaster drying and curing.
- Avoid rushing the plastering process for better outcomes.
- Address all potential problems before starting plastering.
- Pay attention to corners, edges, and connections for perfection.
- Safety measures are essential when handling plaster materials.
- Consider hiring a professional for a perfect plaster job.
- Plaster repairs help restore damaged surfaces.
- Repair shallow plaster cracks before they worsen.
- Fixing gaps and cracks prevents further damage.
- Select the right filler and solution for plaster repair.
- Thoroughly clean and remove old plaster before repair.
- Applying a damp layer helps the new plaster adhere well.
- Choose the appropriate filler material for each task.
- Read package instructions for correct filler use.
- DIY plaster repairs can be risky; consider a specialist.
- Careful cleaning is crucial for proper filler adhesion.
- Wetting the surface helps the new layer bond effectively.
- Differentiate between internal and external fillers based on the task.
- Consider the moisture environment for plaster selection.
- Use a reliable builders' merchant for plastering materials.
- Mixing plaster and water requires precise measurements.
- Feathery margins result in a smooth and even plaster finish.
- Professional tools yield better and longer-lasting results.
- Ventilation is essential for the plaster drying process.
- Patience and time are necessary for a well-done plaster job.
- Avoid neglecting potential construction project difficulties.
- Safety gear like gloves and masks protects against hazards.
- DIY plastering demands meticulous care and execution.
- Choose the right plaster type based on project requirements.
- Uneven plaster thickness can lead to difficulties in finishing.
- Prioritize surface preparation for better plaster adhesion.
- Properly cured plaster ensures a long-lasting finish.
FAQS About Plastering
Priming the surface before plastering helps improve adhesion, promotes an even absorption of moisture from the plaster, and enhances the durability of the plastered surface. Neglecting to prime the surface can lead to poor bond strength, uneven drying, and an increased likelihood of cracks or detachment of the plaster.
Failing to achieve a smooth finish can result in an unattractive appearance, with visible trowel marks, uneven textures, or lumps on the surface. Additionally, a rough finish may make a subsequent painting or wallpapering more challenging.
Insufficient drying time can lead to premature paint or wallpaper application, which can result in blistering, peeling, or poor adhesion. It can also make the plaster more susceptible to damage and compromise its overall strength.
Applying plaster in unsuitable weather conditions, such as extreme heat or cold, high humidity, or wet surfaces, can hinder the drying process and compromise the quality of the plastered surface. It can lead to slower drying, increased chances of cracking, and an overall weaker bond.
Plastering involves working with various tools, materials, and chemicals, which can pose safety risks if not handled properly. Neglecting safety precautions can result in