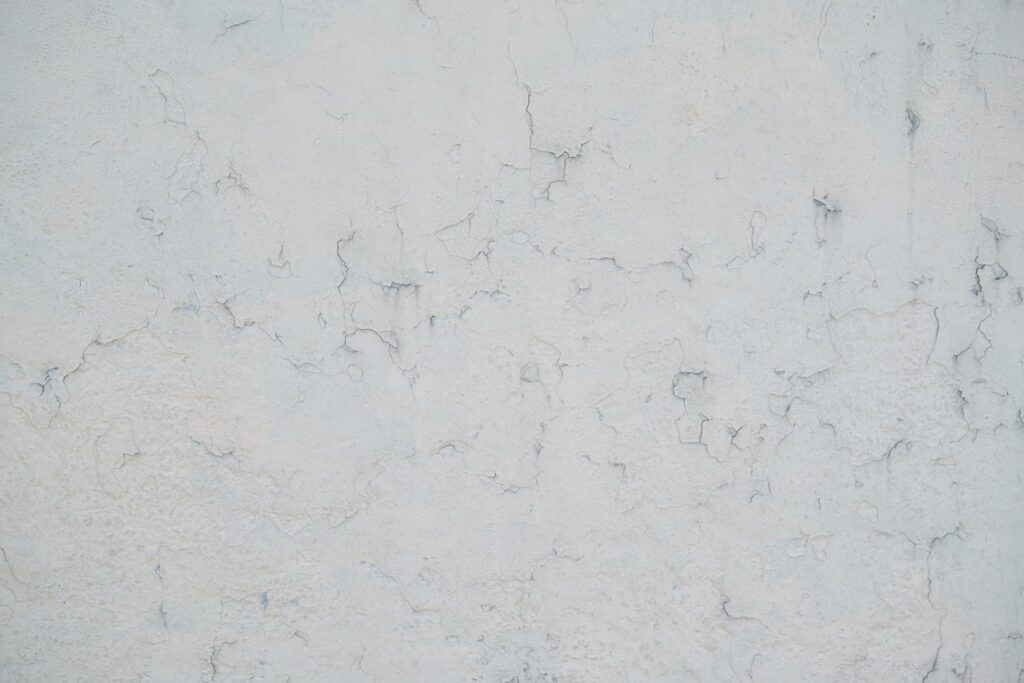
If you're a builder or homeowner, you might get worried if you notice cracks in the freshly plastered walls. You may be wondering if the plastering was done properly or if there is a more serious problem. However, cracks after plastering are quite common and can occur for a number of reasons.
Cracks in plastered walls can inadvertently become an open invitation for pests to enter your home. Even hairline cracks, though seemingly insignificant, can serve as access points for a variety of pests, including ants, spiders, and cockroaches. These tiny gaps provide pests with convenient entryways and potential nesting areas within your walls. Left unaddressed, a minor crack can quickly escalate into a full-blown infestation, requiring extensive pest control measures. To mitigate these risks, it is essential to seal and repair cracks promptly, ensuring a pest-resistant barrier that helps maintain the integrity of your home's defence against unwanted invaders.
This blog post will discuss why and how to avoid cracks in freshly plastered walls and what you should do if you already have them.
What Causes Plaster Cracks?
Temperature and humidity fluctuations, an insufficient plaster mix, insufficient drying time, and inadequate drying time are all potential causes of cracks in freshly plastered surfaces. The surface on which the plaster is applied is another potential cause of cracking.
For instance, a surface that is uneven or prone to movement may be more prone to cracking. Not all cracks are the same, and that's something to keep in mind. Plastering can cause small cracks, but large cracks may indicate a more serious problem.
Plaster cracks can occur for a variety of reasons, but there are two main categories: structural and non-structural.
Structural Cracks
Most of the structural cracks in the building were caused by poor workmanship during the construction process, structural defects, and the natural settlement of the building structure over many years.
Non-structural Cracks
Climate change, improper curing, subpar sand, insufficient moisture, the moment of footing below the earth, natural calamities, fluctuating groundwater levels, soil expansion and contraction, steel corrosion, and other factors all contribute to the development of non-structural fissures.
Structural or plaster cracks severely compromise the quality of any building. We need to take extra care before, during, and after plastering if we're going to fix this. Understanding the Process of Plasterwork is a must for any engineer, supervisor, or worker in the field.
Reasons For Plaster Cracks
Due To Moisture Loss (Shrinkage Cracks)
When water is introduced to cement for the first time, the setting process begins, and with it comes the heat of hydration, which must be mitigated by adding more water. Lack of water or moisture in the cement can cause the plastered surface to crack.
Evaporation increases when the ambient temperature is over 35 degrees Celsius. As a result, plaster loses moisture to the air in hot climates, and hot, dry winds further erode the surface. Plaster cracks as a result of this process. Shrinkage cracks are the name for these breaks.
Cracks Resulting From Poor Workmanship And Structural Defects.
Poor workmanship can cause a surface to crack. Workers and managers must have the necessary information to prevent gaps in knowledge. Workers must often pay more attention to crucial steps like joint filing, curing, and applying chicken mesh.
Cracks Due To Silty And Fine Sand
When the silt content of the sand is too high, it pulls water away from the plaster, which is needed during the hydrating process's heat, and this causes the plaster to dry out and crack.
The average size of a silt particle is less than 150 micrometres. Therefore, mixing mortar requires more water to achieve the desired workability. This will cause the plaster to bleed or dry out, facilitating the formation of cracks.
Natural Disasters
Natural disasters, including earthquakes, floods, and severe wind loads, can cause structural damage. For example, when an earthquake occurs, the structure's foundation transmits the tremors to the rest of the building. When a structural moment occurs, it can be caused by these cracks.
Cracks Caused By Temperature Changes. (Thermal Cracks)
Thermal cracks are another name for these flaws. During the day, the plaster surface gets hotter than at night because of the external climate condition. Plaster surface cracks occur as a result of rapid temperature changes.
Corrosion-Related Cracks
When steel's protective layer is inadequate, the metal rusts because of exposure to the elements. The addition of a corrosive layer to steel causes the metal to swell. The protective coating on the steel becomes stressed as a result, which causes the concrete covering the steel to crack.
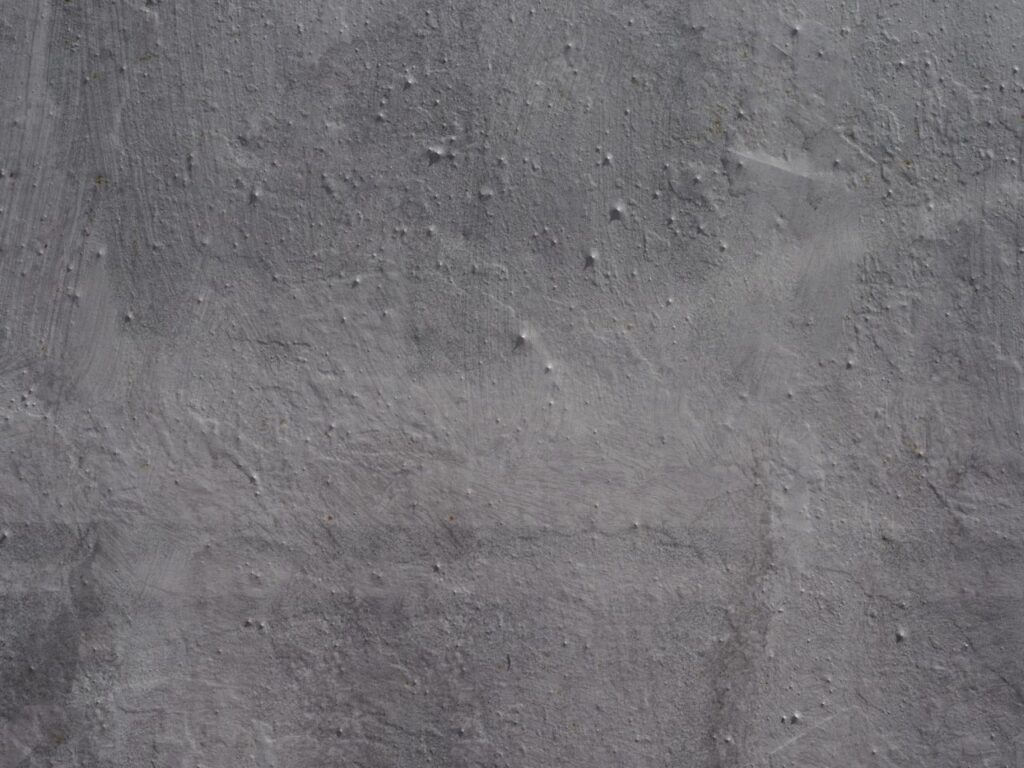
Types Of Cracks After Plastering
Following plastering, it is not unusual to find cracks on the surface of the surface. The underlying cause may determine the size of these cracks and the direction in which they run.
After plastering, there is a potential for the following four types of cracks to appear:
Horizontal Cracks
After plastering, it's not uncommon for the wall to develop horizontal cracks. These fissures often manifest as straight lines that run perpendicular to the ground. The inability of the plaster to properly adhere to the surface, or structural movement, are common causes of horizontal cracks. Plaster can come loose from its surface and cause additional damage if horizontal cracks are ignored.
Vertical Cracks
After plastering, cracks can appear in any direction, including vertically. The settlement of the building usually causes these cracks to spread from the ceiling to the floor. Repairing vertical cracks as soon as possible is recommended, as they may indicate a more serious problem.
Diagonal Cracks
After plastering, diagonal cracks are possible. However, they are less common than horizontal and vertical cracks. There could be various reasons for these angular cracks, including a rough plaster mix, poor application, or structural movement. A more serious problem may be if you ignore diagonal cracks for too long.
Hairline Cracks
Most cracks that appear after plastering are hairline cracks. These fissures are typically less than a sixteenth of an inch in width. Changes in temperature or humidity or an insufficiently strong plaster mix are just a few potential causes of hairline cracks.
Tips For Preventing Cracks Before Plastering
The secret to a smooth and long-lasting plastered surface is preventing cracks before you start. Adhering to these rules will reduce the likelihood of cracks developing.
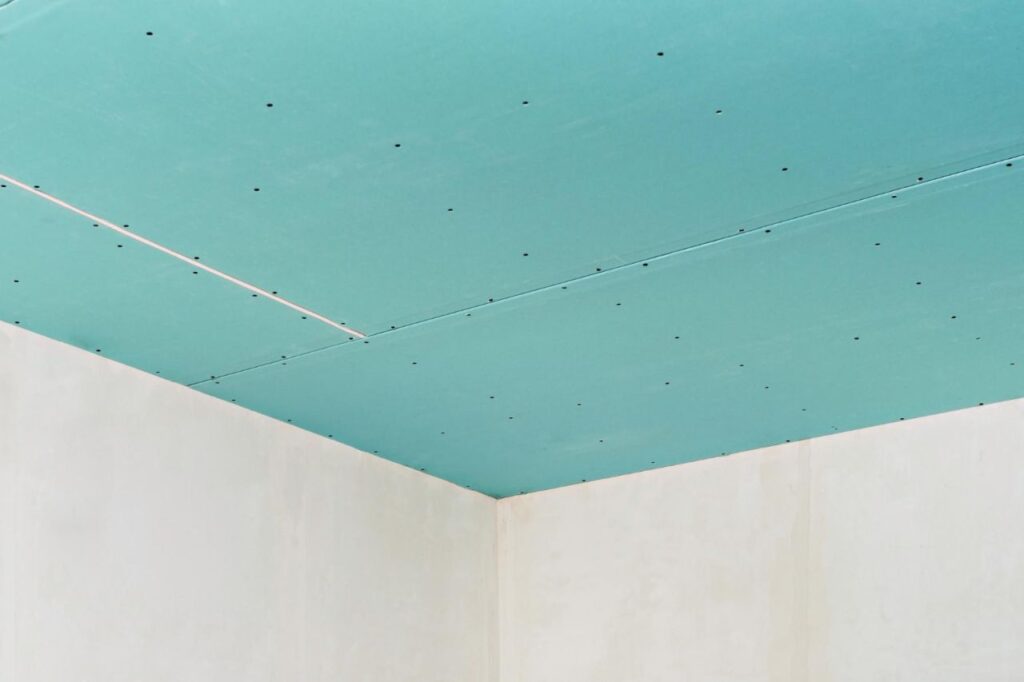
Ensure A Stable Foundation
Plastering without cracks requires a solid substrate, which must be ensured before work can begin. Plaster adhering to a solid substrate reduces surface stress and prevents cracking because of the stability of the substrate.
Plaster should only be applied after the substrate has been thoroughly inspected and found in good condition. Repairs may include sealing cracks, patching holes, or reinforcing weak spots, depending on the extent of the damage.
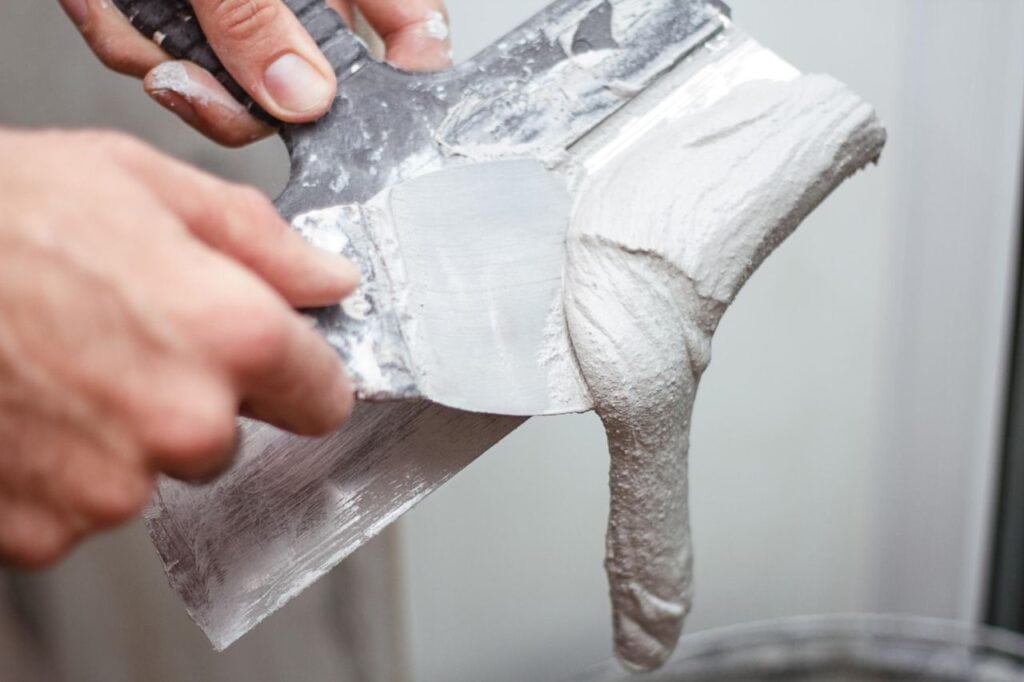
Use The Proper Plaster Mix
Plastering without cracks requires a precise plaster mix. Good adhesion and no shrinkage can be achieved with a consistent, well-balanced plaster mix consisting of the right amount of water and plaster.
Plaster must be mixed exactly as the manufacturer directs for the best results. The instructions must specify the amount of water to plaster to be used and any special mixing procedures.
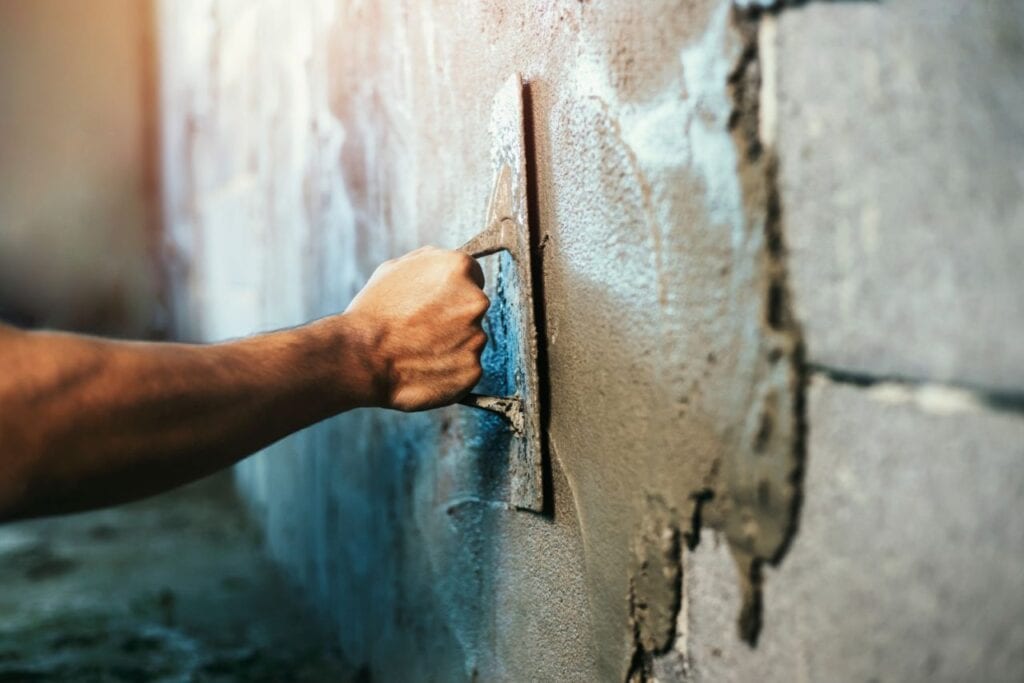
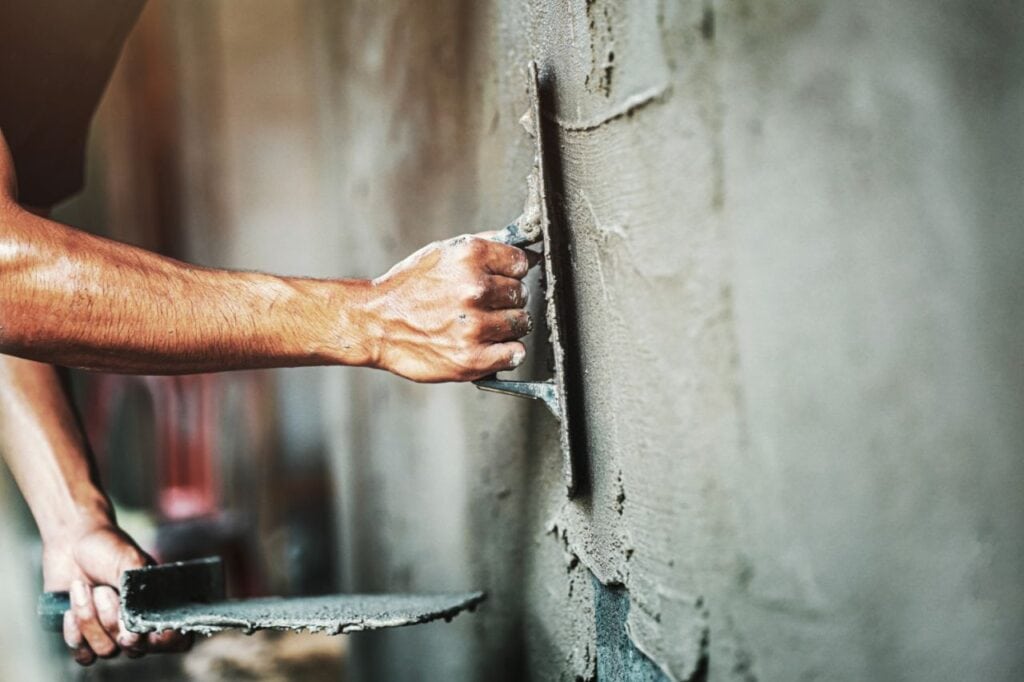
Apply The Plaster Evenly
When the plaster is applied unevenly, it places stress on the surface, which can cause cracks to appear. Plaster must be applied uniformly and at a constant thickness to avoid this. A straight edge or plastering tool will do the trick here.
Allow Time For Drying.
The formation of cracks can be avoided by allowing adequate drying time. The plaster must dry and set for the recommended time before being touched. Plaster can crack if exposed to too much moisture while drying, so that's another thing to keep in mind.
Consider Using Reinforcing Mesh
Plaster cracks can be avoided with the use of reinforcing mesh. This is especially helpful in high-stress areas like corners and around windows and doors.
Tips For Preventing Cracks During Plastering
Plastering without creating cracks is crucial for an even and seamless result. The following are some suggestions for minimising the likelihood of cracks appearing in the plaster:
Use The Proper Tools.
Plastering with the proper equipment can reduce the likelihood of cracks appearing. For example, applying plaster with a flat-edge trowel can help ensure an even coat and lessen the chance of cracks.
Apply Thin Layers Of Plaster
Plastering cracks requires careful application in thin layers to avoid wasting time and materials. A thick coat of plaster applied all at once can cause internal stresses to form and crack as the plaster dries.
Plaster is best applied in thin layers, with sufficient time between coats for drying and settling. Plaster is less likely to crack as a result of internal stresses being alleviated in this way.
Plaster is easier to apply evenly and with a consistent thickness if applied in thin layers. This is significant because some areas will be thicker if the plaster is applied unevenly. This can cause stress concentrations, which in turn increase the likelihood of cracking.
Maintain Consistency In The Plaster Mix
Plaster cracks can be avoided by keeping the plaster mixture consistent. Furthermore, it is essential that the mixture be uniform and well-balanced, with the appropriate proportions of water and plaster, in order to achieve excellent adhesion and forestall shrinkage.
Avoid Overworking The Plaster
Plaster should be worked only a little after it has been applied, as this can cause the plaster to crack. Plaster that has been overworked can become either too dry or too wet, which can result in cracks or a finish that needs to be more satisfactory.
Start by mixing the plaster to the right consistency, following the manufacturer's directions to prevent the plaster from cracking and breaking down from overwork. Plaster, once mixed, is to be applied in thin, even layers with a trowel or plastering tool to ensure an even coat.
Make Use Of Proper Ventilation
Plastering without adequate ventilation increases the likelihood of cracks appearing. This is because as the plaster dries, it emits moisture, which, if trapped, can cause cracking.
Ensuring proper ventilation allows the moisture released during the drying process to dissipate instead of building up and causing stress within the plaster. This is of paramount significance in swampy or otherwise poorly ventilated regions.
Think About Using An Expansion Joint
An expansion joint may be needed to prevent cracking when plastering over a large area or with a different substrate. When two surfaces need to expand and contract due to environmental factors like temperature and humidity, an expansion joint allows this movement.
Putting an expansion joint between the two surfaces helps keep the plaster from cracking as a result of stress. This is especially crucial when plastering over wood or concrete expands and contracts at different rates.
Fixing Plaster Walls: A Step-by-Step Guide
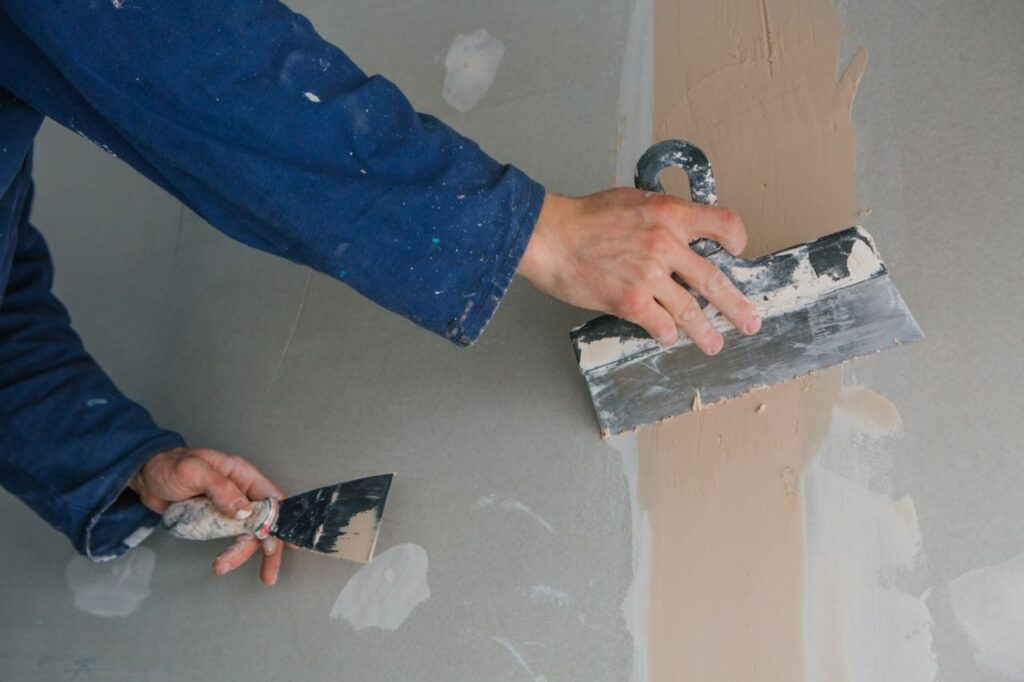
- First, use the utility knife to clean up the crack. Check the aperture for compounds, paint chips, and other debris, and remove them.
- Putty the crack with a thin layer of joint compound. Push the compound into the crack when working your way down from the top of the crack. To get rid of the surplus filler, drag the knife blade perpendicularly across the split (not perpendicular to the crack).
- Use mesh tape to cover the new compound. Press the mesh tape gently into the bed of the compound, starting at the top, and then cut it with the putty knife.
- Immediately after applying the mesh tape, apply another coat of compound. Apply the compound to the tape, starting at the top, and scrape off any excess. Give it at least 30 minutes to dry out.
- The repair area should be lightly sanded to remove high spots and ridges and to feather the edges of the repair. The dust can be wiped away with the tack cloth.
- Apply a third coat and sand the edges to hide the repair or crack if necessary.
How To Fix Small Plaster Cracks
Small cracks can be repaired with a flexible patching compound and a two-coat application process; no sanding is necessary.
- Use the putty knife to scrape the crack clean of any debris.
- The crack should be patched with a flexible compound. Apply the compound to the top of the crack and work your way down.
- Since patching compounds cannot be sanded, any excess must be removed. Use an angled stroke of the putty knife to seal the crack (again, not perpendicular). Before leaving the compound to dry for at least two hours, ensure no mounds or high spots are left behind.
- The flexible patching compound should be applied in two coats, with the second coat going on after the first has dried completely. Again, make sure that no ridges or high spots remain. Please wait until this coat is dry before proceeding.
- Two coats of plaster are used to construct the walls and ceilings of older buildings. To help the brown coat adhere, wood lath strips are nailed to the studs at intervals of about a quarter inch.
- When the brown coat has been set, we only apply the final coat. Plaster and wood lath must bond securely for a plaster surface to last. Plaster crumbles when the bond fails.
Conclusion
Variations in temperature and humidity, an insufficient plaster mix, an insufficient drying time, and inadequate drying time are just few of the causes of cracks in recently plastered walls.
Poor construction, shifting temperatures, improper curing, poor quality sand, insufficient moisture, natural disasters, varying groundwater levels, soil movement, and steel corrosion are all potential causes of these fissures.
Poor construction techniques, structural flaws, and the building's natural settlement over time all contribute to the occurrence of structural cracks.
Climate change, inappropriate curing, poor sand, inadequate moisture, the moment of footing below the earth, natural disasters, varying groundwater levels, soil expansion and contraction, and steel corrosion are all causes of non-structural cracks.
After plastering, there are four distinct crack varieties: hairline, horizontal, vertical, and diagonal. Plaster failure to adhere to the surface or structural movement causes horizontal cracks, although fractures can develop in any orientation, even vertically.
Less prevalent than other types of cracks, diagonal cracks might appear due to structural movement, an improper plaster mix, or sloppy application.
Changes in temperature or humidity, or an insufficiently strong plaster mix, can all lead to hairline cracks, which are less than a sixteenth of an inch wide.
It is important to use the right plaster mix and make sure the base is sturdy to avoid cracks after plastering. Depending on the severity of the damage, repairs may involve filling in holes, repairing cracks, or reinforcing weakened areas.
Plaster that adheres effectively and doesn't shrink needs to be a steady, well-balanced mix. Make sure you use the proper ratio of water to plaster by following the manufacturer's instructions.
Plaster should be applied uniformly so as to reduce surface tension, and sufficient drying time should be allowed. If you want to keep high-stress regions from cracking, you might want to use reinforcing mesh.
Use the right equipment, apply the plaster in thin layers, and keep the plaster mix consistent to avoid cracks. Plaster can easily break if you work it too much. Apply the plaster in thin layers using a trowel or other plastering equipment after it has been well mixed. Allowing moisture to accumulate and cause stress within the plaster, use sufficient ventilation.
Using an expansion joint to minimise cracking due to environmental variables is a good idea when plastering over a broad area or when using different substrates. By allowing for movement between surfaces, expansion joints reduce stress-related cracking.
Using a utility knife, remove the damaged plaster, fill the crack with joint compound, and cover it with mesh tape to repair plaster walls. Repeat the process of applying and drying chemical. If a third coat is required, sand the repaired area lightly to reduce high areas and ridges.
The use of a flexible patching compound and a two-coat application procedure allows for the repair of small cracks in plaster. Clean the crack out with a putty knife, apply the compound, and let it cure before applying a second coat. Older structures typically include wood lath strips fastened to studs at quarter-inch intervals so that two coats of plaster can be applied. If you want your plaster to last, make sure to apply a thick final coat.
Content Summary
- Cracks after plastering are common and can occur for various reasons.
- Understanding the causes and prevention of plaster cracks is important for builders and homeowners.
- Cracks can be structural or non-structural in nature.
- Structural cracks can result from poor workmanship, construction defects, or natural settlement.
- Non-structural cracks can be caused by factors like climate change, improper curing, and soil expansion.
- Plaster cracks can severely compromise the quality of a building.
- Moisture loss during plastering can lead to shrinkage cracks.
- Poor workmanship and structural defects can cause cracks in the plaster.
- High silt content in the sand can cause the plaster to dry out and crack.
- Natural disasters like earthquakes and floods can contribute to the development of cracks.
- Temperature changes can result in thermal cracks in the plaster.
- Corrosion-related cracks can occur when the steel protective layer is inadequate.
- There are four types of cracks that can appear after plastering: horizontal, vertical, diagonal, and hairline cracks.
- Horizontal cracks can be caused by poor adhesion or structural movement.
- Vertical cracks often result from building settlement and may indicate a more serious issue.
- Diagonal cracks are less common and can be caused by various factors.
- Hairline cracks are the most common and are typically very thin.
- Preventing cracks before plastering is essential for a smooth finish.
- Ensuring a stable foundation is crucial to avoid cracks during plastering.
- Using the proper plaster mix with the right water-to-plaster ratio is important.
- Applying plaster evenly and at a constant thickness helps prevent cracks.
- Allowing adequate drying time before touching the plaster is necessary to avoid cracking.
- Reinforcing mesh can be used in high-stress areas to prevent cracks.
- Using the proper tools and applying thin layers of plaster can minimize the likelihood of cracks.
- Maintaining consistency in the plaster mix is essential to prevent cracking.
- Overworking the plaster should be avoided to prevent cracks.
- Proper ventilation is important to allow moisture to dissipate during drying.
- Expansion joints may be necessary to prevent cracking when plastering large areas or different substrates.
- A step-by-step guide for fixing plaster walls is provided.
- Cleaning the crack and filling it with joint compound are the initial steps.
- Mesh tape should be applied to cover the compound, followed by another coat of compound.
- The repaired area should be lightly sanded and feathered for a seamless finish.
- Small cracks can be repaired with a flexible patching compound and a two-coat application process.
- Scraping the crack clean and applying the compound are the first steps in fixing small cracks.
- Wood lath strips are used to help the brown coat adhere during plastering.
- Plaster and wood lath must bond securely for a durable plaster surface.
- Following the recommended drying times and application techniques helps prevent cracks.
- Adequate surface preparation and repairs are crucial before plastering.
- Ensuring the right amount of moisture in the plaster mix helps prevent drying-related cracks.
- Using the appropriate plastering tools and techniques contributes to crack prevention.
- Proper ventilation reduces the risk of moisture-related cracks.
- Expansion joints accommodate movement and prevent cracking in plastered surfaces.
- Flexibility and thin-layer application help minimize cracks in plaster.
- Sanding and feathering the edges of repaired areas contribute to a seamless finish.
- Regular maintenance and prompt repair of cracks can prevent further damage.
- Understanding the different types of cracks helps identify potential.
FAQS About Plastering
Cracks after plastering can be prevented by ensuring that the plaster is applied evenly and in thin layers, allowing sufficient drying time between each layer, and using the appropriate type of plaster for the plastered surface. It is also important to address any underlying issues, such as moisture or structural problems, before applying plaster. Regular maintenance and monitoring of the building can also help prevent cracks from developing.
The seriousness of cracks after plastering can vary depending on the size, location, and type of crack. For example, hairline cracks are generally not a cause for concern, while wider and deeper cracks may indicate a larger structural issue that requires immediate attention.
However, suppose the cracks continue to expand, or there are signs of other damage, such as bulging or sagging. In that case, consulting with a professional to assess the situation and determine the appropriate course of action is recommended.
Cracks after plastering can appear within a few days or up to several weeks after the plaster has been applied, depending on factors such as the type of plaster used, the environmental conditions, and the underlying structure of the building. While some cracking is normal, excessive cracking or cracks that continue to expand may indicate a larger problem with the building's structure, such as settling, shifting, or moisture damage. Therefore, consulting with a professional to assess the situation and determine the appropriate course of action is recommended.
Yes, regular maintenance and preventative measures can help minimise the appearance of cracks in plaster. Keeping the building's environment stable by controlling temperature and humidity levels and addressing any underlying structural issues can help prevent cracking.
Regular inspections and maintenance can identify potential issues early on and prevent them from becoming larger problems. Additionally, using the appropriate type of plaster for the specific surface being plastered and applying it evenly in thin layers with sufficient drying time between each layer can help minimise cracking.
Yes, there are instances where cracks in plaster should be cause for concern, such as when they are wide, deep, or expand over time. However, cracks accompanied by other signs of damage, such as bulging, sagging, or moisture, may also indicate a larger problem with the building's structure.
In these cases, it is recommended to consult a professional to assess the situation and determine the appropriate course of action. A professional can help identify the cause of the cracking and determine whether it is a cosmetic issue or a more serious structural problem that requires immediate attention.