Getting rid of a wasp or bee nest isn't just about getting rid of a possible danger; it's also about doing it to show care for these important pollinators. First, you should always learn about the species you're dealing with. Next, it's very important to make sure you have the right safety gear. Even though it may be tempting to do it yourself, bigger nests usually need professionals' help to ensure everyone is safe and the insects are healthy.
How does the process work, though? What is the difference between species that are friendly and mean? And what are the best methods that experts in the field say should be used? As we go deeper into this piece, we'll discover how complicated nest removal is and give you useful tips and ideas for a safe and successful method.
The Difference Between Bees and Wasps
People often mistake bees and wasps for each other because they look alike and can sometimes be aggressive. But these insects are different in how they look and what they do in the environment.
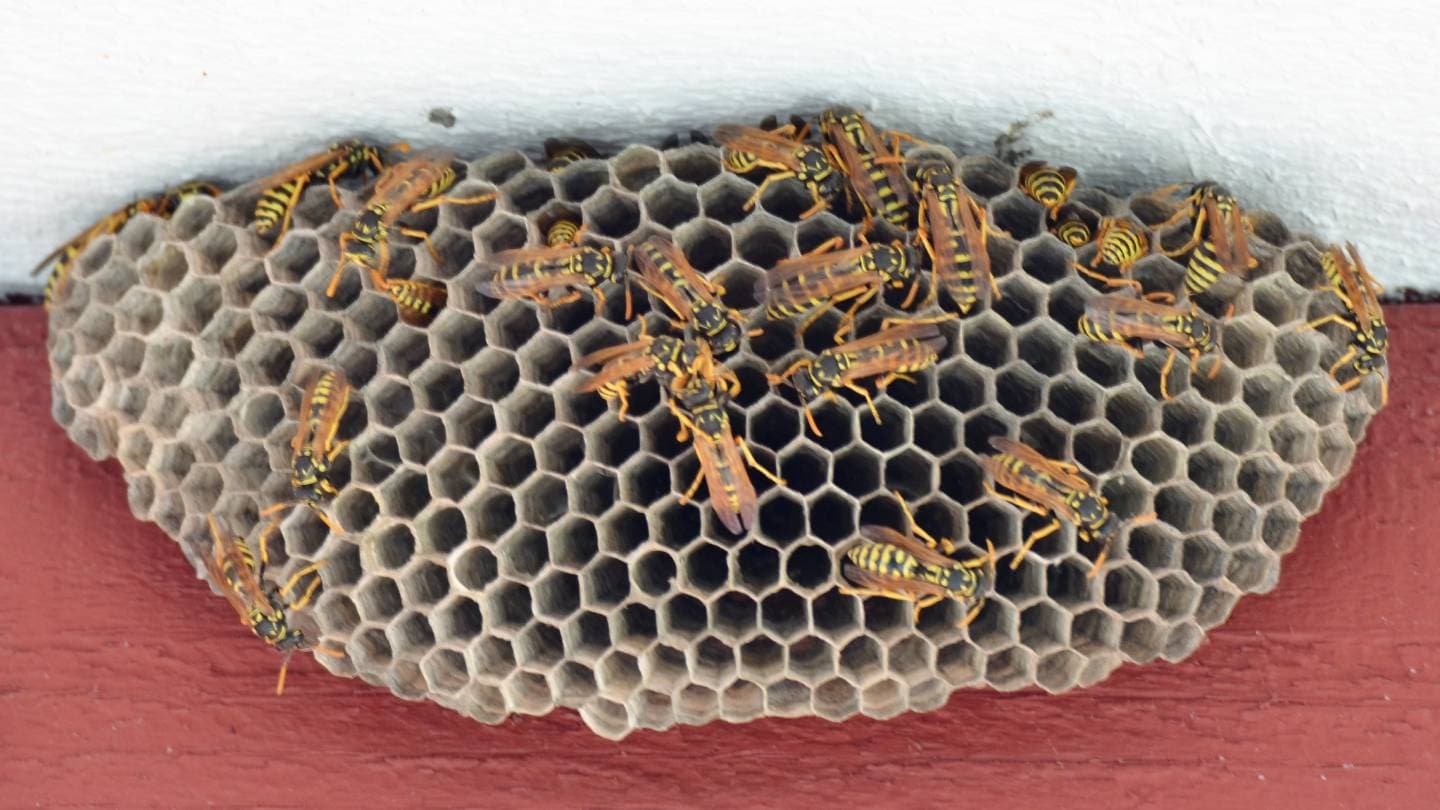
Differences Between Bees And Wasps:
Appearance:
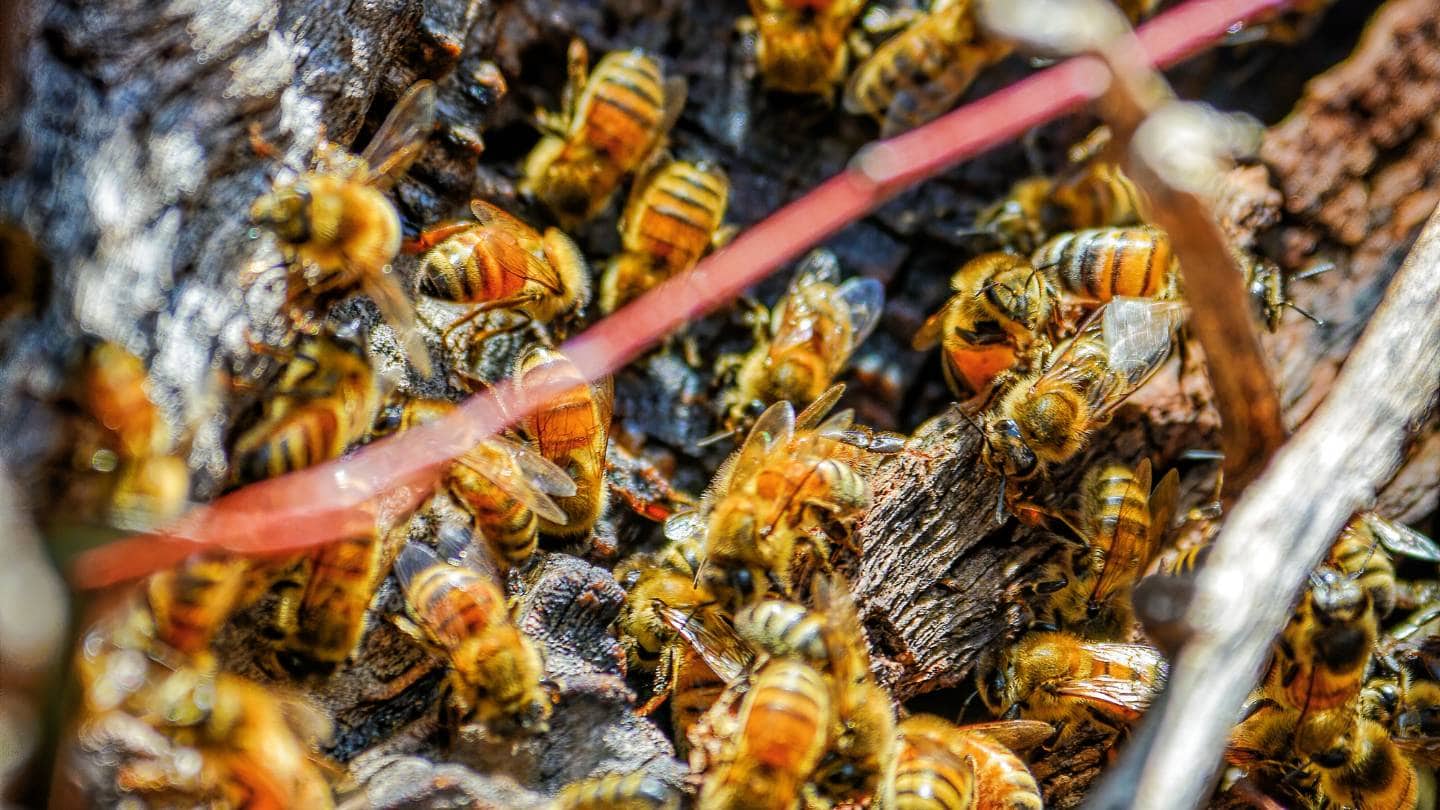
- Bees: In general, bees tend to be hairier and rounder. Their bodies are typically more robust and divided into various regions. Most bees possess plumose or branching hairs to gather and disperse pollen.
- Wasps: Wasps are easily recognisable by their slim, sleek bodies and thin waists. When contrasted with bees, they look sleeker.
Dietary Habits:
- Bees: Bees don't eat meat. Honey and food for their larvae are made from nectar and pollen, which they mostly consume.
- Wasps: Wasps have a predatory nature. Insects, spiders, and even carrion are staples in the diets of many species. Bees and other insects also feed on nectar.
Behavior:
- Bees: Unless threatened, bees will not sting. Typically, they only administer venom in response to perceived danger or self-defence in their hive.
- Wasps: Unprovoked stings from some wasp species can be rather painful. The stinger of many wasps remains attached even after stinging, allowing them to sting repeatedly, unlike honeybees.
Social Structure:
- Bees: Most bees are social animals that live in groups called colonies. Each colony has a queen, workers, and drones.
- Wasps: Many wasp species are solitary, with each female creating and maintaining her own nest, while certain species, like yellowjackets, also live in colonies.
Signs That There Is a Nest Near You
If you have a nest of European wasps, you could see a swarm of these little bees buzzing around the region. A fully developed nest might include thousands of wasps. Additionally, you can observe the return of wasps and bees by leaving out sugary food.
Bees create a wax ball that can grow as big as a football, whereas wasps create a papery spherical for their nest. You can hear a buzzing sound if they have swarmed into a basement, attic, or other interior space. Because European wasps are violent and can sting more than once, you shouldn't try to get rid of the colony on your own. Instead, you should call a professional pest control service.
What Does A Wasp Nest Look Like?
Wasps use a wide variety of materials to construct their nests. They are also different in the locations that draw them. The difference between a wasp nest and any other kind of nest should be relatively easy to spot.
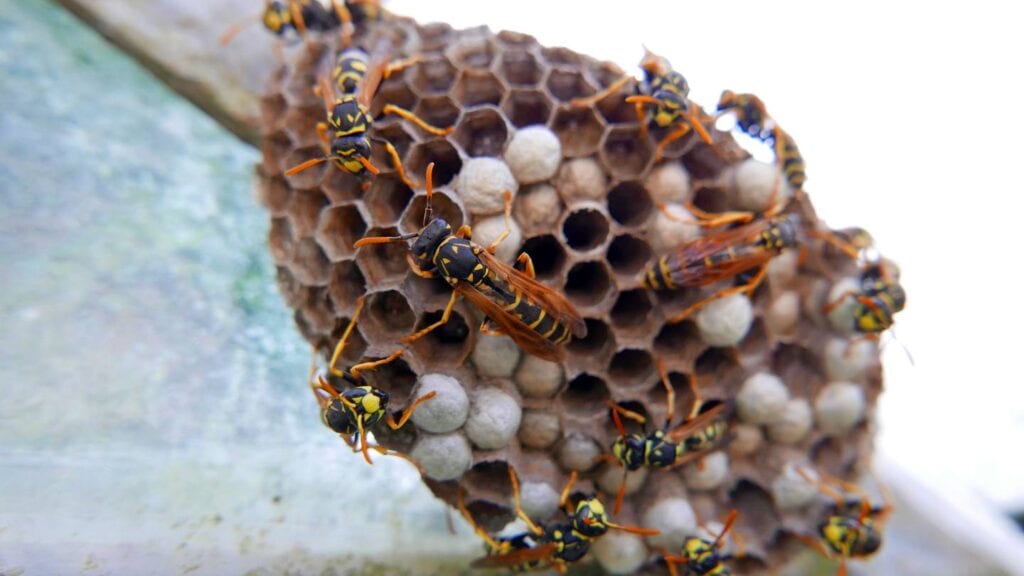
The typical appearance of a wasp nest is a solid glob with what appears to be paper threads on the exterior. Inside are honeycomb structures that seem like little cells, making it look like a beehive. We advise against touching this type of nest because of its generally papery texture. It has the appearance of a firm cotton ball on occasion.
Miniature pottery is another common style that you may already know. Some species make nests from mud that look like small pots or other shapes. Most of the time, those would be smaller than the paper option because most of these species live alone. But sometimes, we've seen huge nests resembling big termite mounds, which isn't always true.
How to Remove a Nest Safely?
When getting rid of nests, especially bee and wasp ones, it's important to put safety first for yourself and the environment. Here are some safe ways to get rid of a nest:
Natural Deterrents
Plants
Because of their smell or the chemicals they release, some plants can discourage bees and wasps from visiting.
- Mint: You can protect your house against wasps and bees by planting mint around it. They have trouble finding food sources because of the strong mint smell.
- Eucalyptus: Bees and wasps can be scared away by the strong scent of eucalyptus. One way to make a natural barrier is to plant eucalyptus trees around your property.
- Basil: These pests might be scared away by the spicy scent of this herb. To deter them, plant basil in pots and place them near windows and doors.
Solutions
- Peppermint Oil: A repellent is a spray bottle filled with water and a few drops of peppermint oil. Be sure to spray all potential nesting sites.
- Vinegar: Wasps can be scared away with vinegar and water. Spray this solution around places where birds can nest.
How Can Wasp Nests Be Safely Removed?
Did you see any wasps in your backyard recently? Finding the nest is the first step in wasp removal. But it can be trickier to eliminate a wasp infestation without being stung. Wasp stings are uncomfortable and painful, but they seldom cause death.
Severe allergic reactions have been reported in certain individuals. Wasps, in contrast to bees, can sting numerous times. Therefore, you could get into trouble if you remove a wasp nest incorrectly. For that reason, wasp nest removal must be done safely.
Finding The Nest
Find the nest first thing, first. You should find out where their nest is even if you observe wasps. You have to locate them before you kill them. Although they have a negative image, wasps are not as violent as bees. Therefore, you may watch them eat and observe their movements afterwards. Typically, they will band together in a small group and fly straight to their nest. It may assist you in locating their nests.
Some wasps build their nests in plain sight. Under eaves is where paper wasps build their nests, which get their name because they resemble paper bags. If you see anything resembling a paper bag with holes punched into it, you will have spotted their nest.
Have you yet to be able to locate the nest? Be on the lookout for wasps flying into or out of your house. That can be an indication of a major infestation or other serious problem. On the other hand, it might reveal the location of the wasps.
Important Considerations For Nest Removal
Determining whether to eliminate or not is the next step. Many people focus on bees as pollinators, but wasps play an equally important role. Their function in nature is crucial. Plus, they're effective against a wide variety of creepy crawlies.
Consequently, you should probably get rid of them without killing them. However, if the infestation is particularly large, removing the wasps safely without killing them may not be feasible. Therefore, before you decide on a strategy, you need to conduct some research.
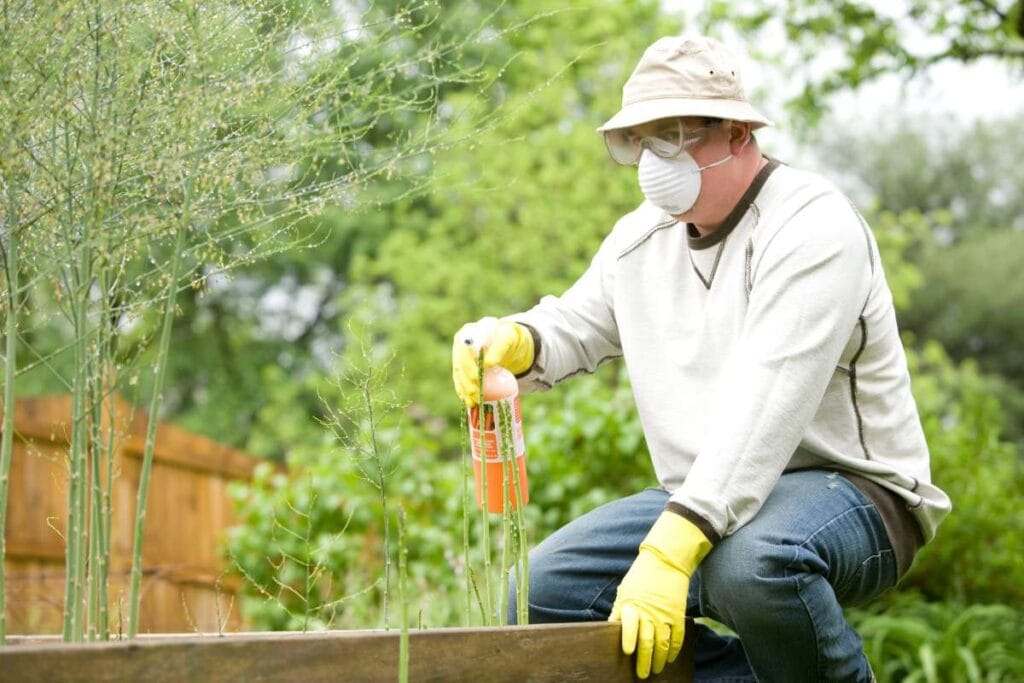
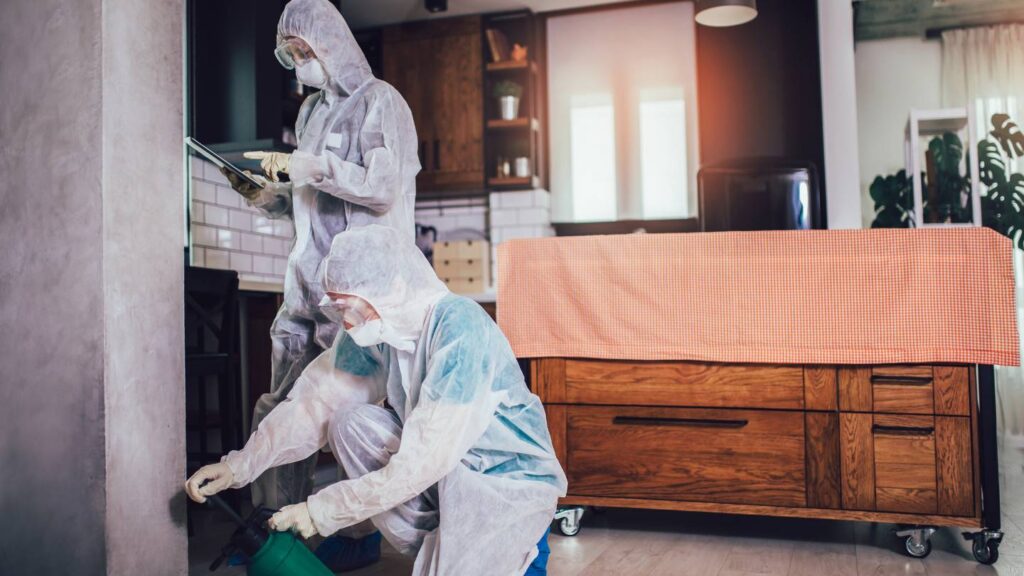
It would help if you considered wearing protective gear or clothing regardless of your choice. Wearing heavy clothing can help reduce the likelihood of getting stung. At the very least, the garments should fit snugly where you intend to wear them. You must have a long-sleeved shirt, jeans, and sturdy gloves.
It is best to work at night to try no-kill cleanup. Wasps usually build their nests at night, so you should be able to get work done without waking them up. Take a plastic bin and put it over the wasp nest. Then, move the container along the other surface while holding it firmly. This will knock the nest free. Close it quickly with the lid.
As soon as the wasp nest is safely gone, the wasps must be moved. They will likely come back to your house if you move them close. Also, please don't put it near other homes, parks, or places with a lot of traffic.
If there is a forest area close by, that is a good spot. Place the box on the ground when you get there. Take a step back and open the top. We don't like seeing people throw trash away, but you should get the bin instead of trying to take the next one out.
Preventing Wasp Infestations At Home
Wasps can be a nuisance, but there are ways to keep them away from your house. Cinnamon, peppermint, geranium, lemongrass, and clove are aromatic oils that hounds dislike. It is possible to deter wasps from building nests in areas where you have soaked paper or fabric in peppermint oil. They might still stay put in their present nests.
Deterrent sprays are another way to eliminate wasps that won't hurt them. Like the oils, these work best before the wasps build their homes. You can get these sprays at most places that sell pest control products and at shops that sell pest control products.
Spray it on the walls and other places where wasps might build a nest. It can also be used on wasp nests. But the ones that aren't poisonous won't kill wasps. Be aware that you might annoy them, which could make them angry.
Hornets and wasps have homes where they stay. They don't build their nests near hornet and wasp homes. To stop them from making nests, you can use fake nests. You can even put fake nests near their real ones. Bees and wasps often leave their homes and move on if they sense other bees or wasps are nearby. You can get fake homes. You can also use small brown paper lunch bags crumpled up as fakes.
Getting Rid Of Wasps If Required
It may be necessary to go from removal to extermination if your no-kill strategies are failing. Applying wasp-killing pesticides might be the simplest and initial course of action. While they work on individual wasps, they shine when you soak the nest.
Let it soak for a full day. Choose a sprayer with an extendable nozzle if you have trouble reaching the nest. After you've confirmed that every wasp has died, you can remove the nest. Other wasps won't return if you destroy their nest. If sprays are necessary, protect yourself by using gloves and goggles.
Infestation Prevention: Tips:
Maintaining A Clean Environment:
- Stick to a regular cleaning plan to keep food crumbs, spills, and other things that can attract pests from piling up.
- Immediately clean up spills and put food in airtight containers.
Seal Entry Points:
- Check your house thoroughly for any holes, crevices, or openings that pests could exploit. Use caulk or another appropriate substance to seal these spaces.
- To keep insects and rodents from getting under outside doors, install door sweeps.
Proper Storage:
- Do not store firewood, mulch, or other outdoor things close to the foundation of your house.
- Make sure you periodically empty and securely close your trash cans.
Monitor:
- Look for evidence of pests, such as droppings, food packaging that has been chewed, or strange smells.
- You should use tracking devices or traps in places where pests are a regular problem.
Landscaping:
- Trimming back trees and bushes will keep pests from getting into your home.
- Removing gutters, birdbaths, or other objects with standing water will eliminate places where mosquitoes and other pests can breed.
Professional Inspection:
- To find and fix possible problems before they become big, you should have a pest control professional do regular inspections.
Conclusion
Getting rid of wasps and bee nests is a complicated process that needs knowledge about the species and the right safety gear. Bees have more hair and are rounder. Their hairs are plumose or branched, which helps them collect and spread pollen. Wasps are predators that eat bugs, spiders, and dead animals. They have slim, smooth bodies and thin waists. They live in groups called colonies, which have queens, workers, and drones.
A swarm of bees moving around the area is a sign that there is a nest nearby. European wasps can sting more than once. Wasp houses look like solid globs with paper threads on the outside and honeycomb structures on the inside. There are also tiny pots and figurines with them.
If you want to safely get rid of a nest, you could use plants, peppermint oil, eucalyptus trees, mint, or basil as natural repellents. Wasps will be less likely to find food if you plant mint around your house. Eucalyptus trees have a strong smell that can keep bees and wasps away. Putting basil near windows and doors can also keep bugs away.
Peppermint oil and vinegar are two things that can be used to scare wasps away. But it's important to get rid of wasp nests safely to avoid serious allergic responses and possible harm. In conclusion, getting rid of a wasp nest is a complicated process that needs to be carefully planned out and handled with care to protect the insects involved.
Find and get rid of wasp nests before you try to get rid of wasps. You can see them eating and flying to their homes. They are not as mean as bees. Some wasps build their nests where people can see them, like paper wasps who do it under roofs. If you haven't found the nest yet, keep an eye out for wasps coming and going from your home.
Next, decide if you want to get rid of the wasps by poisoning them or not. Put on safety gear or clothes, like pants, a long-sleeved shirt, and strong gloves. For a no-kill cleanup at night, use a plastic bin to quickly knock the nest free and close it up. Take the wasps away from other people's homes, parks, and busy areas.
To keep wasps out of your home, use fragrant oils like clove, cinnamon, peppermint, geranium, and lemongrass to keep them from building nests. Wasps can also be killed with sprays that keep them away without hurting them. Wasps won't be able to build nests if you use fake nests or old paper lunch bags rolled up.
If you can't get rid of the wasps, use chemicals that kill wasps and let them soak for a whole day. Protect yourself by putting on gloves and masks if you need to.
Some ways to keep an area free of pests are to keep it clean, seal off any openings they can use, store things correctly, keep an eye on them, do some landscaping, and have a professional do regular checks. If you follow these steps, you can get rid of wasp nests and keep your family and home safe.
Content Summary
- Identify the species of the bee or wasp nest to determine the appropriate removal method.
- Use protective gear when attempting to remove a nest to avoid stings.
- For larger nests, seek professional help to ensure the safety and health of the insects.
- Bees and wasps differ in appearance; bees are hairier, while wasps have slimmer bodies.
- Bees primarily feed on nectar and pollen, whereas wasps have a more varied diet, including insects.
- Bees sting only when threatened, but some wasps can sting unprovoked and repeatedly.
- Bee colonies have a social structure with a queen, workers, and drones, while some wasps are solitary.
- Signs of a nest include swarming insects and the return of wasps and bees to a specific location.
- Wasps build nests from various materials, often appearing papery with a honeycomb structure inside.
- Some wasps build nests from mud, resembling miniature pottery.
- Natural deterrents like mint, eucalyptus, and basil can repel bees and wasps.
- Peppermint oil and vinegar solutions can be used as repellents around potential nesting sites.
- Locate the wasp nest by observing their flight paths and looking for nests under eaves or in visible locations.
- Wear protective clothing, including long sleeves, jeans, and gloves when removing a nest.
- Attempt no-kill removals at night when wasps are less active.
- Cover the nest with a plastic bin, detach it, and securely close the lid for transport.
- Relocate the nest to a distant, unpopulated area like a forest.
- Use aromatic oils like cinnamon and peppermint to deter wasps from building nests.
- Deterrent sprays can prevent wasps from establishing nests in treated areas.
- Fake nests can discourage wasps and hornets from building nearby.
- If necessary, use wasp-killing pesticides to exterminate the nest and wasps.
- Apply pesticides directly to the nest and let it soak for effective results.
- Destroy the nest after confirming all wasps are dead to prevent new colonies.
- Regularly clean your environment to reduce the attraction for pests.
- Seal entry points in your home to prevent pests from entering.
- Store firewood and mulch away from your home's foundation.
- Regularly empty and close trash cans securely.
- Monitor for signs of pest infestations like droppings or chewed packaging.
- Use traps or tracking devices in areas prone to pests.
- Trim trees and bushes to prevent pests from accessing your home.
- Remove standing water sources to deter mosquito breeding.
- Have regular professional pest control inspections to prevent infestations.
- Avoid storing food in open spaces, which can attract wasps and bees.
- Use natural repellents, like citronella candles, to keep wasps away from outdoor living areas.
- Install fine mesh screens on windows and vents to prevent wasps and bees from entering the house.
- Avoid wearing strong perfumes or scents outdoors, as these can attract bees and wasps.
- Keep gardens and outdoor areas free of food debris and fallen fruit, which can attract wasps.
- Use wasp traps in strategic locations around the property, especially during peak activity seasons.
- Avoid swatting at wasps or bees, as this can provoke them to sting.
- Educate family members, especially children, about the importance of not disturbing bees or wasp nests.
- Regularly inspect your property for early signs of nest building, especially in spring and early summer.
- If allergic to bee or wasp stings, always carry an epinephrine auto-injector and have an emergency plan in place.
- Avoid brightly coloured clothing and floral patterns, which can attract bees and wasps.
- Do not attempt to remove a nest if you are allergic to stings; always call a professional.
- Ensure that all outdoor bins have tightly fitting lids to avoid attracting wasps.
- Reduce outdoor lighting at night, as lights can attract wasps and other insects.
- Avoid overwatering gardens, as excess moisture can attract wasps seeking water.
- If a nest is located in a difficult or dangerous location, do not attempt removal; contact professional services.
- Keep an eye on attics, sheds, garages, and common places where wasps like to build nests.
- Stay calm and move slowly if you encounter a wasp or bee to minimise the risk of being stung.
Frequently Asked Questions
To identify a bee or wasp nest, look for a papery structure, often grey or brown, that can vary in size from a golf ball to a basketball. Bees usually construct their nests in protected places like hollow trees or inside walls, while wasps often build theirs in exposed areas like under eaves or in bushes.
Removing a bee or wasp nest alone can be dangerous and is not recommended, especially if you are allergic to stings or if the nest is in a hard-to-reach area. Professional pest control services have the equipment and expertise to remove nests safely.
While it's generally safer to hire professionals for nest removal, you can try some natural methods, such as using a solution of soap and water to spray on the nest or placing a decoy nest nearby to deter wasps. However, there may be more effective methods for large or established nests.
To prevent bees or wasps from building nests on your property, you can:
- Seal off potential nesting sites, such as cracks or crevices in walls and eaves.
- Keep food and garbage tightly sealed to avoid attracting them.
- Plant bee and wasp-repelling plants like mint, eucalyptus, or marigolds.
- Regularly inspect your property for signs of nesting activity and take appropriate action if necessary.
Suppose you find a bee or wasp nest on your property. In that case, it's best to contact a professional pest control service to assess the situation and determine the safest and most effective removal method. Avoid disturbing the nest or attempting to remove it yourself, as this can provoke the insects and increase the risk of stings.