Bed bugs, those pesky little nighttime invaders, have long been a source of frustration for both homeowners and renters. Anyone who has ever come into contact with these hardy beings can feel a chill run down their spine just thinking about them.
Do-it-yourself (DIY) solutions exist for controlling their populations and restoring your peace of mind, so there's no need to be afraid.
This blog will discuss some do-it-yourself methods for controlling bed bugs and stopping them from returning.
Where Do Bedbugs Come From?
You might ask, "How did this happen to me?" after discovering bed bug evidence in your possession. People often feel embarrassed to admit they have bed bugs because of the widespread belief that these pests exclusively live in filthy homes. But there's no truth to this!
Bed bugs are a common sight in any setting where people congregate. Because of the constant influx of hundreds of guests, hotels rank high among the most likely locations to encounter bed bugs. A room can quickly become infested when someone accidentally brings them in on their clothes or luggage.
No matter how meticulously you clean your room, it's always a good idea to give the bed you're sleeping on a once-over to ensure no bed bugs. Travelling often will save you a tonne of trouble and money. Additionally, it is advisable to clean out your bags and wash your clothes in a hot wash upon your return, just in case.
The bed bug population is highly adaptable. Even without food, they can survive for up to a year, allowing them to remain inactive for an extremely long period, only waiting for their food supply. Using used furniture is another typical entry point for pests into homes.
While we may all appreciate a good deal, the next time you find a couch, inspect it well before taking it inside. If you're still unsure, you can give it a quick vacuuming or, if you want to be careful, call a company that deals with pests.
One of the most essential things to remember is that no one is safe from being infested with bed bugs. Suppose you board a bus only to find that one of the seats has bed bugs on it. These bugs can then infest your clothing, which you can wear back to your house. Their origin is irrelevant; what matters is that they are eliminated without delay.
Identifying Bed Bug Infestation
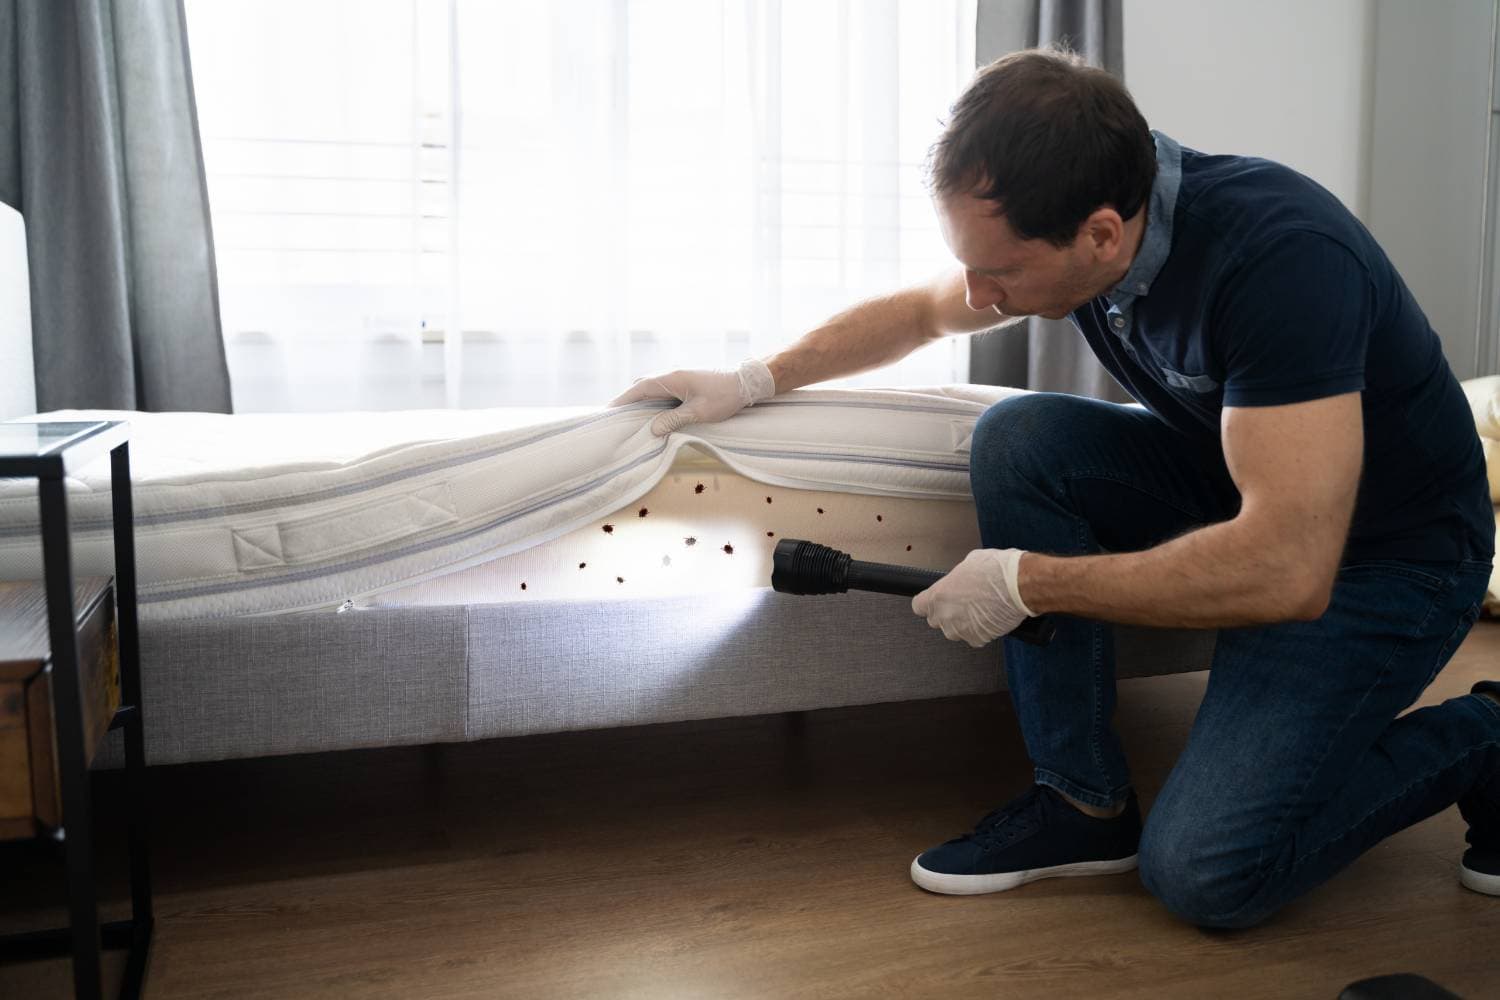
The first step in dealing with pest problems is to confirm your infestation. The size of bed bugs makes this a difficult chore; adult bugs can reach a length of 6 mm, and it is already difficult to spot them while they are young. Furthermore, nymphs, basically baby bed bugs, are mostly invisible to the naked eye, so you probably won't notice any of them.
It would be best if you instead kept an eye out for the following common signs:
Blood Stains
Blood spots on bedding, pillowcases, and infested areas are common signs of bed bug infestation. Bed bug faeces contain blood, leaving dark brown or red patches around the affected area.
Scratched bed bug bites can also leave blood stains on bedding. This is a tough indicator to utilise because these stains could be caused by any skin lesion or insect bite that has been scratched. However, when blood stains are seen alongside black faeces, the reason for the stains becomes clear.
Bed Bug Bites
You can avoid carrying bed bugs home if you know how to recognise their bites if you see them on someone else staying at your accommodation. Bite marks like this are a surefire indicator of a bed bug infestation, so we hope you don't experience them or see them on anyone in your household.
Bed Bug Feces
This small insect produces an enormous amount of its jet-black faeces, spreading all over. Mattresses infested with these bugs will have black pockmarks on the edges and seams; if they have contaminated a piece of furniture, a black residue may be discovered on the stitching and in the folds or creases around it.
Bed bug excrement is sticky. This is why you might see them as little dots adhered to surfaces like walls, carpets, wood, or fabric. The paint should have stains surrounding the excrement and, frequently, streaks that travel down the wall.
The infestations of bed bugs can be detected by observing streaks on the baseboards or the cover of contaminated wall outlets. If bed bugs sneak into your bed at night to feast, you might also notice these streaks on your sheets and pillowcases.
Insect Parts
To mature into adults, bed bugs go through five distinct phases of development, which are referred to as larvae. They shed their cuticle as they progress from one instar to the next in the evolutionary cycle. Discovering these shed cuticles, also known as casings, strewn around the floor, laying on sheets, or adhering to faeces is possible.
Crawling Bugs In Your Home
Crawling bed bugs are a strong sign of an infestation, especially if you notice more than one; however, remember that it only takes one insect to infest a room; an infestation could be a single bug that crawled off someone before you.
It would be best always to take extra precautions to be safe when dealing with bed bugs. You might not get any more warning signs than that one-bed insect.
Before You Get Started
Take these steps before you begin your DIY bed bug treatment program:
Determine The Bed Bug Infestation Areas
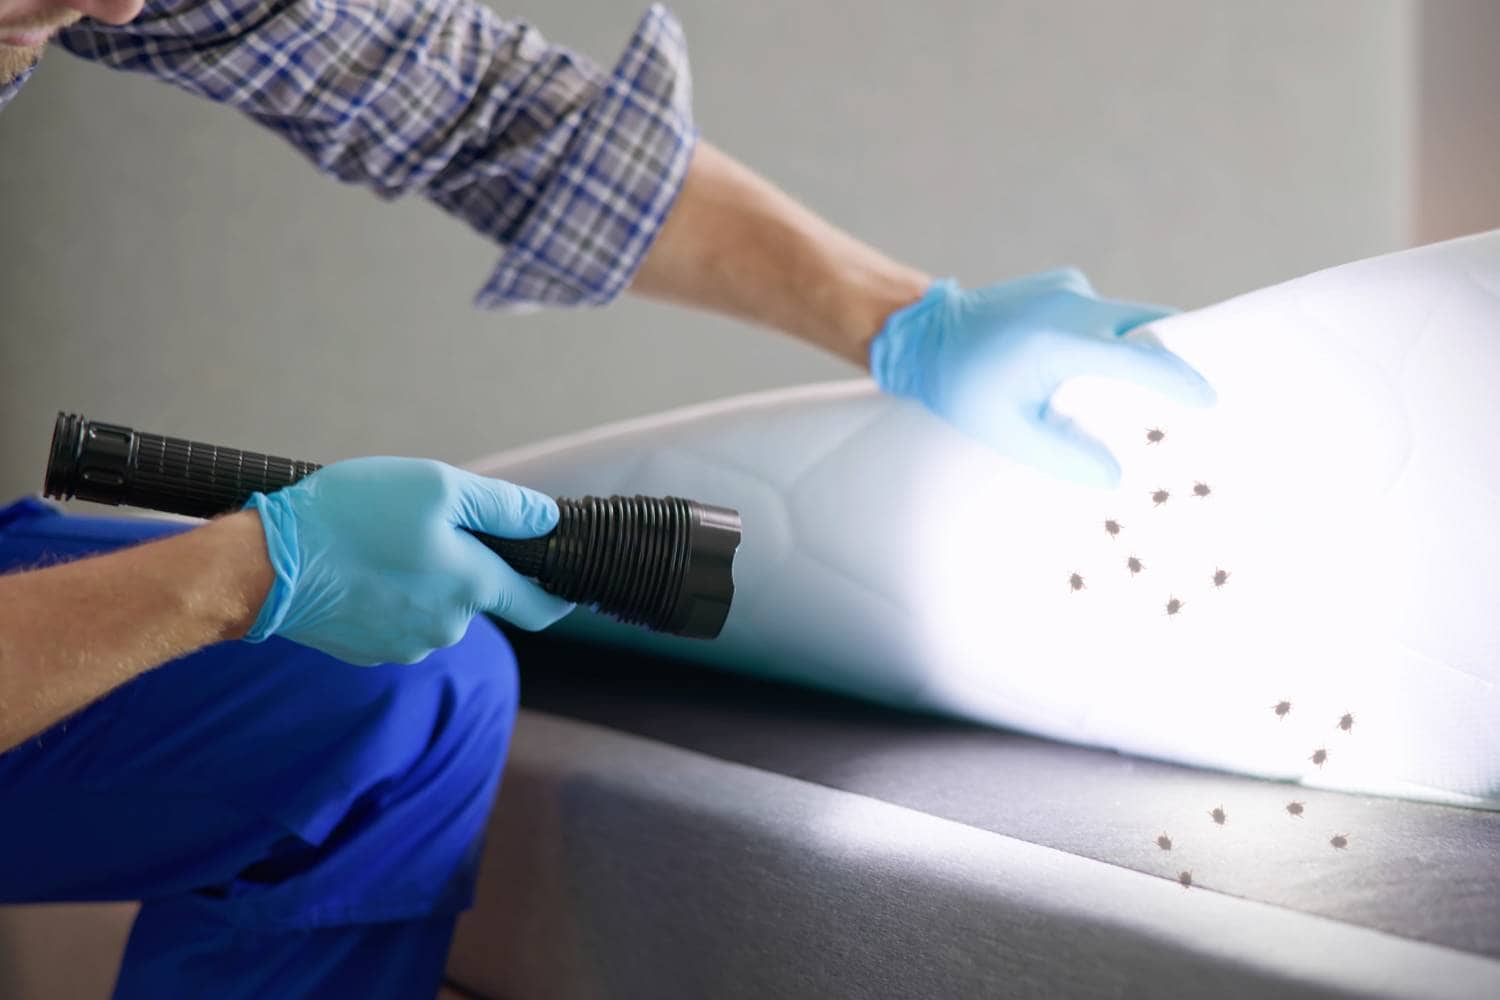
The best way to find out if you have bed bugs and, if so, where they could be hiding is to search for signs of an infestation. Bed bugs leave behind little stains that resemble rust on various surfaces, including cloth. Infested areas may also contain small faeces, eggs, and dead bugs.
They tend to congregate near these items because of the abundance of hiding places in upholstered furniture, such as mattresses, couches, and chairs. Also, the pheromones that bed bugs release typically give them a scent compared to almonds, raspberries, or coriander—sweet and somewhat spicy.
A bed bug infestation could also cause you to detect bites on your skin. If this keeps happening in the same spot in your house, you should start looking there. The best time to find bed bugs is at night when they are most active and tend to hide in bedrooms. Put one in a plastic bag and give it to the exterminator to confirm that you have bed bugs.
Contain The Infestation.
It is necessary to vacuum the area extensively to control bed bug infestations. Vacuuming the area around your bed—including the mattress, frame, and box spring—and any mouldings, windowsills, furniture, and other objects—is as important as vacuuming the floors. When you're through vacuuming, throw the hose into the trash and, if the vacuum has a cylinder, clean it.
To keep the bugs from spreading, don't transfer bedding or any other things made of cloth or porous material from one room to another. To keep the bed bugs and their eggs in one place and stop them from spreading, bag anything that could be affected.
Preparing To Treat Bed Bugs
Get your house bed bug ready by clearing out all the unnecessary items. To save water and prevent having to wash the same items repeatedly, keep washed bedding and other fabric materials away from the afflicted area while you apply the treatment. To make setting up your bedding after treatment easier, having dust mite prevention covers for your mattress and pillows on hand is a good idea.
Bed Bug Control: DIY Methods
Exterminating pests alone will save you much money compared to hiring a professional. However, you'll need patience and a lot of hard effort to get rid of bed bugs without hiring an exterminator. Cleaning, treating, and sealing your home will be more than just checking off a single item on the list.
Determine in advance how you will complete each assignment. Whether you're on a strict budget and can't pay for a professional exterminator or just like to do things on your own, there are many options to help you keep within your budget. You increase your chances of success by preparing ahead of time.
Use Cold
Putting objects in a plastic bag and then placing them in the freezer at 0 degrees Fahrenheit for four days is a viable option. Because most freezers are not set to that level of cold by default, you will likely need to modify the temperature.
Use Heat
Bed bugs can be effectively killed by applying intense heat in all their life phases. In most cases, they can be killed within 20 minutes at a temperature of 118 degrees Fahrenheit. Applying high heat with a hand drier is one option. Holding the dryer for 30 minutes is a bit much; thus, it's best suited for tiny items.
You can expose the items that have been packed to the sun if you live in an area with a warm environment. The heat will accumulate inside the bag and eliminate any bed bugs if the temperature outside is at least 95 degrees Fahrenheit. A portable heater made especially for bed bugs is available for purchase. After being heated to 120 degrees Fahrenheit, the bags can be inserted onto racks to accommodate various goods.
Vinegar
You might have observed that there are several do-it-yourself (DIY) approaches and home cures for controlling bed bugs; vinegar is one of them. Vinegar is a short-term fix for bed bugs, but it won't last as long as chemical pesticides and insecticides containing active components like pyrethroids. This easily accessible substance can be sprayed onto the bedbugs' hiding spots, including carpets, headboards, and tufts.
Vinegar does not kill bed bug eggs or nymphs directly but kills them upon touching. Aside from that, it might only be compatible with some fabrics. So, think about this before you try to kill bed bugs with vinegar as a do-it-yourself solution.
Sprays
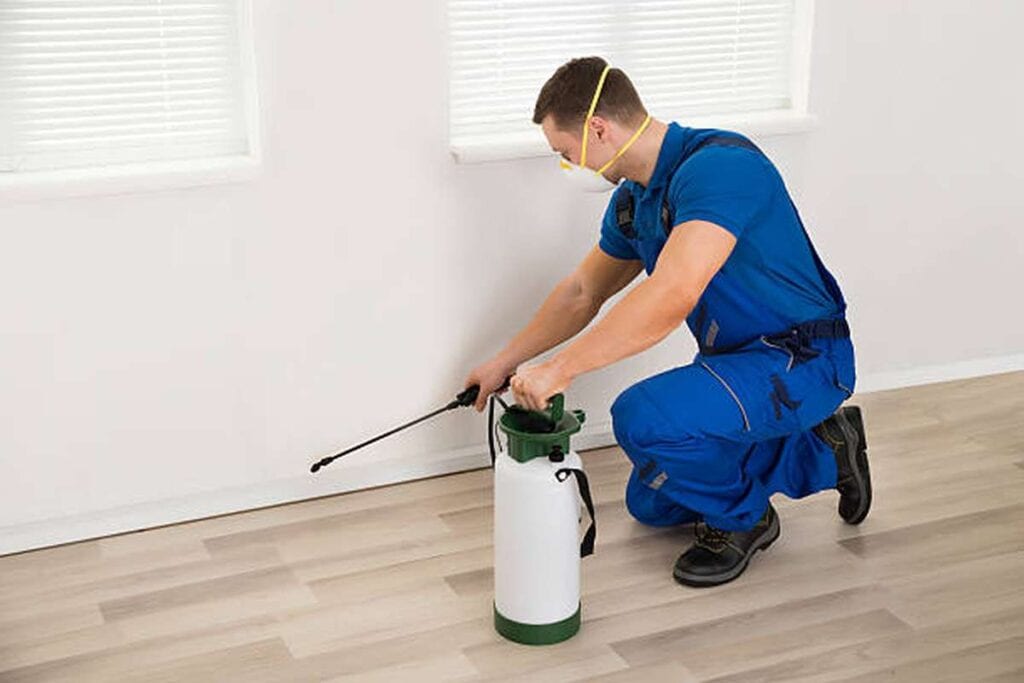
Pests can be killed instantly by using a contact insect spray. Remember that soapy water is another viable option. You should exit the room and ensure your pets do the same after applying pesticide sprays. You need to permit air to circulate and ensure everything sprayed dries thoroughly. Avoid getting spray on the tabletop or countertops in the kitchen.
Silica Gel
In terms of efficacy, silica gel—a type of diatomaceous earth—is among the best methods for eliminating bed bugs. Bed bugs and other little insects like to hide in furniture's seams, folds, tufts, and cracks. They also like hiding in small places, such as under rugs or headboards.
Silica gel is useful in this situation. Instead of using harmful chemicals and pesticides, it's a good option. Effectively disturbing the bed bug infestation, this natural insecticide works by drying out the insects, especially the nymphs.
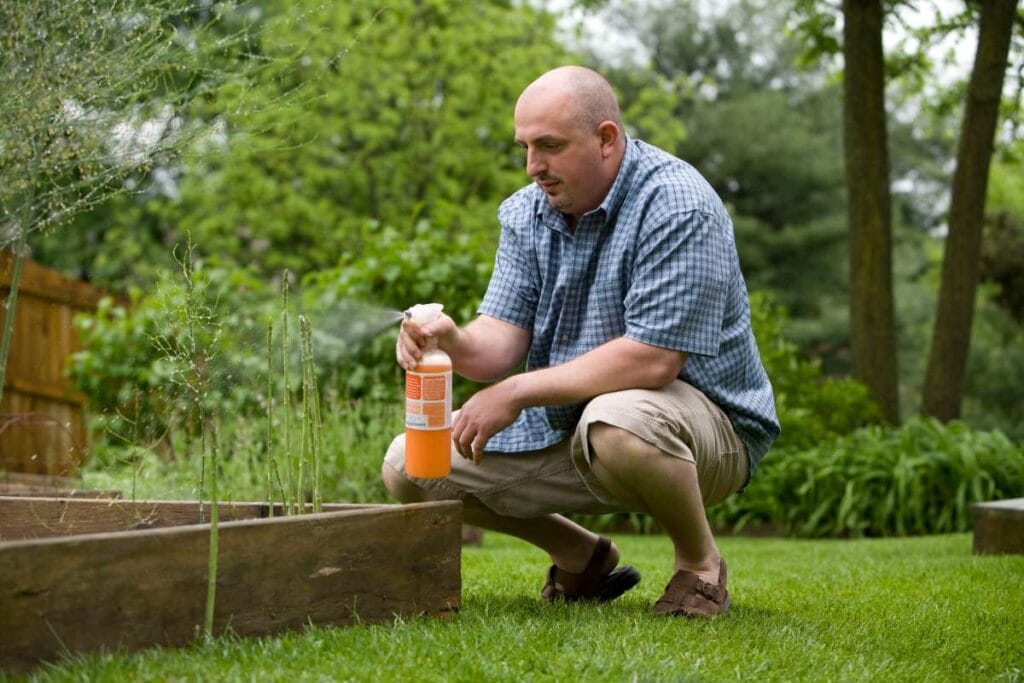
Applying the silica gel from a spray bottle to the bed bugs' hiding spots is all it takes to utilise. Treating the entire mattress, including the seams, bed frames, tufts, and box springs, is important. The sofa, rugs, and headboards should also be treated.
Bug Bombs
Bed bug treatments such as foggers or insect grenades are not advised. Since they are so little, the bugs evade foggers by hiding in hidden spots. Because the attack might drive the bugs to relocate, utilising a bug bomb may worsen things.
Be very careful to follow all directions while utilising explosives. It should not be used where food is produced or stored. Everyone in your family, even the furry ones, needs to get out of here. Wait around two hours after you let the fogger go. Next, make sure there's enough air circulation in the room.
Pesticide Strips
Use insecticide strips inside bags or bins—or position them in extremely low-traffic areas of your home, like closets—instead of utilising sunlight or a freezer to eliminate the bed bugs. Please do not use the strips near food or youngsters; wash your hands thoroughly after handling them.
Paint Thinner
Regarding the fight against bed bug infestations, paint thinner, a chemical commonly found in households, is frequently disregarded as a possible weapon. Although many individuals seek the services of professional exterminators to treat bed bugs, other do-it-yourself options can be an efficient approach to eliminating bed bugs.
Using paint thinner is one way to do it. Bedbugs, in all their stages of development, can be killed by applying the thinner's active ingredient to their hiding spots. Nevertheless, exercise extreme caution. Avoid getting paint thinner or any other chemical material on yourself or your clothing, and always use a spray bottle when applying these potentially dangerous substances.
Tea Tree Oil
Tea tree oil is well-known as an element in numerous home cures for different disorders; nevertheless, it may also help with bed insect control. A spray bottle with a combination of water and tea tree essential oil is all needed for application.
An all-natural substitute for conventional pesticides, this insecticide is effective against both adult bed bugs and their eggs. Remember that if your bed bug problem is really bad, this treatment might not eliminate them.
Conclusion
Bed bugs are a common issue in any setting where people congregate, and they can be found in hotels, used furniture, and even on buses. They are highly adaptable and can survive for up to a year without food. To control bed bugs, it is essential to inspect your room thoroughly before entering and contact a pest control company if necessary.
Identifying bed bug infestations is crucial, as adult bugs can reach up to 6mm in length and are usually invisible to the naked eye. Common signs of bed bug infestation include blood stains, scrawled bites, jet-black feces, sticky excrement, and crawling bugs in your home. Bed bugs go through five distinct stages of development, which are called larvae, and can be found by observing shed cuticles or casings on the floor, laying on sheets, or adhering to feces.
Crawling bed bugs are a strong sign of an infestation, but it only takes one insect to infest a room. It is best to take extra precautions when dealing with bed bugs, as you may not get more warning signs than that one-bed insect.
To determine bed bug infestation areas, search for rust-like stains on surfaces, small feces, eggs, and dead bugs. Bed bugs tend to congregate near hiding places in upholstered furniture, such as mattresses, couches, and chairs.
The pheromones they release typically give them a sweet and spicy scent. If bed bug bites persist in the same spot, start looking there. The best time to find bed bugs is at night when they are most active and tend to hide in bedrooms.
In summary, bed bugs are a common problem that can be addressed through DIY methods and proper detection.
To control bed bug infestations, vacuum the area around your bed, including the mattress, frame, and box spring, and any mouldings, windowsills, furniture, and other objects. Keep bedding and other cloth or porous materials in one place to prevent the spread of bed bugs. Preparing to treat bed bugs involves clearing out unnecessary items, keeping washed bedding and fabric materials away from the afflicted area, and having dust mite prevention covers on hand.
DIY methods for bed bug control include using cold storage, heat, vinegar, sprays, silica gel, bug bombs, paint thinner, tea tree oil, and spray bottles. Cold storage is recommended for four days, while heat can be applied for 20 minutes at 118 degrees Fahrenheit.
Vinegar is a short-term solution but may not last as long as chemical pesticides and insecticides containing active components like pyrethroids. Sprays can kill bed bugs instantly but should be used with caution and air circulation.
Silica gel is an effective method for eliminating bed bugs by drying out the insects, especially nymphs, by applying it from a spray bottle to the hiding spots of the bed bugs. Bug bombs are not advised due to their small size and potential to drive the bugs to relocate. Pesticide strips can be used instead of sunlight or a freezer but should be used in low-traffic areas and thoroughly cleaned after handling them.
Paint thinner is another do-it-yourself option for bed bug control, but it is important to exercise caution and avoid getting paint thinner or other chemicals on yourself or your clothing. Tea tree oil is an all-natural substitute for conventional pesticides and is effective against both adult bed bugs and their eggs.
Content Summary
- Bed bugs, notorious nighttime invaders, cause frustration for homeowners and renters.
- DIY solutions exist for controlling bed bug populations and restoring peace of mind.
- No need to be afraid – this blog explores DIY methods for controlling and preventing bed bugs.
- Bed bugs are not exclusive to filthy homes; they can be found wherever people congregate.
- Hotels are high-risk locations for bed bug encounters due to the constant influx of guests.
- Travelling often can save trouble and money, and clean bags and clothes upon return.
- Bed bugs can survive for up to a year without food, making them highly adaptable.
- Used furniture can be an entry point for bed bugs; inspect it before bringing it inside.
- No one is safe from bed bug infestations; eliminate them promptly, regardless of their origin.
- Identifying bed bug infestations is challenging due to their small size and invisible nymphs.
- Blood stains on bedding and pillowcases are common signs of bed bug infestation.
- Scratched bed bug bites can leave blood stains, indicating a potential infestation.
- Bed bug feces, dark brown or black, can be found on mattresses and furniture.
- Sticky bed bug excrement appears as dots on surfaces like walls, carpets, and fabric.
- Insect parts, shed cuticles, or casings can be found around the infested area.
- Crawling bed bugs indicate an infestation; even one bug can infest a room.
- Take precautions when dealing with bed bugs, as warning signs may be subtle.
- Before starting DIY bed bug treatment, confirm the infestation by searching for signs.
- Bed bug infestations may cause rust-like stains, small faeces, and a distinct scent.
- Detect bites on your skin to locate infestation areas in your house.
- Vacuum extensively to control bed bug infestations and prevent spreading.
- Bag-infested items contain bed bugs and their eggs.
- Clear unnecessary items before treating bed bugs; keep washed bedding away.
- Dust mite prevention covers for mattresses and pillows make post-treatment setup easier.
- DIY bed bug control saves money but requires patience and effort.
- Plan each task in advance for increased chances of success.
- Use cold by placing objects in the freezer at 0 degrees Fahrenheit for four days.
- Apply intense heat at 118 degrees Fahrenheit to kill bed bugs in all life stages.
- Expose items to the sun in warm environments to eliminate bed bugs.
- Vinegar is a short-term fix for bed bugs, killing them upon contact.
- Sprays, including contact insect spray and soapy water, can kill bed bugs instantly.
- Silica gel, a natural insecticide, effectively disturbs and dries out bed bugs.
- Bug bombs are not recommended as they may worsen infestations.
- Pesticide strips in low-traffic areas eliminate bed bugs without sunlight or freezing.
- Paint thinner, often overlooked, can kill bed bugs in all stages when applied cautiously.
- Tea tree oil, a natural alternative, is effective against both adult bed bugs and their eggs.
- DIY bed bug treatments require careful application of potentially dangerous substances.
- Tea tree oil in a spray bottle can serve as a natural substitute for conventional pesticides.
- DIY bed bug control is efficient but may not eliminate severe infestations.
- Eliminate bed bugs without professional help using various methods.
- Patience and hard effort are essential for successful DIY bed bug elimination.
- Prioritise tasks and plan to increase the chances of success in DIY bed bug control.
- Expose items to freezing temperatures for four days to kill bed bugs effectively.
- Apply high heat, at least 118 degrees Fahrenheit, to eliminate bed bugs in all life stages.
- Vinegar is a readily available substance that kills bed bugs upon contact but has limitations.
- Use sprays carefully, including contact insect spray and soapy water, to kill bed bugs instantly.
- Silica gel is a natural insecticide that disturbs and dries out bed bugs effectively.
- Bug bombs are not recommended as they may worsen bed bug infestations.
- Pesticide strips can eliminate bed bugs in low-traffic areas without sunlight or freezing.
- Exercise caution when using potentially dangerous substances, such as paint thinner, in DIY bed bug control.
Frequently Asked Questions
Yes, DIY methods can effectively control bed bugs, particularly in the early stages of infestation. However, the effectiveness of DIY approaches may vary depending on the extent of the infestation and the thoroughness of the treatment.
To prevent bed bugs from returning after treatment, it is essential to maintain good hygiene and implement preventive measures, including:
- Regular vacuuming and cleaning of living spaces.
- Encasing mattresses and box springs in bed bug-proof encasements.
- Inspecting second-hand furniture and clothing for signs of infestation before bringing them into your home.
- Sealing cracks and crevices in walls, floors, and furniture to eliminate hiding places for bed bugs.
While DIY methods can effectively control minor bed bug infestations, severe infestations may require professional intervention. If DIY treatments prove ineffective or if the infestation persists despite repeated efforts, it may be advisable to seek the assistance of a licensed pest control professional who can implement more comprehensive and targeted treatment strategies.
Insecticides can effectively kill bed bugs, but they should be used cautiously and according to instructions. Overusing or misusing insecticides can pose health risks to humans and pets and may also contribute to developing pesticide resistance in bed bug populations.
The time it takes to eliminate bed bugs using DIY methods can vary depending on the extent of the infestation and the effectiveness of the treatment. Multiple treatments may sometimes be necessary to eradicate bed bugs and their eggs completely.